How to Replace a Transmission (Full DIY Guide)
Summary
TLDRIn this video, ChrisFix demonstrates how to remove and install a transmission in your car or truck. He explains various reasons for transmission removal, such as clutch replacement or fixing a rear main seal. ChrisFix provides a detailed step-by-step guide, including the necessary tools, safety tips, and specific steps like lifting the vehicle, disconnecting the battery, and removing the driveshaft and starter. He emphasizes using the right equipment, such as a transmission jack, to avoid damage. The video concludes with installing a new transmission and test driving the car to ensure proper function.
Takeaways
- 🔧 Removing a transmission can be necessary for several reasons such as sending it out for a rebuild, replacing a worn clutch, fixing an oil leak, or replacing a bad bearing.
- ⚙️ Essential tools for the job include a ratchet, socket set, extensions, universal joint extensions, wrenches, torque wrench, breaker bar, jack, jack stands, drain pan, transmission fluid, and a transmission jack.
- 🚗 Safety is paramount: ensure the vehicle is lifted high enough and stably supported by jack stands. Using 12-ton jack stands provides more stability and height compared to 3-ton ones.
- 🔋 Start by disconnecting the negative battery cable to prevent any electrical issues.
- 🚀 Remove the shifter early in the process to avoid getting grease inside the car. This involves unscrewing the shift knob, removing the shifter trim, and unscrewing the shifter lever and boot.
- 🔩 For the exhaust, disconnect the oxygen sensors and remove the downpipe and X-pipe sections.
- 🛢️ Drain the transmission fluid to prevent spills and lighten the transmission, making it easier to handle.
- 🪛 Remove the driveshaft by unscrewing the bolts at the differential and sliding it out of the transmission.
- 🔌 Disconnect the wiring harness and remove the starter to access the transmission bolts.
- 🔗 Support the transmission with a jack before unbolting it from the engine. Ensure all bolts are removed and the transmission is lowered carefully.
- 🔁 Inspect and replace worn parts such as the throw-out bearing and clutch. If the transmission needs a rebuild, consider replacing it with a rebuilt unit.
- 🛠️ Reverse the removal steps for installation: transfer necessary parts to the new transmission, align and secure it to the engine, reconnect wiring, reinstall the driveshaft, exhaust, and shifter.
- 🧴 Fill the transmission with fluid through the shifter opening until it reaches the correct level.
- 🔋 Reconnect the negative battery cable and ensure all connections and bolts are properly secured.
- 🧰 Follow proper break-in procedures for the new transmission: drive normally for the first 500 miles without hard shifting or burnouts to ensure longevity.
Q & A
Why might someone need to remove a transmission from their car or truck?
-A transmission may need to be removed to be rebuilt, to replace a worn-out clutch, or to address issues like a bad rear main seal, pilot bearing, or throw-out bearing.
What are the symptoms of a bad throw-out bearing as described in the video?
-A bad throw-out bearing makes noise when the car is in neutral and the clutch is not pressed. The noise disappears when the clutch is pressed and returns when the clutch is released.
What tools are necessary for removing and installing a transmission according to the video?
-The tools needed include a ratchet, socket set, extensions, universal joint extensions, wrenches, torque wrench, breaker bar, jack, jack stands, drain pan, transmission fluid, and a transmission jack.
What are the first steps to safely lift a vehicle for transmission removal?
-The vehicle should be lifted high enough to remove the transmission using jack stands. It's important to place the jack stands far apart to avoid interference and to use ramps or wheels under the front tires for additional safety.
Why is it important to remove the shifter early in the process?
-Removing the shifter early avoids getting the interior dirty since the work done later on could make the hands greasy and dirty.
What precautions should be taken when removing exhaust components?
-Penetrating fluid should be sprayed on the exhaust fasteners to make removal easier, especially if they are rusted. Disconnecting the oxygen sensors from the wiring harness instead of unscrewing them from the exhaust is also recommended.
Why should transmission fluid be drained before removing the driveshaft?
-Draining the transmission fluid prevents it from leaking out when the driveshaft is removed, avoids a mess, and lightens the transmission for easier removal.
How is the starter removed, and why is it necessary for transmission removal?
-The starter, located at the junction of the engine and transmission, is removed by taking out three bolts. It's necessary to remove the starter to free the transmission for removal.
What steps are involved in disconnecting the wiring harness from the transmission?
-The wiring harness clips are removed, the speed sensor is disconnected, clips are popped out, and the reverse light switch is unplugged to free the wiring harness from the transmission.
What is the final step before actually unbolting and removing the transmission?
-The final step is to support the transmission with a transmission jack and strap it down securely to prevent it from falling. Then, the transmission mount is unbolted.
What is the importance of using thread locker on bolts during reassembly?
-Thread locker prevents bolts from loosening due to vibrations and protects threads from rust, ensuring that the assembly stays secure over time.
How can you fill the transmission fluid more easily after reassembly?
-Instead of using the fill hole on the side of the transmission, the fluid can be added through the hole where the shifter is installed. This method is easier and avoids making a mess.
What should be checked and replaced in the new transmission before installation?
-Before installation, check and transfer necessary parts from the old transmission to the new one, such as the transmission mount and speed sensor, and replace the clutch fork and throw-out bearing if needed.
What are the initial steps to test drive the car after transmission installation?
-During the test drive, go through each gear carefully, making sure there are no grinding sounds and the gears shift smoothly. Avoid hard driving for the first 500 miles to break in the new transmission and clutch properly.
Outlines

此内容仅限付费用户访问。 请升级后访问。
立即升级Mindmap

此内容仅限付费用户访问。 请升级后访问。
立即升级Keywords

此内容仅限付费用户访问。 请升级后访问。
立即升级Highlights

此内容仅限付费用户访问。 请升级后访问。
立即升级Transcripts

此内容仅限付费用户访问。 请升级后访问。
立即升级浏览更多相关视频

How to Change Your Oil (COMPLETE Guide)

How to Replace Leaf Springs and Lift your Truck
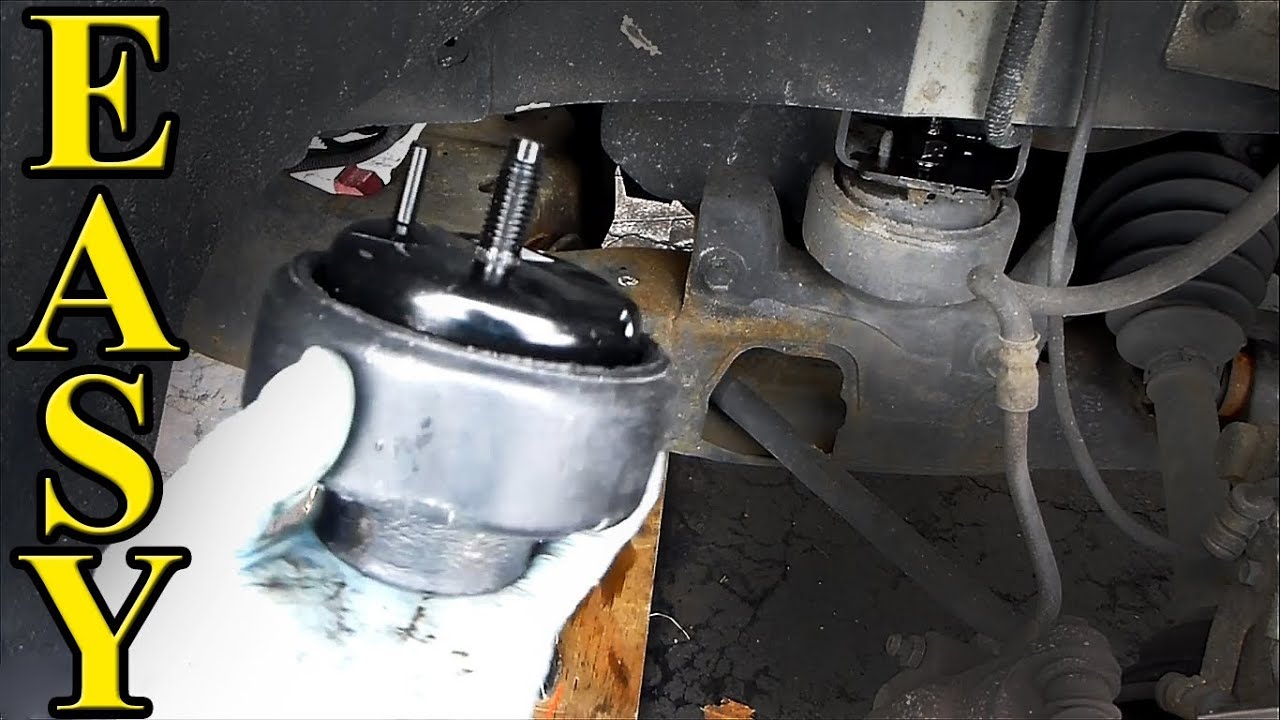
How to replace a Motor Mount or Transmission Mount
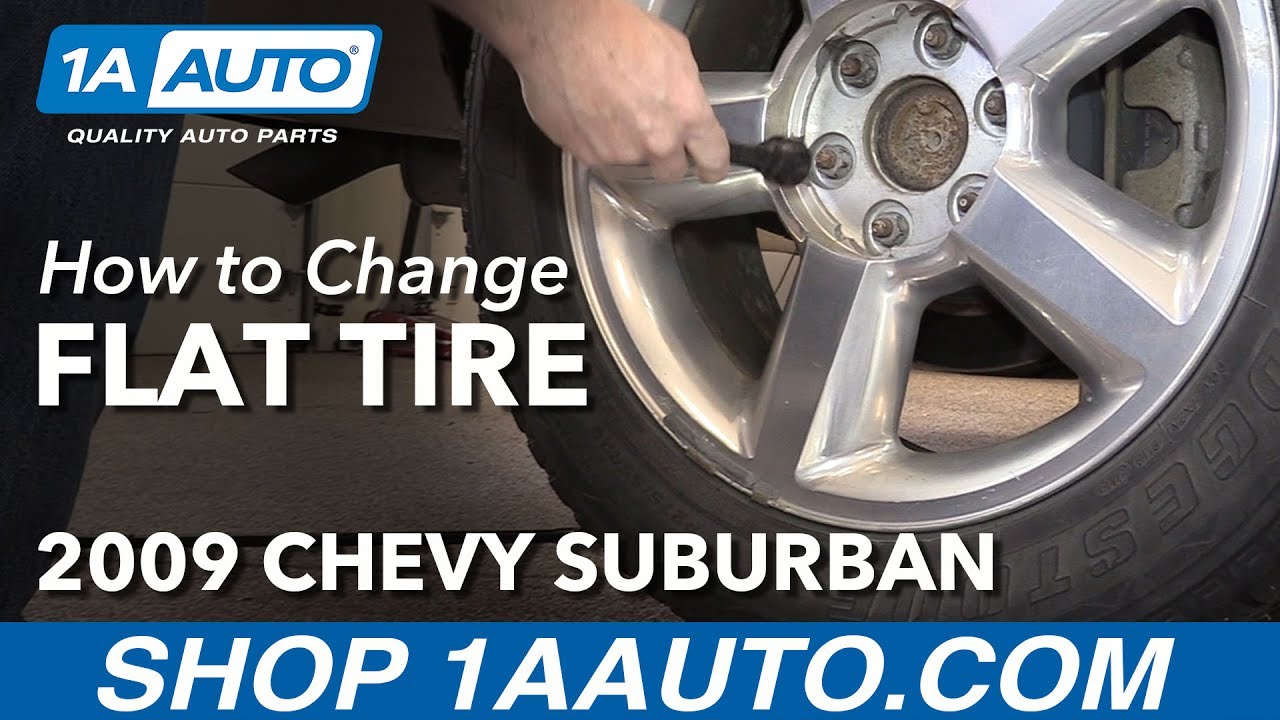
How to Change Flat Tire with Spare 07-14 Chevy Suburban

Remove Third Party Access from Google Account from Mobile (2022)

How To Wash Your Car At A Self Serve Car Wash
5.0 / 5 (0 votes)
