Cara Membuat Undangan Pernikahan Dengan Corel Draw x7 | Sayahrull production
Summary
TLDRThis tutorial demonstrates how to design an elegant invitation using CorelDRAW. It covers various techniques, such as setting up the document with specific dimensions, applying gradients, using polygons and icons, and adding text with different fonts and effects. The tutorial guides users through the process of layering elements, adjusting sizes, and ensuring precise placement to create a professional and visually appealing design. With a focus on simplicity and creativity, this video offers a comprehensive approach to designing invitations, making it accessible to both beginners and experienced users.
Takeaways
- 😀 Set up the invitation design with CorelDRAW by creating a 140x200 mm portrait document with a chemical color profile.
- 😀 Use the Rectangle Tool to create shapes and duplicate them to form the basic layout of the invitation.
- 😀 Incorporate a gradient color scheme using linear and radial gradients for an elegant look.
- 😀 Introduce decorative elements like an icon or polygon shapes, such as a six-sided polygon for a modern design touch.
- 😀 Apply a color palette to your design elements, making sure to adjust the colors to achieve the desired aesthetic.
- 😀 Use the Bezier Tool to create precise paths and lines, such as horizontal or vertical lines, for dividing sections or adding emphasis.
- 😀 Add text to the design, adjust font styles (e.g., Cambria, Villeroy), and set text sizes to ensure clarity and readability.
- 😀 Experiment with adding effects like drop shadows to text and shapes to give them a 3D or embossed appearance.
- 😀 Group and align elements to maintain consistency and neatness across the design, using alignment tools to center elements.
- 😀 Ensure that text is legible and aesthetically pleasing by adjusting font sizes, colors, and placements across the invitation.
- 😀 Finalize the design by checking for proper alignment, grouping related objects, and ensuring the overall layout looks cohesive.
Q & A
What is the first step in creating the invitation design in CorelDRAW?
-The first step is to open CorelDRAW, go to 'File', and set up the document with a size of 140 x 200 mm in portrait orientation and with a chemical color mode.
How does the designer create a rectangular shape for the invitation?
-The designer uses the 'Rectangle Tool' by clicking twice to create the rectangle and then duplicates it.
What color gradient is applied to the background?
-The designer applies a linear gradient with a blue color on top and a slight yellow-green shade at the bottom.
What is the purpose of the Polygon Tool in the design?
-The Polygon Tool is used to create a hexagonal shape, which is then adjusted in thickness and duplicated to add design elements to the invitation.
How are the shapes arranged in the design?
-The shapes are aligned using the center align tool and adjusted manually to fit the design. Some shapes are mirrored or duplicated to create symmetry.
What kind of effects are applied to the shapes and text?
-Drop shadows are applied to some shapes and text elements to create a 3D effect. The shadow effect settings include different types, such as the 'Rapiah' shadow style, with specific opacity and blur values.
How does the designer work with text in the invitation design?
-Text is added by copying and pasting the necessary content. The font is adjusted, including the size and style, such as switching to 'Cambria' and 'Art' fonts for different text elements.
What tools are used for aligning and positioning text and shapes?
-The designer uses alignment tools like 'Center' and 'Left', 'Right', 'Top', and 'Bottom' alignment to position the text and shapes properly. Manual adjustments are also made for fine-tuning.
How are the color choices managed throughout the design process?
-The designer uses a custom color palette, creating colors by sampling from the design elements and applying them consistently to different shapes and text.
What is the significance of the grouping and duplicating actions in the design process?
-Grouping and duplicating elements help maintain consistency in the design and make it easier to position and manipulate similar objects without disrupting the overall layout.
Outlines

此内容仅限付费用户访问。 请升级后访问。
立即升级Mindmap

此内容仅限付费用户访问。 请升级后访问。
立即升级Keywords

此内容仅限付费用户访问。 请升级后访问。
立即升级Highlights

此内容仅限付费用户访问。 请升级后访问。
立即升级Transcripts

此内容仅限付费用户访问。 请升级后访问。
立即升级浏览更多相关视频

Cara Membuat Stempel di Coreldraw x7 dengan Mudah
Cara Membuat Desain MUG CUSTOM di CorelDraw || How to Make a CUSTOM MUG Design in CorelDraw
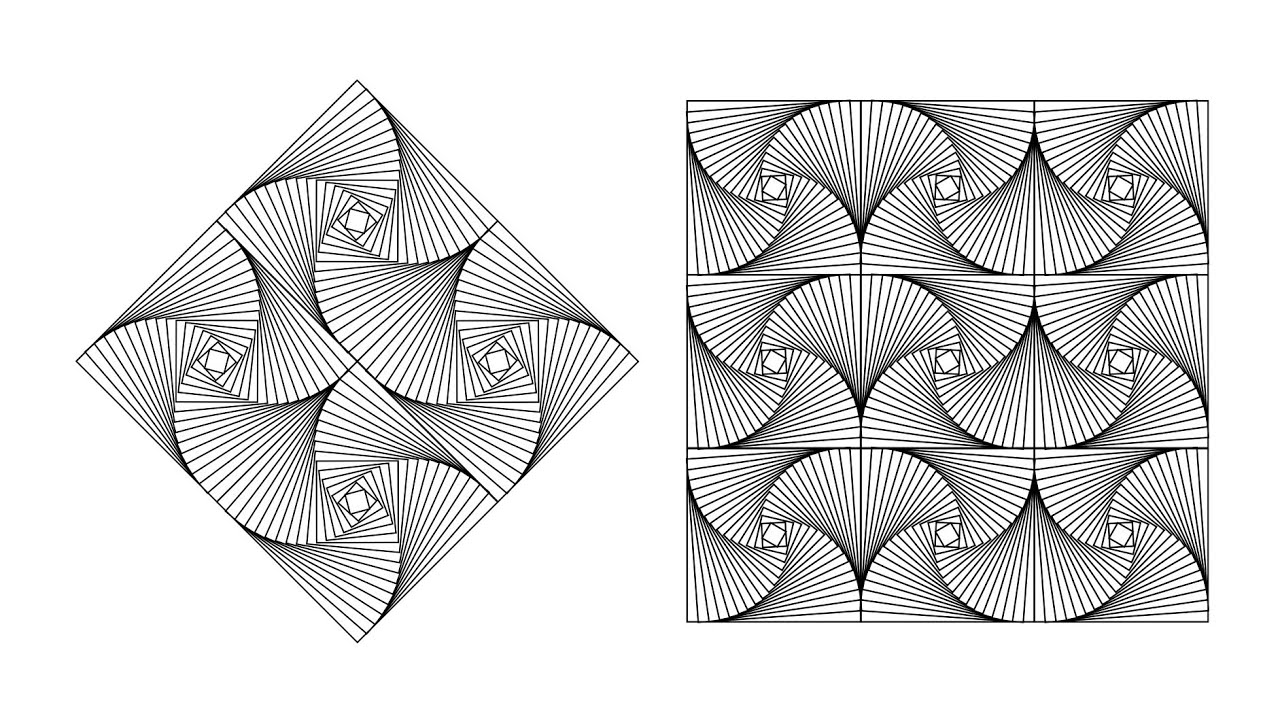
Membuat NIRMANA 2D (GARIS) Menggunakan CorelDRAW | CorelDRAW Indonesia

Tutorial CorelDRAW | Belajar 12 Tools Dasar CorelDRAW Untuk Pemula (30 Menit Langsung Jago Abis)
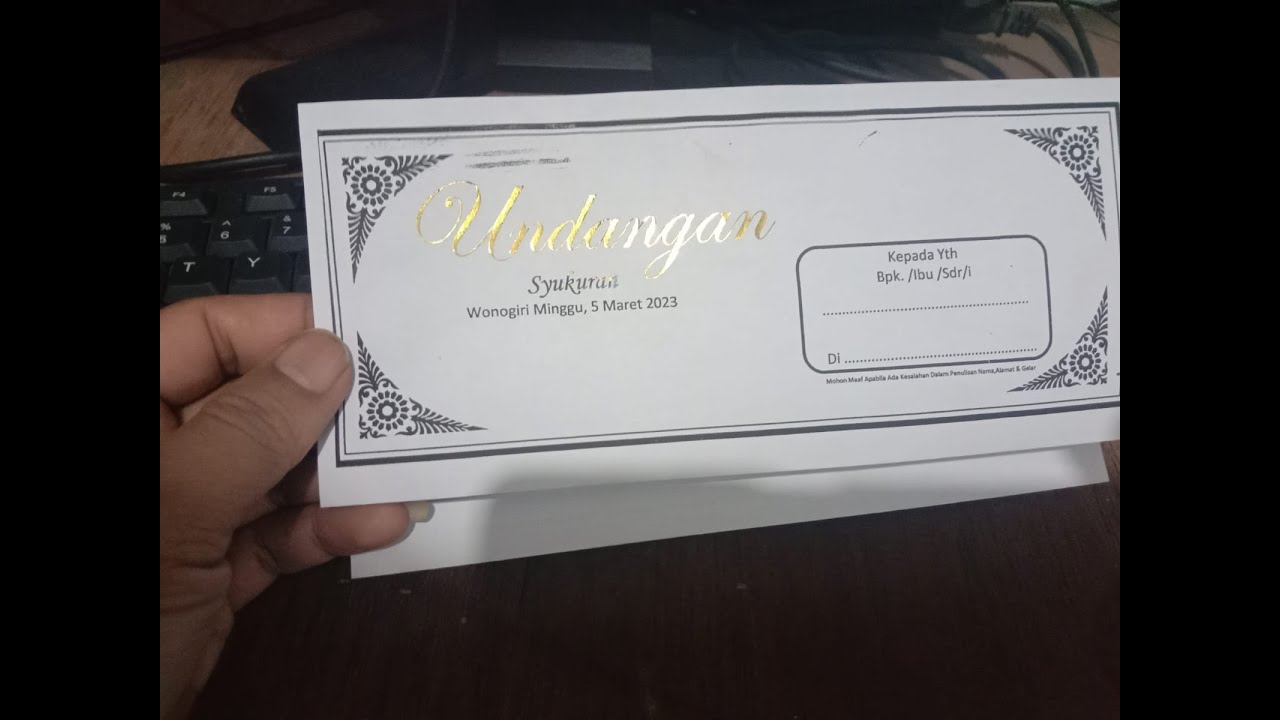
cara membuat undangan tasyakuran|microsoft word
Introduction to Corel Draw Exercise No.1 | YN Tutor
5.0 / 5 (0 votes)
