DJI Osmo Pocket 3 is a Fantastic YouTube Studio Camera!
Summary
TLDRIn this video, the DJI Pocket 3's performance is compared to the Sony zv1 and GoPro Hero 12 in a studio setting with compact lighting and a microphone. The DJI, priced at $520, shows impressive image quality close to the $3,000 Sony, especially with added color grading and fake bokeh effects. The video details the gear setup, camera settings, and a step-by-step color grading process using Color Finale Pro plugin in DaVinci Resolve to enhance the footage. The comparison highlights the Pocket 3's value and potential, inviting viewers to share their thoughts on the best camera choice.
Takeaways
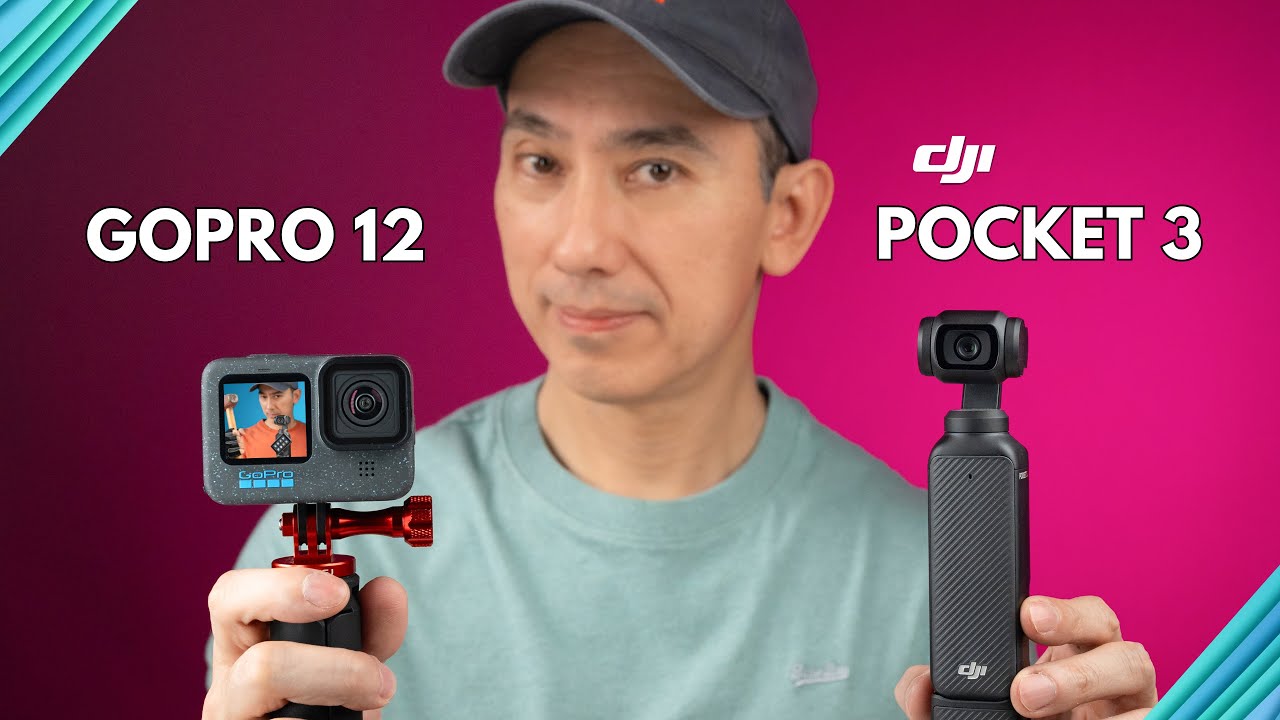
- 🎥 The DJI Pocket 3 was tested in a studio setting alongside other cameras for comparison.
- 💡 Two compact lights and a microphone were used with the DJI Pocket 3 for optimal audio and video quality.
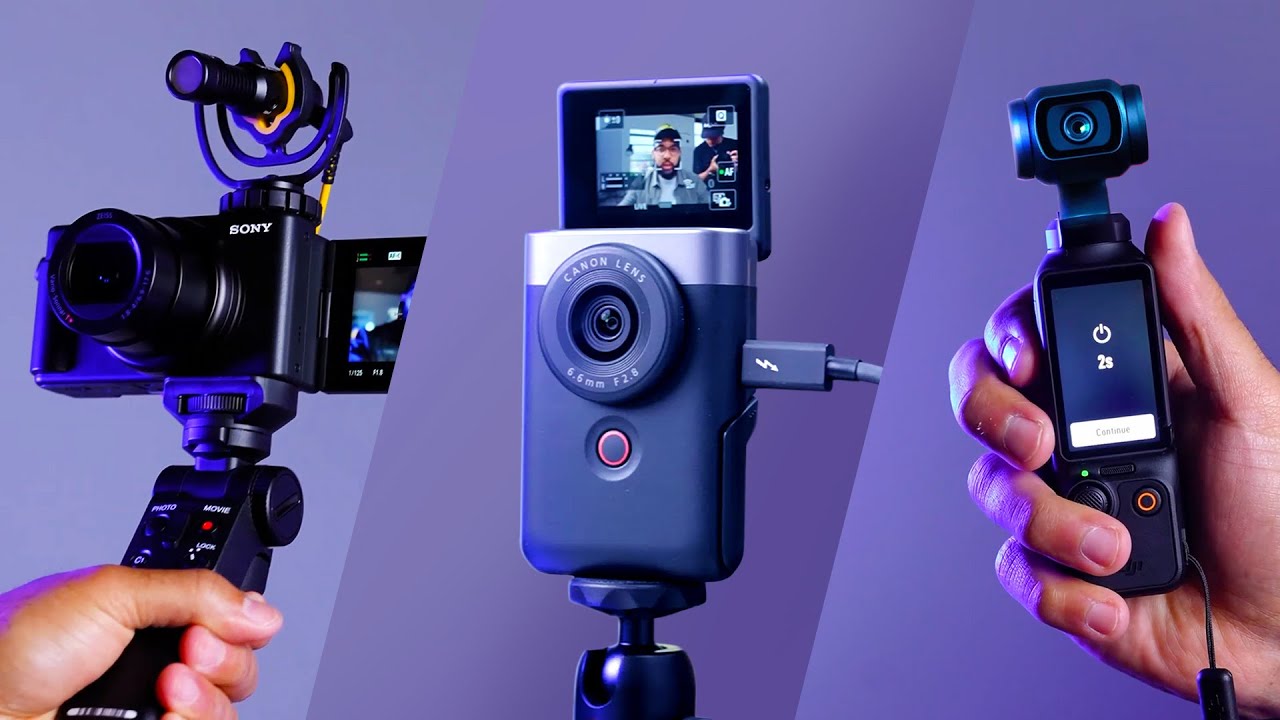
- 📈 The Sony zv1 with a 20 mm f1.8 lens was compared to the DJI Pocket 3, highlighting a significant price difference of $3,000 versus $520.
- 🌈 The video compared color outputs, suggesting the DJI Pocket 3's color accuracy and the option to add a 'fake blurry background' for a similar aesthetic.
- 🎤 The Boya by K4 USBC microphone adapter was used to connect a shotgun microphone to the DJI Pocket 3 for improved audio.
- 💡 Lighting setup included a Kyite Colo CL60m with a softbox and an Ulanzi 40-watt light to enhance exposure and background brightness.
- 📹 DJI Pocket 3 camera settings were detailed, including resolution, white balance, image adjustments, focus mode, glamour effect, color, and microphone gain.
- 📊 A side-by-side image quality comparison was made with the DJI Pocket 3, Sony zv1, GoPro Hero 12, and DJI Action 4, with the zv1 leading in image quality but at a higher cost.
- 🎨 The video demonstrated a color grading process using the Color Finale Pro plugin in DaVinci Resolve for advanced color adjustments.
- 🖼️ The color grading included adding sharpness, adjusting exposure and contrast, saturation, skin tones, and creating a teal and orange color grade.
- 🌟 A fake bokeh effect was added in post-production to mimic a shallow depth of field, enhancing the background blur without affecting the subject.
Q & A
What is the purpose of the video?
-The purpose of the video is to compare the performance of the DJI Pocket 3 in a studio environment with other cameras, showcase the camera settings and gear used, and demonstrate the color grading process to achieve a specific look.
Which cameras are compared in the video?
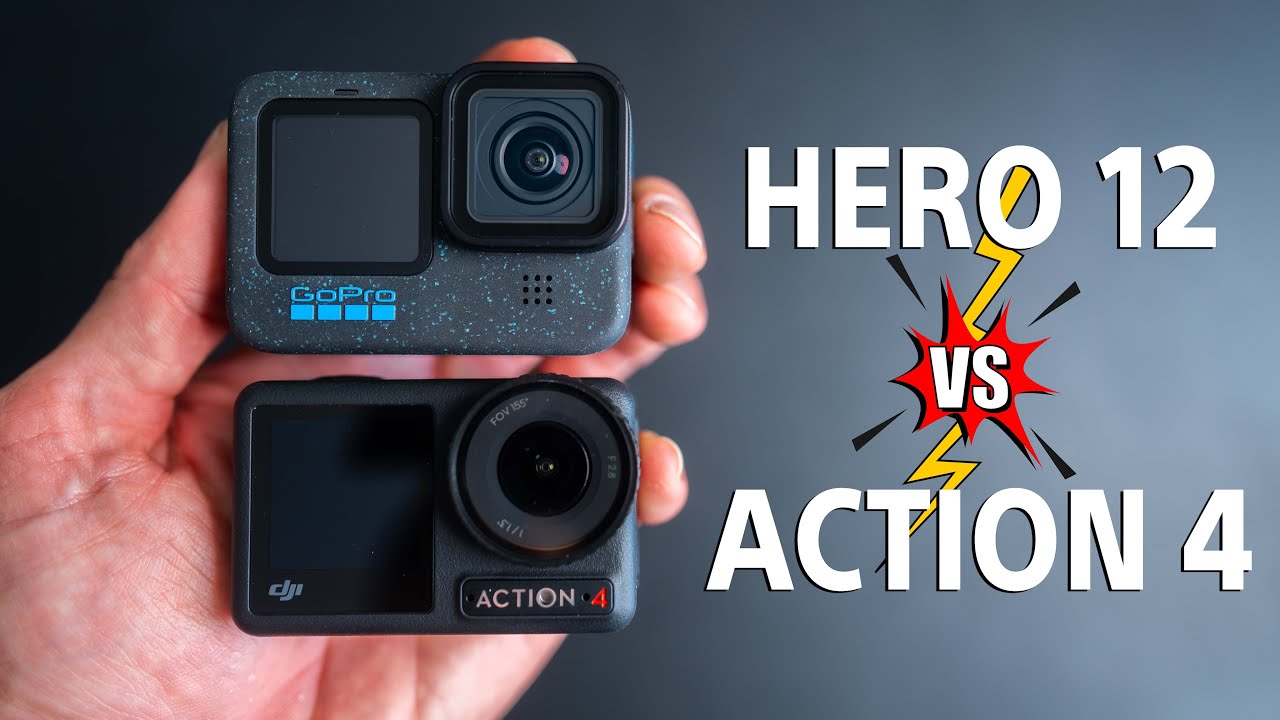
-The video compares the DJI Pocket 3, Sony zv1 with a 20 mm f1.8 lens, GoPro Hero 12, and DJI Action 4.
What is the cost difference between the Sony zv1 with a 20 mm f1.8 lens and the DJI Pocket 3?
-The Sony zv1 with a 20 mm f1.8 lens costs $3,000 compared to the DJI Pocket 3 which costs $520.
What microphone adapter is used to connect the shotgun microphone to the DJI Pocket 3?
-The Boya by K4 USBC microphone adapter is used to connect the shotgun microphone to the DJI Pocket 3.
What lighting setup is used in the video?
-Two lights are used: the Kyite Colo CL 60m with a softbox positioned at 30° from the camera and set to 50% brightness, and the Ulanzi 40 watt light mounted on a C-stand and set to 100% brightness pointing at the ceiling.
What camera settings are used for the DJI Pocket 3 to achieve the best image quality?
-The settings include 4K 25p resolution and frame rate, white balance set to 5500 Kelvin, custom image adjustments with sharpness at minus two and noise reduction at minus one, continuous focus mode, color set to DLOG M, and manual exposure with a shutter speed of 1/50 and ISO set to 100.
How does the video creator enhance the background in the video?
-The creator uses a background light and applies a color grading technique to make the background darker and more separated from the subject.
What color grading plugin is used in the video?
-The video creator uses the Color Finale Pro plugin for advanced color grading.
How is the skin tone adjusted during color grading?
-The skin tones are adjusted by increasing the saturation in the skin tone colors and slightly adjusting the Hue of the skin tones.
What effect is added to mimic the bokeh background seen in higher-end cameras?
-A fake bokeh effect is added by using a mask to only affect the background, creating a blurred background while keeping the subject in focus.
How does the video creator ensure the best sound quality?
-The creator uses a Boya by K4 USBC microphone adapter to connect a Deity Vmic D4 shotgun microphone to the DJI Pocket 3, positioning it slightly out of frame and as close as possible to the subject.
What is the final ranking of the cameras based on image quality in the video?
-The final ranking is Sony zv1 as the best in terms of image quality, followed by the DJI Pocket 3, then the DJI Action 4, and the GoPro Hero 12 in the last place.
Outlines
🎥 DJI Pocket 3 Studio Test and Gear Setup
This paragraph discusses a studio comparison between the DJI Pocket 3 and the Sony zv1 cameras. The DJI Pocket 3 is used with two compact lights and a microphone connected directly to the camera. The Sony zv1 with a 20 mm f1.8 lens is positioned next to it, showcasing a significant price difference of $520 for the DJI setup versus $3,000 for the Sony. The presenter notes visual similarities in color but acknowledges the depth of field difference, offering a solution to add a fake blurry background to the DJI footage for similarity. The paragraph also details the camera settings, gear used, and color grading process. The gear includes a Boya by K4 USBC microphone adapter and a dat vmic D4 shotgun microphone. Lighting is provided by a Kyite Colo CL 60m with a softbox and an Ulanzi 40-watt light pointed at the ceiling. Camera settings are optimized for image quality, with adjustments made for white balance, sharpness, noise reduction, focus mode, glamour effect, color, microphone gain, exposure, and gimbal settings.
🌈 Color Grading Techniques and Comparison
The second paragraph focuses on the color grading process used to enhance the footage from the DJI Pocket 3. The process is demonstrated using DaVinci Resolve with the Color Finale Pro plugin, which the presenter recently purchased for its advanced features. The summary of color grading steps includes adding sharpness, adjusting exposure and contrast with curves, increasing global saturation, fine-tuning skin tones, and applying a teal and orange color grade. A mask is used to darken the background and separate the subject from the background. The presenter also cleans up the shadows and adjusts the color of clothing and background elements. Finally, a fake bokeh effect is added to the background, which is masked to not affect the subject, resulting in a significant visual improvement.
🏆 Camera Comparison and Closing Remarks
In the final paragraph, the presenter wraps up the video by ranking the cameras based on image quality: the Sony zv1 takes first place, followed by the DJI Pocket 3 in second, the DJI Action 4 in third, and the GoPro Hero 12 in fourth. The presenter invites viewers to share their opinions on which camera they think is the best and why. The paragraph concludes with the presenter expressing gratitude for watching and supporting the video, and hints at creating more content with the DJI Pocket 3 in the future.
Mindmap
Keywords
💡DJI Pocket 3
💡Sony zv1
💡Depth of Field
💡Color Grading
💡Boya BY-K4
💡Lighting Equipment
💡ISO
💡DLOG M
💡Gimbal
💡FCPX
💡HSL Mask
Highlights
Comparison of DJI Pocket 3 and Sony zv1 cameras in a studio setup with compact lights and microphones.
Sony zv1 with a 20 mm f1.8 lens costs $3,000 compared to DJI Pocket 3 at $520.
Both cameras show similar color performance, with the option to add fake blurry background on DJI Pocket 3.
DJI Pocket 3's native look without any color grading.
Introduction of camera settings and gear used for achieving the desired look with DJI Pocket 3.
Use of Boya by K4 USBC microphone adapter to connect a shotgun microphone to DJI Pocket 3.
Lighting setup with two lights: Kyite Colo CL 60m with a softbox and Ulanzi 40 watt light.
Impact of background light on overall exposure and background brightness.
Camera settings for DJI Pocket 3 including resolution, white balance, and image adjustments.
Explanation of why sharpness and noise reduction are set to minus values on DJI Pocket 3.
Comparison of image quality between DJI Pocket 3, Sony zv1, GoPro Hero 12, and DJI Action 4.
DJI Action 4 settings for studio environment and its performance.
GoPro Hero 12 struggles in low light conditions, affecting its studio performance.
Sony zv1 with 20 mm f1.8 lens provides the best image quality but at a higher cost.
DJI Pocket 3's impressive image quality at a significantly lower price point.
Process of color grading the DJI Pocket 3 footage using Color Finale Pro plugin.
Techniques used for adjusting exposure, contrast, saturation, and skin tones in color grading.
Adding a teal and orange color grade and using masks for a more professional look.
Final thoughts on the video, plans for more content with DJI Pocket 3, and call for viewer engagement.
Transcripts
this is how the new DJI pocket 3
performs in a studio environment using
two compact lights and a microphone
connected directly to the camera just
for comparison here is how the Sony zv1
with the Sony 20 mm
f1.8 performs next to it this camera and
lens costs $3,000 compared to $520 and I
think this cameras look relatively
similar especially in terms of colors
but of course the dep of field is
different but if I really want I can add
fake blurry background to the pocket Tre
which will make this camera's look even
more similar also here is how the pocket
3 looks straight out of the camera
without any color grading and now with
color grading anyhow let me share with
you the camera settings gear and color
grading process method I use to achieve
this look with a pocket tree starting
with the gear the first item is the Boya
by K4 USBC microphone adapter which
allows me to connect my dat vmic D4
shotgun microphone to the pocket 3 I've
positioned the vmac D4 slightly out of
frame so it won't be visible in the shot
and as closest possible to me to get the
absolute best sound quality in terms of
lighting I'm using only two lights in
this shot the first one is my kyite the
Colo CL 60m with a 60x 90 CM soft box
I've positioned it at about 30° from the
camera slightly above me pointing
downwards and I have set its brightness
to about 50% to reduce the ISO on the
pocket tree to 100 to get the least
amount of noise in the shot as for the
second light I'm using the ulanzi 40 wat
light which is mounted on my C and rail
it's set to 100% brightness and it's
pointing at the ceiling to increase the
overall exposure in the room and make
the background a bit brighter just for
comparison here is how it looks without
the background light and now with the
background light I think it makes a
massive difference moving on to the
camera settings I set the resolution and
frame rate to 4K 25p to get the highest
image quality next I set the white
balance to 5500 Kelvin to match the
color temperature of my key light then
in the image adjustment menu I choose
costume and set the sharpness to minus
two and noise reduction to minus one I
prefer to add sharpness during post-
production and I think minus one noise
reduction is The Sweet Spot on the
action 4 and also on the pocket tree
then I set the focus mode to continuous
because I am moving in the frame the
glamour effect to off because I don't
want any weird overlay effects the color
to dlog M to get the widest dynamic
range and the most flexibility in post
production when color grading and the
microphone gain to minus5 because it's
very close to me in terms of exposure I
set it to manual with a shutter speed of
1 over 50 to get the most exposure
without affecting motion blow in the
image and I set the iso to 100 to get a
reasonable amount of exposure without
negatively impacting noise performance
if you have very powerful lighting you
can lower the iso to 50 to get even
better noise performance but
unfortunately my lights are not that
powerful and finally for the gimbal
settings I've set the rotational speed
to default and gimbal mode to follow now
let's do a quick image quality
comparison with this token head angle
between this camera the pocket 3 the zv1
with a 20 mm
f1.8 GoPro 12 and action 4 so first of
all let's start with the DJI action 4
I'm going to put the settings that I use
for this camera somewhere on the screen
and I think this camera also performs
really well in a studio environment if
you have decent amount of lighting and
now I have switched to the GoPro Hero 12
I'm also going to put the settings for
this camera somewhere on the screen and
I think this camera doesn't look as good
in this kind of environment as the
pocket Tre or the action 4 because GoPro
cameras really struggle in low light
conditions and finally this is how the
Sony zv1 with the 20 mm f1.8 looks like
in comparison to the DJI action 4 poke 3
and the GoPro Hero 12 I think this
camera obviously is going to look the
best but it's also the most expensive at
$3,000 including the lens and now again
here is how the pocket R looks like in
comparison to all these cameras
obviously I think the zv1 wins in terms
of image quality second place I think is
the pocket R it's very close and it's
very impressive actually how good the
image quality is on the pocket 3 then
the third place I think is the action
for and the last and the fourth one is
the GoPro Hero 12 let me know down below
which one you think is the best and why
and now let's move on to color grading I
want to show you how I color graded this
shot with the pocket 3 so I'm now inside
fat prom and I have here this clip on
the timeline from the pocket Tre let me
show exactly what I did in terms of
color grading to make this clip look the
way you see it right now so first of all
I have used the color finale Pro plugin
to color grade all of the footage in
this video and I'm not sponsored by them
or anything like that I actually bought
the plugin myself last week they had
like a sale and I decided to buy it
because I felt like I reached the limit
with the built-in tools inside fut Pro
for color grading I think this tool has
a bit more advanced features and it's a
bit more simple to use for advanced
color grading so let's start first of
all I added 15% of sharpness because I
reduced the sharpness in camera now let
me disable everything here and I'm going
to start from the beginning so first of
all I have adjusted the exposure and
added some contrast with curves and I
use the Luma plus RGB mode because I
only wanted to affect the exposure the
luminance and not the saturation I
prefer to control the saturation in a
separate node or layer then I increased
the saturation with color wheels I just
added 1.42 Global saturation and that's
it and fortunately I didn't have to
adjust the white balance because the
colors from the pocket tree are so super
accurate then I slightly adjusted the
skin tones by increasing the saturation
in the skin tone colors and also
slightly adjusting the Hue of the skin
tones next thing I did is I added a mask
an ellipse mask on me in the middle here
and then I added curves for the outer
part of the mask and reduced the
exposure to make the background a bit
darker and then in the inner part of the
Mask I increased the exposure just
slightly to make myself a bit more
separated from the back ground next
thing I did is I added a teal and orange
color grade by isolating my skin tones
here is the before here is the after so
I added an hsl mask here let me show you
exactly how it looks like let me remove
this blur here so basically I isolated
my skin tones as much as possible maybe
I'm going to adjust a bit more now
actually let me see if I can make it
look a bit better and I also added about
5 6% of blur to make the transition
between the color grade and my skin
tones a bit smoother that's one reason I
bought this plugin because if you use
the built-in tools inside focut Pro and
you want to make an hsl mask and you're
really pushing the colors sometimes you
can get artifacts but here you have this
blur effect to make a nice transition
between the color grade and the hsl mask
and also I reduced the overall intensity
of the till and orange grade to 85% from
100 then I Used Log Wheels to clean up
the Shadows a little B bit because I
felt like I had too much teal in the
shadows let me zoom in to about 200% so
you can clearly see the difference so
look at the door here this is before and
after let me go to another part of the
shot look here before a bit teal in here
and now it looks a bit more neutral a
very minor adjustment but it goes a long
way when you add all of these
adjustments in a color GD and basically
how I cleaned up the Shadows is by
pushing the shadow slider wheel here to
towards the opposite color of teal which
is basically red and magenta then I
added this uh six vectors tool which is
basically like hsl tool but a bit easier
to use and I adjusted the color of my
t-shirt here as you can see and also my
skin and a bit of the background I
played around also with the greens here
with the plant in the background but
it's a very minor adjustment nothing
really crazy here and here I desaturated
the Shadows even more with saturation
versus luminance by selecting the shadow
area and pushing it down and
finally I added this fake Boke effect
which actually looks pretty cool this is
with the effect without the effect with
the effect without the effect a pretty
significant difference and to not affect
myself I added a mask an ellipse mask
just so it only will affect the
background basically so this is again
the before look at the plant here the
door and the computer and after it's
very minor adjustment but it definitely
adds to the overall quality of the
[Music]
three anyhow I hope you enjoyed this
video and found it informative if you
have any questions or comments let me
know down below I'm going to make a lot
more content with this fantastic camera
and I guess I'll see you in the next
video thank you for watching thank you
for the
support salute
浏览更多相关视频
Did DJI Finally Beat Sony? DJI Lav Mic Vs Sony ECM-LV1 (Featuring the DJI Mic 2)
My Vlogging Gear - Why I am NOT Using GoPro 🎬
The BEST YouTube Setup for 2024 // SIMPLE AND EASY - Camera, Audio, Lighting, and more!
DJI OSMO ACTION 4 VS GOPRO HERO 12
¡NUEVA CÁMARA PARA EL CANAL! 🤩 - MarraTec
I Wish I knew THIS Before Buying a Lumix
5.0 / 5 (0 votes)