Konfigurasi Routing Statis Mikrotik
Summary
TLDRIn this tutorial, the instructor demonstrates how to configure static routing using two MikroTik routers, Router A and Router B. The setup includes connecting Router A to the internet and establishing Ethernet links for client devices. Key steps involve assigning static IP addresses, setting up DHCP servers for automatic IP assignment, and creating static routes to enable communication between clients on different routers. The session culminates in testing connectivity through ping commands, ensuring successful communication between the connected devices. This guide is ideal for users looking to deepen their understanding of static routing in networking.
Takeaways
- 😀 The configuration involves two routers, Router A and Router B, connected to the internet and clients respectively.
- 😀 Router A uses Ethernet 1 for internet connectivity and assigns IP addresses to clients through Ethernet 3.
- 😀 Router B is connected to Router A via Ethernet 2 and serves DHCP to its connected clients.
- 😀 Static routing requires manual entry of routing information to allow communication between different subnets.
- 😀 The script explains setting up DHCP servers on both routers to provide automatic IP address assignment to clients.
- 😀 NAT (Network Address Translation) is configured on Router A to allow clients to access the internet.
- 😀 Static routes are added to both routers to ensure they can reach each other's networks.
- 😀 Testing connectivity through ping commands verifies successful configuration and communication between clients.
- 😀 The configuration details include specific IP addresses and subnet masks for each router and client.
- 😀 The video encourages viewers to subscribe to the channel for more networking tutorials.
Q & A
What is the main focus of the video?
-The video focuses on configuring static routing using MikroTik routers, detailing the necessary steps and network topology.
What are the roles of Router A and Router B in the network setup?
-Router A connects directly to the internet, while Router B is connected to Router A, facilitating communication between the two routers and their respective clients.
What IP address is assigned to Router A's Ethernet 3 interface?
-Router A's Ethernet 3 interface is assigned the IP address 192.168.1.1 with a subnet mask of /24.
How does Router B connect to Router A?
-Router B connects to Router A through Ethernet 2, with Router A assigned the IP address 172.16.1.1 and Router B assigned 172.16.1.2.
What is the purpose of configuring DHCP on Router A and Router B?
-DHCP is configured on both routers to automatically assign IP addresses to connected clients, allowing them to communicate on the network without manual configuration.
What is a static route, and why is it needed in this setup?
-A static route is a manually configured route that directs network traffic to specific destinations. It is needed in this setup to ensure that packets can travel from clients on different subnets.
What destination address and gateway are set in Router A's static route configuration?
-In Router A's static route configuration, the destination address is 192.168.2.0/24 and the gateway is 172.16.1.2.
How do you verify if the static routing configuration is successful?
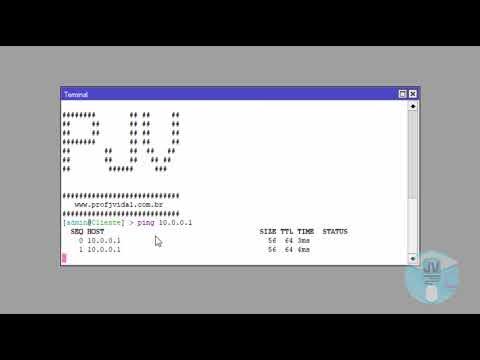
-You can verify the successful static routing configuration by pinging from Client A to Client B and vice versa to check if they can communicate.
What is the subnet mask used for the network associated with Client B?
-Client B is configured with a subnet mask of /24, indicated by the IP address range of 192.168.2.0/24.
What steps should be taken if the ping tests fail?
-If the ping tests fail, check the IP configurations, ensure the static routes are correctly set, verify that DHCP is working, and confirm that the routers are properly connected.
Outlines

此内容仅限付费用户访问。 请升级后访问。
立即升级Mindmap

此内容仅限付费用户访问。 请升级后访问。
立即升级Keywords

此内容仅限付费用户访问。 请升级后访问。
立即升级Highlights

此内容仅限付费用户访问。 请升级后访问。
立即升级Transcripts

此内容仅限付费用户访问。 请升级后访问。
立即升级浏览更多相关视频

Configurações Básicas - Mikrotik RouterOS - P1

How to configure Dynamic Routing | Dynamic Routing configuration step by step

Cara Konfigurasi Routing Statis Dengan 3 Router 3 Switch 9 PC di Cisco Packet Tracer

BELAJAR SETTING FIREWALL MIKROTIK SEDERHANA | 3 JENIS FILTER RULE FIREWALL MIKROTIK

How to setup Mikrotik to access the Internet

Belajar Mikrotik untuk pemula - Part 7/26
5.0 / 5 (0 votes)
