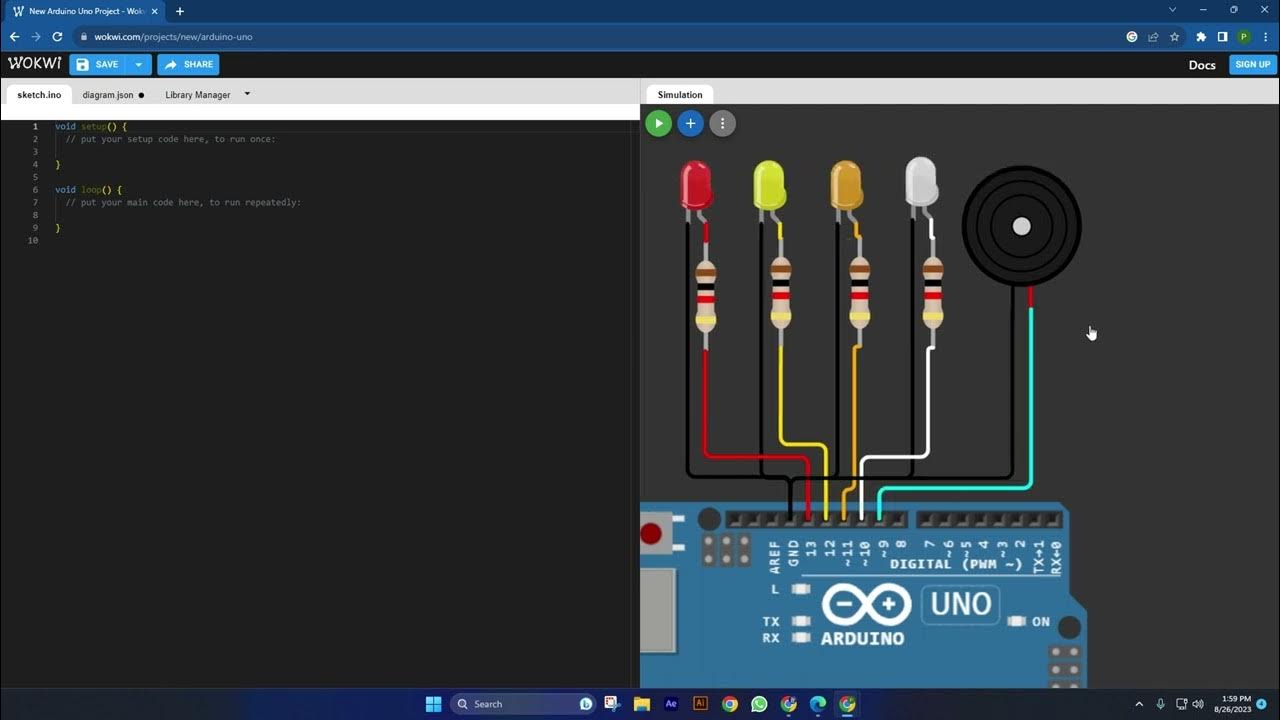
BELAJAR 49 PEMROGRAMAN ARDUINO - Online Simulator Arduino
Summary
TLDRIn this video, the presenter introduces Tinkercad, a web-based simulator for Arduino, allowing users to run coding simulations without needing physical hardware. The tutorial walks viewers through creating a basic LED circuit with a push button, demonstrating how to set up components and write code for a blinking effect. The presenter emphasizes the ease of use and flexibility of Tinkercad, highlighting its advantages for learning and prototyping. Viewers are encouraged to explore the platform further and subscribe for more informative content.
Takeaways
- 😀 The video introduces an online web-based simulator for Arduino called Tinkercad.
- 🔍 Tinkercad allows users to simulate Arduino coding without needing a physical Arduino board.
- 💻 To access Tinkercad, users can sign in with their Google or Facebook accounts.
- 🛠️ The tutorial demonstrates creating a basic circuit with LEDs and a push-button using the Tinkercad interface.
- 🖌️ Users can customize circuit components' colors and connections in Tinkercad for better visualization.
- 📝 The script provides a step-by-step guide to coding for a blinking LED effect using the Arduino.
- 🔄 It explains how to implement an array to manage multiple LEDs efficiently.
- ✅ The tutorial includes setting up the input for a push-button to control the LED states.
- 🔄 Different LED states are triggered based on the number of times the button is pressed.
- 📥 Tinkercad offers features like downloading circuit designs, enhancing usability for users.
Q & A
What is Tinkercad and how is it used in this tutorial?
-Tinkercad is a web-based simulator for Arduino that allows users to create and simulate electronic circuits. In this tutorial, it is used to demonstrate how to set up a circuit with LEDs and a push-button without needing physical hardware.
How can users access Tinkercad?
-Users can access Tinkercad by signing in with their Gmail or Facebook accounts. After logging in, they can navigate to the Circuits section to start creating a new project.
What components are used in the example circuit?
-The example circuit uses a push-button, three LEDs (red, yellow, and green), and resistors to limit the current to the LEDs.
What is the purpose of the resistors in the circuit?
-Resistors are used to limit the current flowing through the LEDs to prevent them from burning out. They ensure that the voltage and current levels remain safe for the components.
How does the presenter demonstrate connecting the components?
-The presenter shows how to connect the LEDs to the power source (VCC) and ground (GND) using virtual breadboard connections, explaining the importance of connecting the anodes and cathodes correctly.
What is the function of the push-button in the circuit?
-The push-button serves as an input device to control the LEDs. When pressed, it sends a signal to the Arduino, which determines which LED to light up based on the number of times the button is pressed.
What programming concepts are introduced in the tutorial?
-The tutorial introduces the use of arrays to manage multiple LEDs, conditional statements to determine LED states based on button presses, and loops to continuously check the button's state.
How does the code manage the LED states?
-The code uses a variable to count the number of button presses. Depending on the count (1, 2, or 3), it lights up the corresponding LED, and if the button is pressed four times, all LEDs turn off.
What does the presenter mean by 'delay' in the code?
-The 'delay' function in the code is used to pause the execution for a specified amount of time, preventing the LEDs from switching too quickly and making it easier for users to see which LED is lit.
What additional features does Tinkercad offer for users?
-In addition to circuit simulation, Tinkercad allows users to download their projects and offers various tools for designing and prototyping electronics, making it a versatile platform for learning and experimentation.
Outlines

此内容仅限付费用户访问。 请升级后访问。
立即升级Mindmap

此内容仅限付费用户访问。 请升级后访问。
立即升级Keywords

此内容仅限付费用户访问。 请升级后访问。
立即升级Highlights

此内容仅限付费用户访问。 请升级后访问。
立即升级Transcripts

此内容仅限付费用户访问。 请升级后访问。
立即升级浏览更多相关视频

Como usar PINO DIGITAL de SAÍDA no arduino - Curso Gratuito pelo Tinkercad - Aula 1

BELAJAR ARDUINO #101 - Simulator Arduino Yang Cocok Bagi Kita Semua!!

Tutorial WOKWI Belajar Pemrograman Arduino Menyalakan LED dan BUZZER dengan Nilai Anaog

Claude Engineer is INSANE... Upgrade Your Claude Code Workflow

EASY AI Text to Video Generator | Flexclip - Beginners tutorial

Artificial Intelligence in Playwright - No more locators, just natural language 🦾⚡️
5.0 / 5 (0 votes)
