How to Mail merge a party invite using Microsoft Word
Summary
TLDRThis tutorial walks through the process of using Microsoft Word's mail merge feature to create and send personalized party invitations. It demonstrates how to select a template, customize it with a message, and use a database of contacts. The video guides viewers on how to add merge fields for personalization, preview the results, and send the invites via email. It also covers how to edit and update the recipient list, including adding new invitees and using filters for selective sending.
Takeaways
- 📄 Start with a blank Word document to create a party invitation template.
- 🔍 Use the 'File New' feature to access a variety of invitation templates.
- 📝 Customize the template by adding specific details like 'bring wine' and a contact name, such as 'respond to John Smith'.
- 💌 Access the 'Mailings' tab to begin the mail merge process for sending out invitations.
- 📋 Choose between creating a new list or using an existing one to manage your recipients.
- 🔑 Customize your recipient list by adding, renaming, or deleting columns to fit your needs.
- 🔍 Utilize merge fields to personalize the invitation text, such as inserting the recipient's first name.
- 📧 Prepare to send emails by ensuring the 'Email' field is included in your recipient list.
- 🚀 Complete the merge process by sending email messages, specifying a title like 'Party Invite', and choosing the HTML format.
- 📧 Check your Outlook inbox to confirm that the invitations have been successfully sent.
- 🔄 To add more recipients, edit the recipient list and filter if necessary to update the invitation for specific individuals.
- 🗓️ If there are changes, such as a date update, repeat the merge process to reflect these in the invitations.
Q & A
What is the main purpose of the video session?
-The main purpose of the video session is to demonstrate how to use mail merge in Microsoft Word to send party invitations to friends and colleagues.
How does one start creating a party invite template in Microsoft Word?
-To start creating a party invite template in Microsoft Word, one should go to 'File', then 'New', and select a template from the list that appears.
What is the process of customizing the template with personal details?
-After selecting the template, you can customize it by filling in the required details such as 'bring wine' and 'respond to John Smith'.
How does one access the mail merge feature in Word?
-To access the mail merge feature in Word, you go to the 'Mailings' tab and select 'Start Mail Merge', then choose the type of document you want to create.
What are the options for selecting recipients in a mail merge?
-The options for selecting recipients in a mail merge include creating a new list or using an existing list.
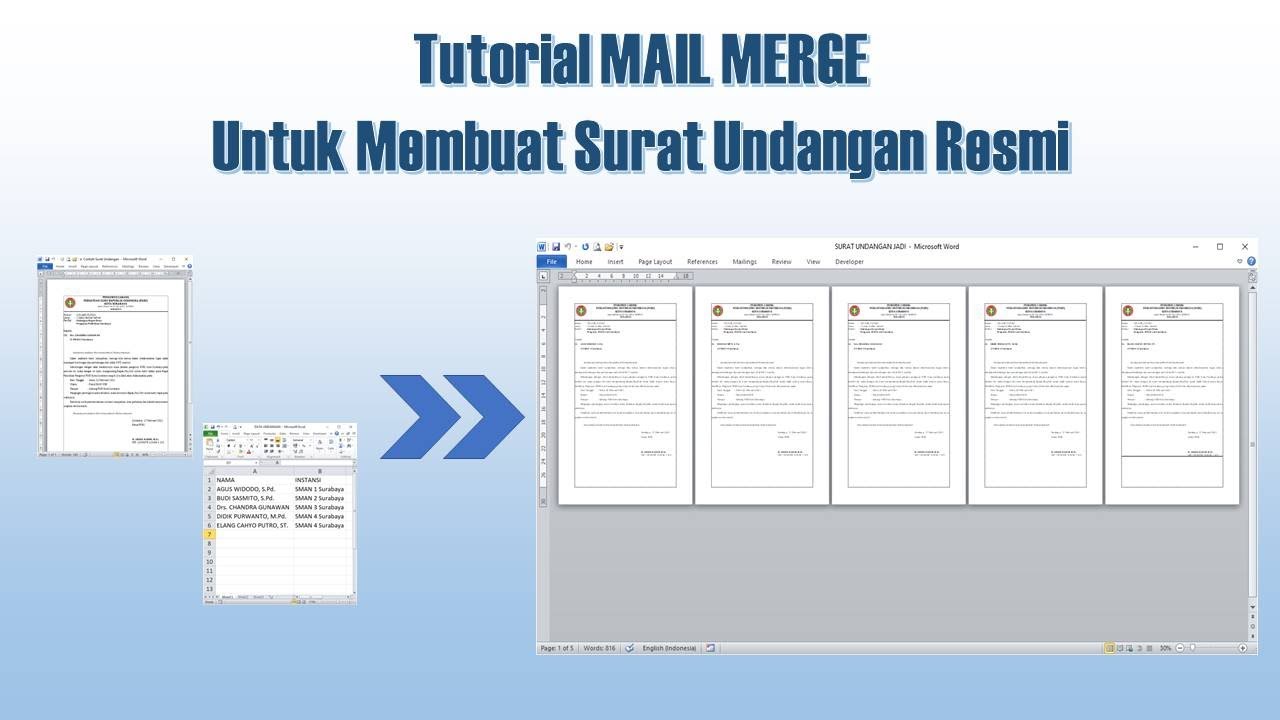
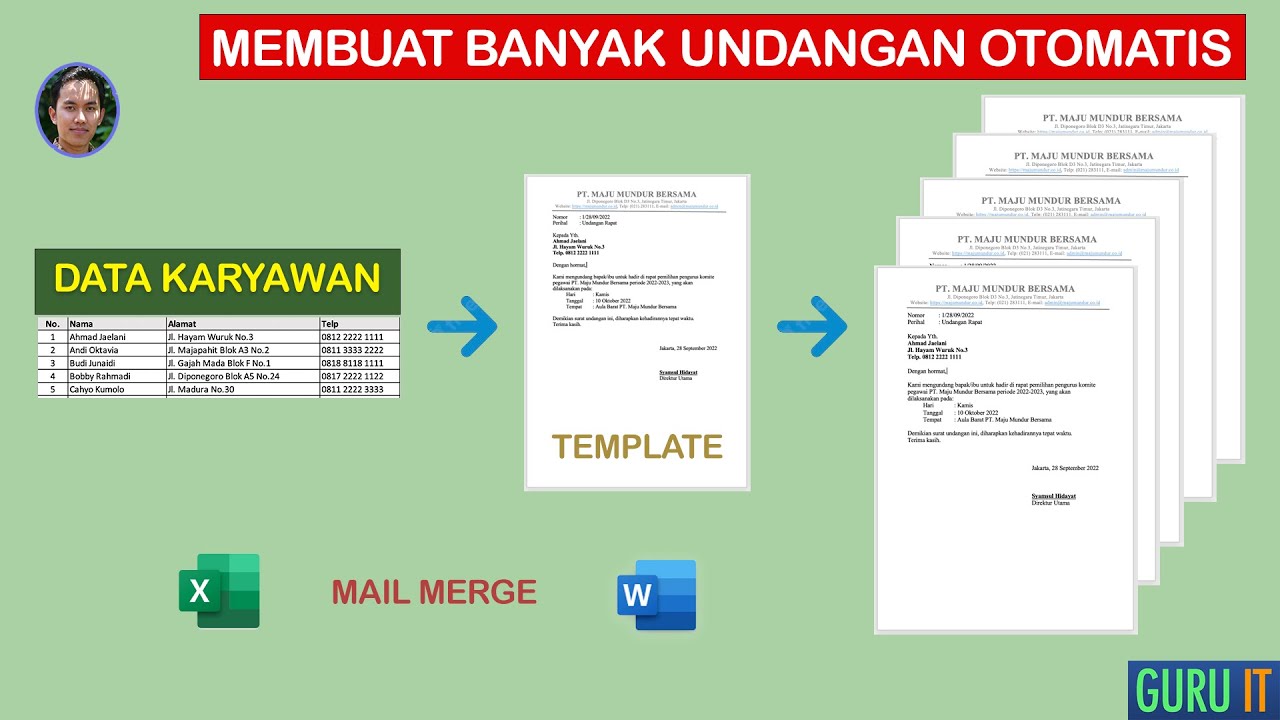
How can one create a new recipient list in Word?
-To create a new recipient list, you simply type in the names and details of your friends and save the list, which then becomes a database table.
What can be done to customize the columns in the recipient list?
-You can customize the columns by clicking in the column header, moving them up or down, renaming them, or deleting any unnecessary columns.
How does the video guide handle duplicate email addresses in the recipient list?
-The video guide shows that if you put the same email address for different recipients, you will receive multiple copies of the email, one for each intended recipient.
What is the process of merging fields into the party invitation template?
-You insert merge fields into the template by typing the desired text, such as 'Hi', and then inserting the first name field from the recipient list.
How does one preview the final result of the mail merge before sending?
-You can preview the final result by clicking on 'Preview Results', which will show how the merged document will look with the recipient's information.
What steps are necessary to send the merged emails using Word?
-To send the merged emails, you click 'Sent Email Messages', ensure you have the email field filled, give the email a title, choose the format (HTML is okay), and then click 'OK' to send.
How can one check if the emails have been sent successfully?
-After sending, you should check your Outlook inbox to confirm that the emails have been received and that each recipient has received their personalized invitation.
What does the video suggest for adding new recipients to an existing list?
-To add new recipients, you go back to the 'Mailings' tab, select 'Edit Recipient List', add the new person's details, and then update and save the list.
How can one filter the recipient list for a specific mail merge?
-You can filter the recipient list by using the filtering options available in the 'Mailings' tab, such as filtering by surname, company, or city.
What should be done if you need to update the information for all recipients?
-If updating information for all recipients, ensure that no filters are applied to the recipient list so that the update is sent to everyone.
Outlines

This section is available to paid users only. Please upgrade to access this part.
Upgrade NowMindmap

This section is available to paid users only. Please upgrade to access this part.
Upgrade NowKeywords

This section is available to paid users only. Please upgrade to access this part.
Upgrade NowHighlights

This section is available to paid users only. Please upgrade to access this part.
Upgrade NowTranscripts

This section is available to paid users only. Please upgrade to access this part.
Upgrade Now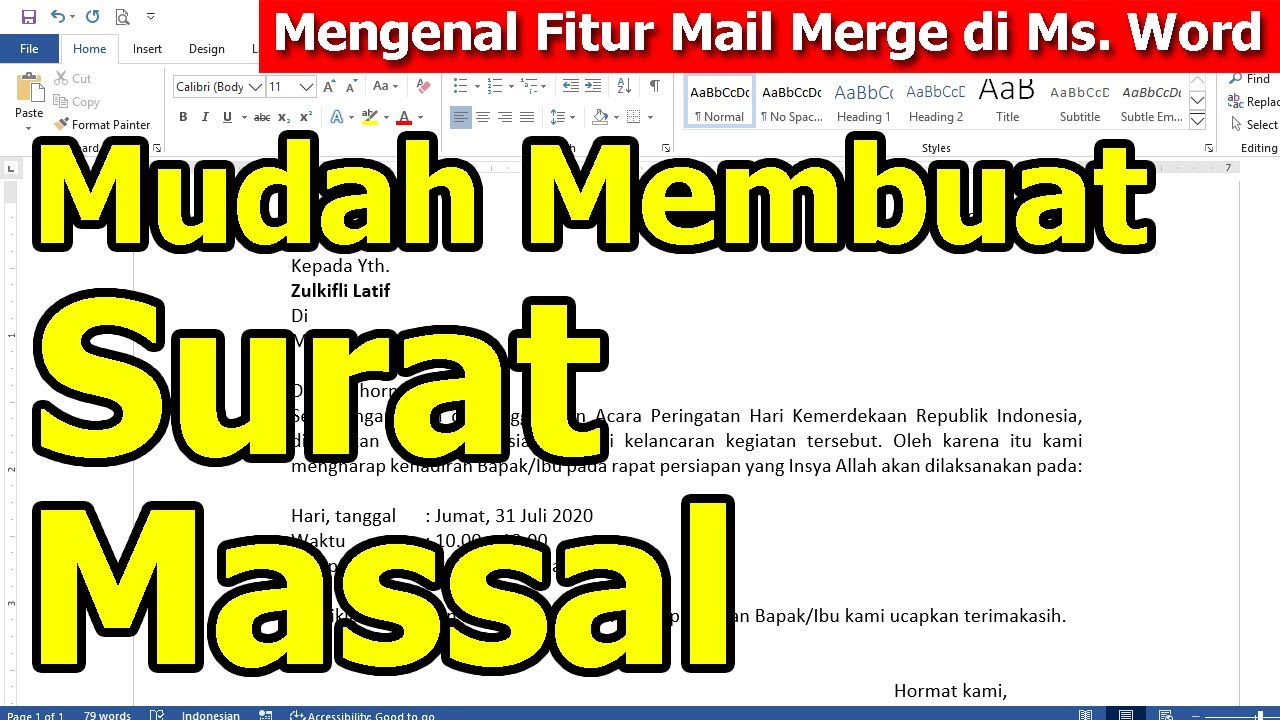


5.0 / 5 (0 votes)