Latihan 1 MasterCam X5 | Materi Belajar CNC | Membuat Blok Cekung
Summary
TLDRThis tutorial video from the 'Arab Technology' channel offers a step-by-step guide on using Mastercam X5 to create a 3D object, specifically a mold with a cavity. The video demonstrates how to draw the base, create the outer and inner surfaces of the mold, and manipulate the depth and radius of the cavities. It also covers combining separate objects into a unified whole and adjusting the workpiece's position to ensure the axis is on the top surface. The presenter encourages viewers to practice along and provide feedback in the comments section.
Takeaways
- 😀 The video is a tutorial on using Mastercam X5 to create a 3D object based on a provided image.
- 🔍 The object is a mold with specific dimensions: a base of 115mm length, 85mm width, and 12mm height, and a cavity with outer dimensions of 102mm length and 72mm width, with a depth of 22mm.
- 🛠️ The tutorial begins by ensuring the presence of the red axis lines in the drawing area, using the F9 button if necessary.
- 📏 The first step is to create the base of the mold using the 'create rectangle' tool and adjusting its size to the specified dimensions.
- 📐 The next step involves transforming the 2D rectangle into a 3D object using the 'extrude solid' function, setting the extrusion depth to 12mm.
- 🔨 The tutorial then moves on to creating the outer surface of the mold, which includes a fillet with a radius of 14mm to create a rounded edge.
- 🎨 The color coding in Mastercam X5 is used to indicate different objects, which are initially separate entities in the design.
- 🔗 To make the separate objects a single entity, the 'combine' function is used, merging the base and the outer surface into one object.
- 💧 The inner surface or cavity of the mold is then created, with dimensions of 90mm length, 60mm width, and a depth of 22mm, including an inner fillet with an 8mm radius.
- 🗜️ The 'extract solid' function is used to create the cavity, and the 'extrude solid' function is applied to form the 3D shape of the cavity.
- 📍 The final step involves moving the workpiece so that the axis lines are on the top surface of the workpiece, using the 'translate' and 'move' functions to adjust the Z-axis position.
- 🌟 The video concludes with the completed 3D mold design, encouraging viewers to practice, leave comments, like, and subscribe for more tutorials.
Q & A
What is the main topic of the video tutorial?
-The main topic of the video tutorial is creating a 3D object using Mastercam X5 software, specifically a mold with a cavity and a pool based on a provided drawing.
What are the dimensions of the base of the mold in the tutorial?
-The base of the mold has a length of 115 mm, a width of 85 mm, and a height of 12 mm.
What is the size of the outer surface of the mold's pool?
-The outer surface of the mold's pool has a length of 102 mm, a width of 72 mm, and a height of 22 mm.
What is the purpose of the fillet function in Mastercam X5?
-The fillet function in Mastercam X5 is used to create rounded edges on the corners of the 3D object, as demonstrated with a radius of 14 mm for the outer surface and 8 mm for the inner pool.
How does the tutorial instruct to change the view to isometric in Mastercam X5?
-The tutorial instructs to change the view to isometric by clicking the 'WCS' button and then selecting the 'isometric' view.
What is the process to make the base of the mold 3D in Mastercam X5?
-To make the base 3D, the tutorial instructs to select 'Extrude Solid' from the 'Extrusion Operations' menu, set the depth to 12 mm, and then click 'OK'.
How is the outer surface of the mold's pool created in the tutorial?
-The outer surface is created by first drawing a rectangle with the specified dimensions, then using the 'fillet' function to create the rounded corners, and finally extruding the solid to the specified height of 22 mm.
What is the purpose of the 'extract solid' function in the video?
-The 'extract solid' function is used to create a cavity or depression in the 3D object, such as the inner pool of the mold, by subtracting the selected shape from the solid block.
How does the tutorial show combining two separate objects into one unified object in Mastercam X5?
-The tutorial demonstrates combining two objects by using the 'Combine' function, where both objects are selected and then merged into a single entity with a unified color.
What is the final step in the tutorial for adjusting the workpiece's position?
-The final step is to move the workpiece so that the axis or line is on the top surface of the workpiece using the 'Translate' or 'Move' function, ensuring it is correctly positioned for further operations.
What does the tutorial suggest for viewers to do after watching the video?
-The tutorial suggests that viewers should try the exercise themselves, leave comments with suggestions, like the video, subscribe for more tutorials, and click the notification bell for updates on future content.
Outlines

This section is available to paid users only. Please upgrade to access this part.
Upgrade NowMindmap

This section is available to paid users only. Please upgrade to access this part.
Upgrade NowKeywords

This section is available to paid users only. Please upgrade to access this part.
Upgrade NowHighlights

This section is available to paid users only. Please upgrade to access this part.
Upgrade NowTranscripts

This section is available to paid users only. Please upgrade to access this part.
Upgrade NowBrowse More Related Video
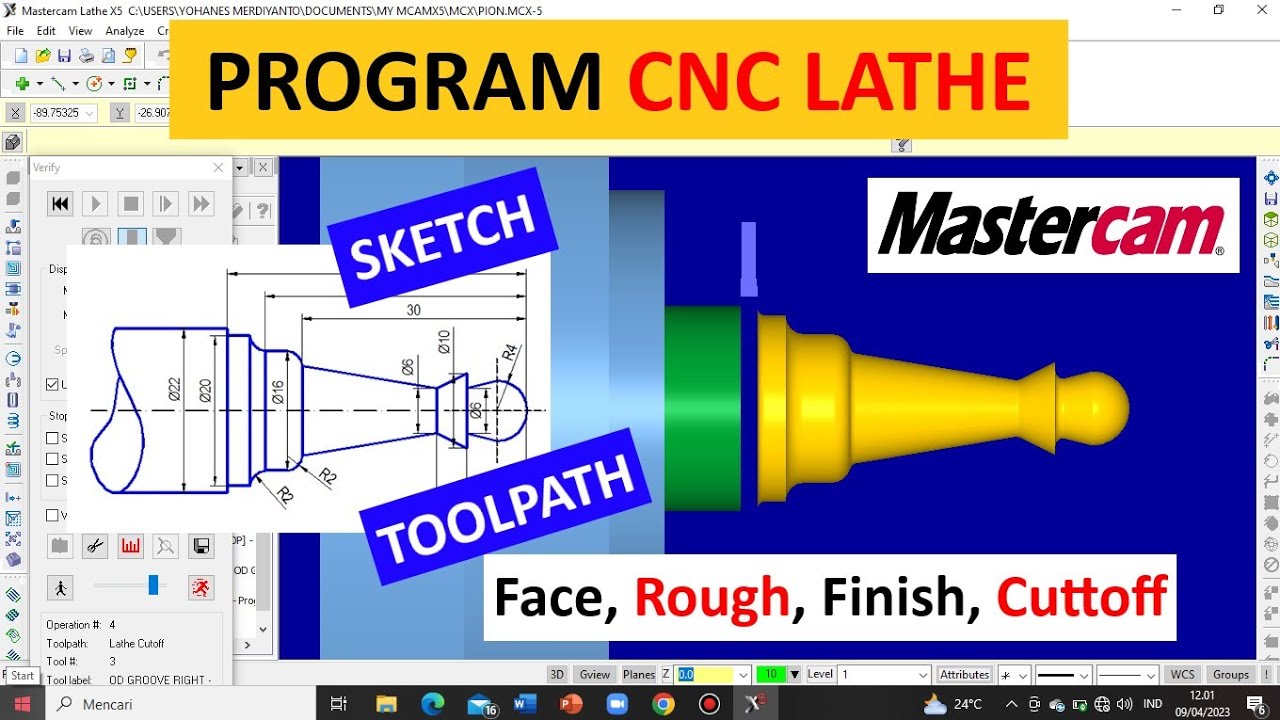
TUTORIAL MASTERCAM X5 MEMBUAT PION || CNC Turning (Lathe) || Simpel & Mudah dipahami !!
Autocad 2dimensional to 3dimensional beginner # 42 mechanical engineering

Edit Viral 3D Videos on Mobile 🔥🔥

Make Children's Storybook with ChatGPT and Midjourney ai *Amazon KDP*

Youtube Gurus IGNORED this Niche - Now its a GOLDMINE!

Mail Merge in 6 Steps
5.0 / 5 (0 votes)