MADVILLA Studio Session: Drums | Secret Tricks - Ableton Live
Summary
TLDRIn this insightful video, Matt Villa shares his workflow and techniques for crafting compelling drum sounds in music production. Starting with the kick drum as the foundation, Villa discusses the importance of sample selection, subtle processing with saturation and transient design, and custom limiters to preserve punchiness. He also covers drum top separation, bus compression, EQ, and the use of vintage plugins for a warm and crisp sound. The video offers a deep dive into Villa's approach to drum production, emphasizing minimal processing and sound source quality for a polished result.
Takeaways
- 🎶 Matt Villa starts his drum production with the kick drum, considering it the foundation of the track and setting the tone with a good sample.
- 🔊 He adds subtle processing like saturation and transient design to enhance the attack of the kick, making it punchy and clear in the mix.
- 🚀 Villa uses a custom limiter in Ableton to manage the kick's dynamics, preserving the transients and maintaining a sharp punchiness.
- ⚙️ For the drum tops, he separates them from the kick to prevent the compressor from being overly triggered, allowing for better control over the drum sound.
- 🔁 Villa employs a bus compressor, such as the API 2501, for a warm and musical sound, adjusting settings like attack and release for optimal drum compression.
- 🎛️ He uses EQ and transient designers to shape the drum sound, aiming for clarity and crispness without harsh distortion.
- 📐 Villa discusses the importance of preserving dynamics until the mastering stage, advocating for minimal processing to maintain the original sound's integrity.
- 🛠️ He shares his approach to sound design, using tools like the Soundtoys Transit to reshape and fit drum loops into the track's groove.
- 🎵 Villa mentions starting with a bassline or musical hook before building drums around it, as it can lead to a more engaging and cohesive track.
- 🔧 He emphasizes the value of using hardware in the studio for a more hands-on and expressive production process.
- 🎚️ Villa highlights his preference for certain pieces of gear, such as the Casio CC 701 and the Behringer RD-8, for their unique sounds and hands-on control.
Q & A
What is the first step Matt Villa takes when setting up his drums in the studio?
-Matt Villa starts with the kick drum because it serves as the main foundation of the track, setting the tone with a good kick drum sample.
How does Matt Villa process the kick drum to make it stand out in the mix?
-Matt adds saturation and transient design to the kick drum to boost the attacks, making it sharp and clear in the mix. He then uses a custom-made limiter in Ableton to limit the signal at minus 0.5 dB, preserving the transients and punchiness of the kick.
Why does Matt Villa prefer using Ableton's Glue Compressor for his kick drum?
-Matt prefers Ableton's Glue Compressor because it preserves the transients better than other limiters, maintaining the sharp punchiness of the original kick drum sound even when heavily driven.
What is the purpose of sending the kick drum to a high-pass filter in Matt Villa's workflow?
-The high-pass filter is used to control the amount of low-end frequencies during different sections of the track, such as the breakdown, allowing for dynamic changes in the sound based on the track's structure.
Which compressor does Matt Villa use for his drum bus and why?
-Matt uses the API 2501 compressor for his drum bus because he finds it to be the nicest sounding compressor for drums, offering a musical sound with warmth and preserving the dynamics.
How does Matt Villa enhance the clarity of his hi-hats?
-Matt uses a MIDI drum rack with different hats and cymbals, and processes them through a vintage exciter from Waves, which helps to clear up muddy hi-hats and provide more clarity.
What is Matt Villa's approach to processing chopped sample loops in his drum tracks?
-Matt sends chopped sample loops to a bus with a vintage supercharger GCI, using saturation to create a crisp and sharp sound without boosting the overall level, thus preserving the harmonics and making the loops stand out.
Why does Matt Villa separate his kick from the drum tops when compressing?
-Separating the kick from the drum tops prevents the compressor from being overly triggered by the kick, making it easier to tame the drum tops and get the most out of them.
What is Matt Villa's advice on sound source selection and processing?
-Matt advises to start with a good sound source and use minimal processing to enhance it. He emphasizes that you can't polish a turd, meaning it's better to find a good sound from the beginning rather than trying to fix a poor sound with excessive processing.
How does Matt Villa approach the creation of his drum patterns?
-Matt uses a combination of hardware drum machines, like the D16 Group's Drummers and Neato, and software tools like Max for Live's Instant House to create and randomize drum patterns, which he then customizes to fit the track.
What is Matt Villa's strategy for preparing drum tracks for mastering?
-Matt leaves enough headroom, aiming for around minus 6 dB pre-master, to give the mastering engineer space to work with, avoiding over-squashing the mix and preserving the dynamics for the final master.
Outlines

This section is available to paid users only. Please upgrade to access this part.
Upgrade NowMindmap

This section is available to paid users only. Please upgrade to access this part.
Upgrade NowKeywords

This section is available to paid users only. Please upgrade to access this part.
Upgrade NowHighlights

This section is available to paid users only. Please upgrade to access this part.
Upgrade NowTranscripts

This section is available to paid users only. Please upgrade to access this part.
Upgrade NowBrowse More Related Video

Stargate on producing Sam Smith songs with KOMPLETE | Native Instruments
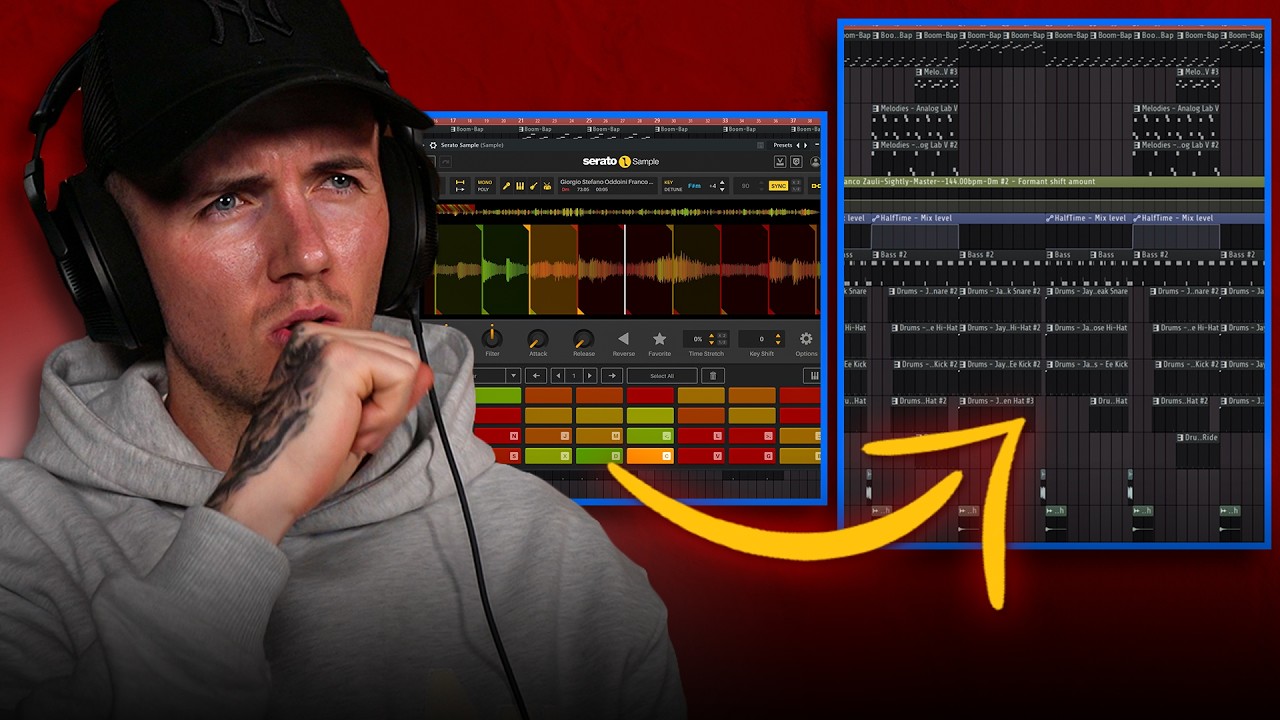
How To Actually Make Boom Bap Beats (Full Walkthrough)
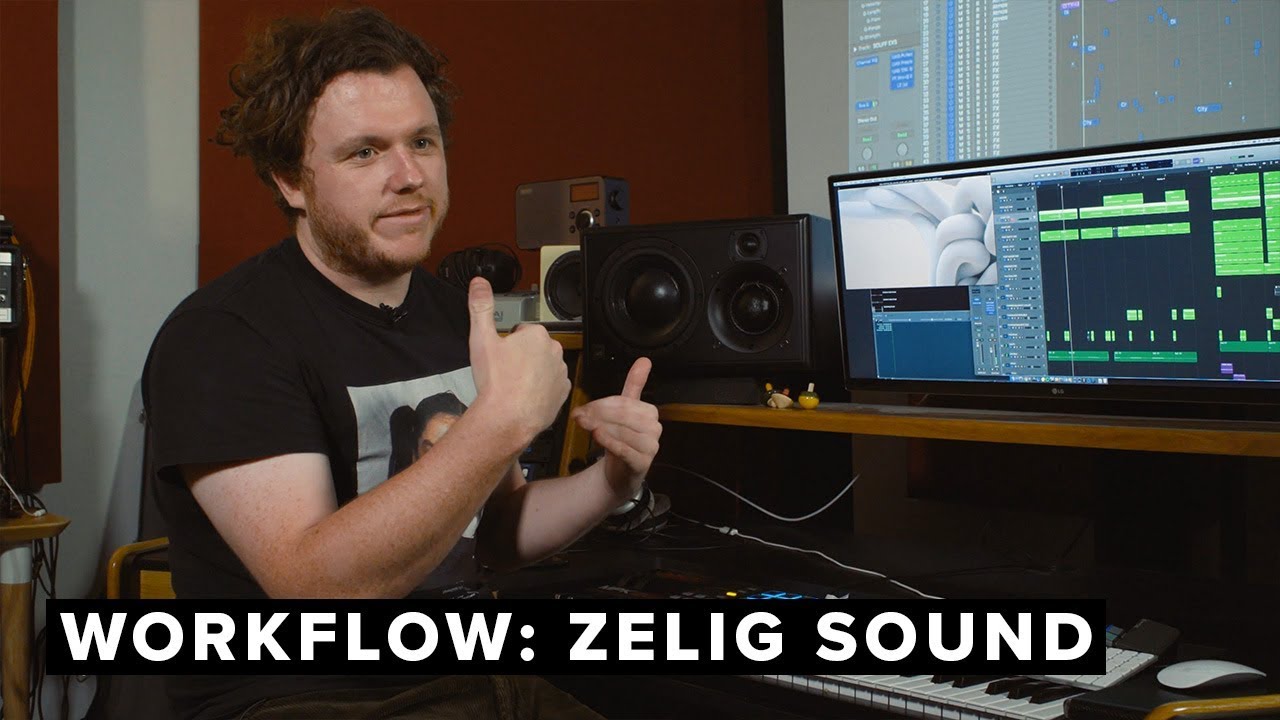
Scoring A Nike Commercial with Zelig Sound
Bedah Lagu Senja Teduh Pelita - Maliq & The Essentials : Widi Puradiredja | Deconstruct #10

Music Production Tips: Creating Strong Transitions In Your Music
23 Music Production Tips Every Producer Should Know | LANDR
5.0 / 5 (0 votes)