How To Configure SSH On A Cisco Device | Secure Connection
Summary
TLDRThis tutorial demonstrates how to configure a Cisco switch for remote access via SSH, a method applicable to routers and firewalls as well. It emphasizes the importance of SSH for secure production environments, contrasting it with the less secure telnet. The guide covers creating an enable password, setting up a user account, modifying the hostname, assigning a domain name, generating RSA keys for encryption, and updating SSH to version 2 for enhanced security. The video also addresses network connectivity issues and concludes with a successful SSH session, highlighting the versatility required by engineers to manage various devices.
Takeaways
- 😀 The video is a tutorial on configuring a Cisco switch for remote SSH access, applicable to routers and firewalls as well.
- 🔒 SSH is recommended over telnet for production environments due to security reasons, as telnet is not secure and sends data in plain text.
- 📝 The presenter has console access to the device and will use it to configure the necessary settings for SSH connectivity.
- 🔑 An enable password is required for accessing the enabled mode during an SSH session for security purposes.
- 👤 A user account named 'incavi trainings' will be created for testing purposes with a password.
- 💻 The hostname of the device needs to be set, which is crucial for creating the encryption keys.
- 🌐 An IP domain name 'kbtronix.local' is assigned to the switch for the SSH session.
- 🔑 RSA keys are generated for encrypting the SSH session, with a choice between different key lengths.
- 🔒 SSH version 2 is selected for its enhanced security over previous versions.
- 📡 The switch's management VLAN is configured with an IP address to ensure network connectivity with the presenter's desktop.
- 📡 Network profiles on the desktop are adjusted from 'public' to 'private' to allow pinging and connectivity from the switch.
Q & A
What is the main topic of the video?
-The video is about configuring a Cisco switch for remote connectivity using SSH.
Why is SSH recommended over telnet for production environments?
-SSH is recommended in production environments because it provides a secure connection, unlike telnet which sends data in plain text and is not secure.
What is the purpose of having console access to the device before configuring SSH?
-Console access allows the initial configuration of the device, such as setting up an IP address, which is necessary for establishing an SSH connection.
What is the significance of creating an enable password for SSH sessions?
-An enable password is required for security reasons to prevent unauthorized access to the enabled mode when connected via SSH.
Why is it necessary to create a user for SSH access?
-Creating a user with a password allows for secure and authenticated access to the device via SSH.
What is the role of the hostname in SSH configuration?
-The hostname is crucial as it is used in creating the key for the SSH session, along with the IP domain name.
What is the purpose of assigning an IP domain name to the switch?
-Assigning an IP domain name helps in identifying the switch uniquely in the network and is used for encryption during the SSH session.
What is the command used to create RSA keys on the Cisco switch?
-The command used to create RSA keys is 'crypto key generate RSA'.
Why is SSH version 2 considered more secure than version 1?
-SSH version 2 offers stronger encryption algorithms and improved security features compared to version 1.
What does the 'login local' command do in the context of SSH configuration?
-The 'login local' command configures the switch to authenticate users locally, using the local user database created on the device.
How does the video demonstrate the importance of network profile settings in connectivity?
-The video shows that the network profile setting needs to be set to 'private' to allow the switch to ping and connect to the computer, which was initially set to 'public' and not accepting connections.
What is the final step to establish an SSH session after configuring the switch?
-The final step is to launch a new SSH session from the desktop, accepting the key from the switch, and logging in with the created user credentials.
Outlines

This section is available to paid users only. Please upgrade to access this part.
Upgrade NowMindmap

This section is available to paid users only. Please upgrade to access this part.
Upgrade NowKeywords

This section is available to paid users only. Please upgrade to access this part.
Upgrade NowHighlights

This section is available to paid users only. Please upgrade to access this part.
Upgrade NowTranscripts

This section is available to paid users only. Please upgrade to access this part.
Upgrade NowBrowse More Related Video

Belajar Cisco untuk pemula - Part 4/5 | Cara mengakses perangkat Cisco
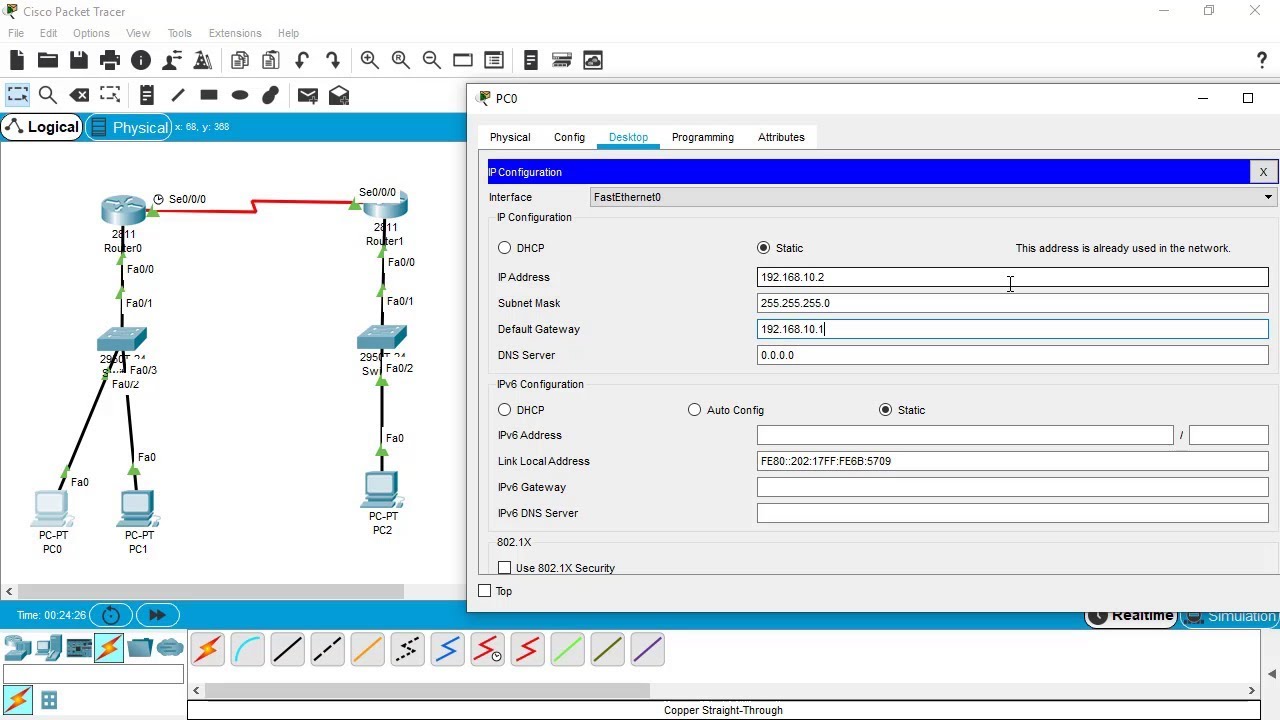
SSH Configuration on Cisco Routers and Switches using Cisco Packet Tracer
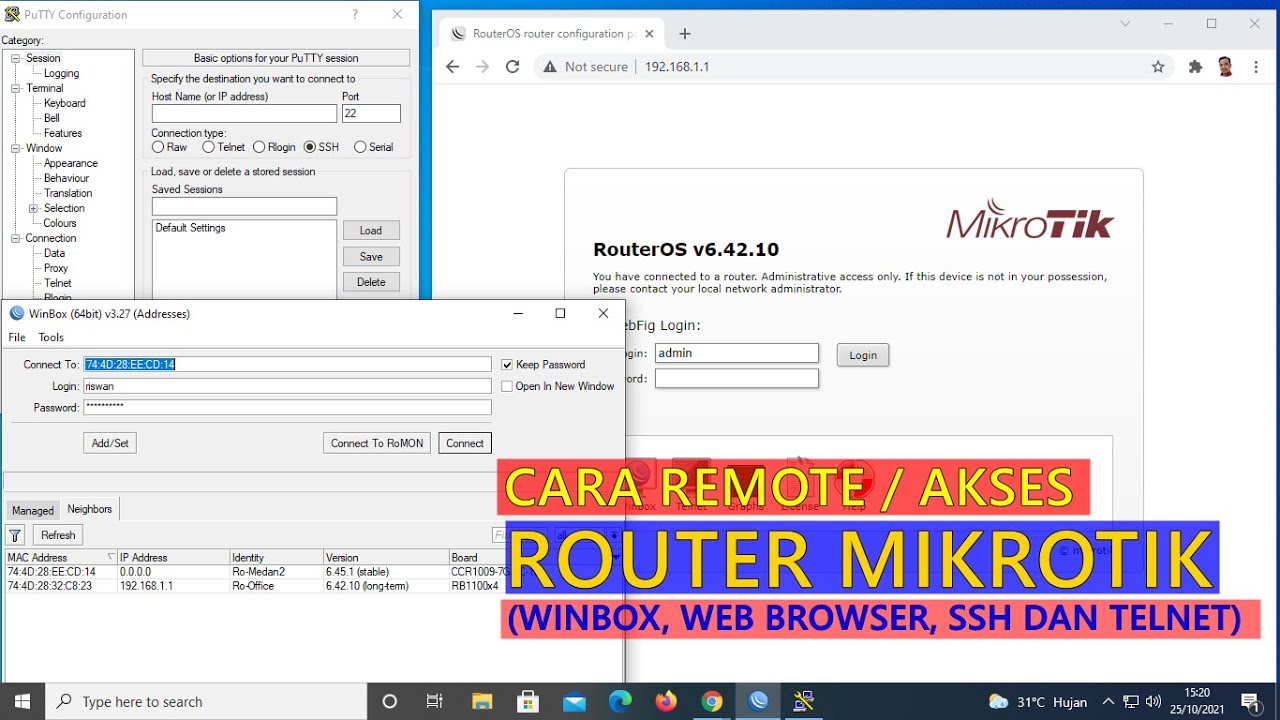
CARA REMOTE/AKSES ROUTER MIKROTIK (WINBOX, WEB BROWSER, TELNET DAN SSH)

CCNA 200-301 en Français - Leçon 21 : LAB - Configuration de Telnet
Configurações Básicas - Mikrotik RouterOS - P1
How To Install & Set Up Raspberry Pi OS || New Method to Setup Raspberry Pi (2023) || FIOT || CSE
5.0 / 5 (0 votes)