Blender 4.0 | Keyframes For Beginners
Summary
TLDRThis beginner's tutorial introduces key framing in Blender 4.0, a fundamental technique in 3D animation. The instructor demonstrates how to set key frames for location, rotation, and scale of objects, as well as animating properties like color and array modifiers. The video also covers the use of Auto Keying for automatic animation updates and emphasizes the versatility of key frames in animating various elements within a scene, including environment colors and light intensities.
Takeaways
- 🎬 The tutorial introduces the concept of key frames in Blender, a fundamental tool for animation in 3D software.
- 🗓 Key frames are placed on a timeline to define the position, rotation, and scale of an object at specific frames, creating animation.
- 📍 The 'I' key in Blender is used to insert key frames for location, rotation, and scale, locking the object's transformation at a certain frame.
- 🔄 By changing object properties on different frames and adding key frames, Blender interpolates the values between them, creating smooth transitions.
- 🔑 The Auto Keying feature in Blender automatically adds key frames as you manipulate object properties, simplifying the animation process.
- 🎨 The tutorial demonstrates animating the viewport display color by adding key frames to change the color over time.
- 🔢 Key frames can also be used to animate numerical properties, such as the 'Factor' in an Array modifier, to create complex animations.
- 🌈 The script shows how to animate the environment color in the render settings, changing the scene's mood over time.
- 💡 Light properties, such as intensity, can be animated similarly to other object properties, adding dynamic lighting effects.
- 🔄 The 'Shift D' shortcut in Blender allows for duplicating key frames and reusing them along the timeline for efficiency.
- 📹 The video concludes by emphasizing the versatility of key frames in Blender, applicable to almost any property in the scene.
Q & A
What is the main topic of this tutorial?
-The main topic of this tutorial is to teach beginners how to use key frames in Blender for animation.
What is a key frame in the context of Blender?
-In Blender, a key frame is a marker on the timeline that records the value of a property at a specific point in time, allowing for the creation of animations by defining changes over time.
What are the three main transforms that can be keyframed in Blender?
-The three main transforms that can be keyframed in Blender are location, rotation, and scale.
How does Blender interpolate between key frames?
-Blender automatically interpolates between key frames by creating smooth transitions for the properties over time, based on the values set at each key frame.
What is the default number of frames along the timeline in Blender?
-The default number of frames along the timeline in Blender is 250.
How can you add key frames to the location, rotation, and scale of an object in Blender?
-You can add key frames to the location, rotation, and scale of an object in Blender by selecting the object, changing the desired properties, and then pressing 'I' to insert key frames for those properties at the current frame.
What is the purpose of the 'Auto Keying' feature in Blender?
-The 'Auto Keying' feature in Blender automatically adds key frames whenever you modify a property of an object, allowing for quick and easy animation without manually inserting key frames.
How can you change the color of an object in the viewport display and animate it over time?
-You can change the color of an object in the viewport display by adjusting the color property in the material settings, and then using the 'Animate Property' button or pressing 'I' to create key frames for the color at different frames.
What is an Array modifier and how can it be animated using key frames?
-An Array modifier is a tool in Blender that duplicates an object along a specified axis. It can be animated using key frames by setting key frames for the 'Factor' property at different frames to change the number of duplicates or their spacing over time.
How can you duplicate a key frame and move it to a different position on the timeline?
-You can duplicate a key frame by selecting the key frame, pressing 'Shift+D', and then dragging it to the desired position on the timeline.
What is the significance of using different key frame types like 'Jitter' in Blender?
-Different key frame types like 'Jitter' can add variability to the animation, making it less uniform and more dynamic. This is particularly useful in certain types of animations where a more random or natural movement is desired.
Outlines

This section is available to paid users only. Please upgrade to access this part.
Upgrade NowMindmap

This section is available to paid users only. Please upgrade to access this part.
Upgrade NowKeywords

This section is available to paid users only. Please upgrade to access this part.
Upgrade NowHighlights

This section is available to paid users only. Please upgrade to access this part.
Upgrade NowTranscripts

This section is available to paid users only. Please upgrade to access this part.
Upgrade NowBrowse More Related Video
Blender BEGINNER tutorial! - Roblox Development
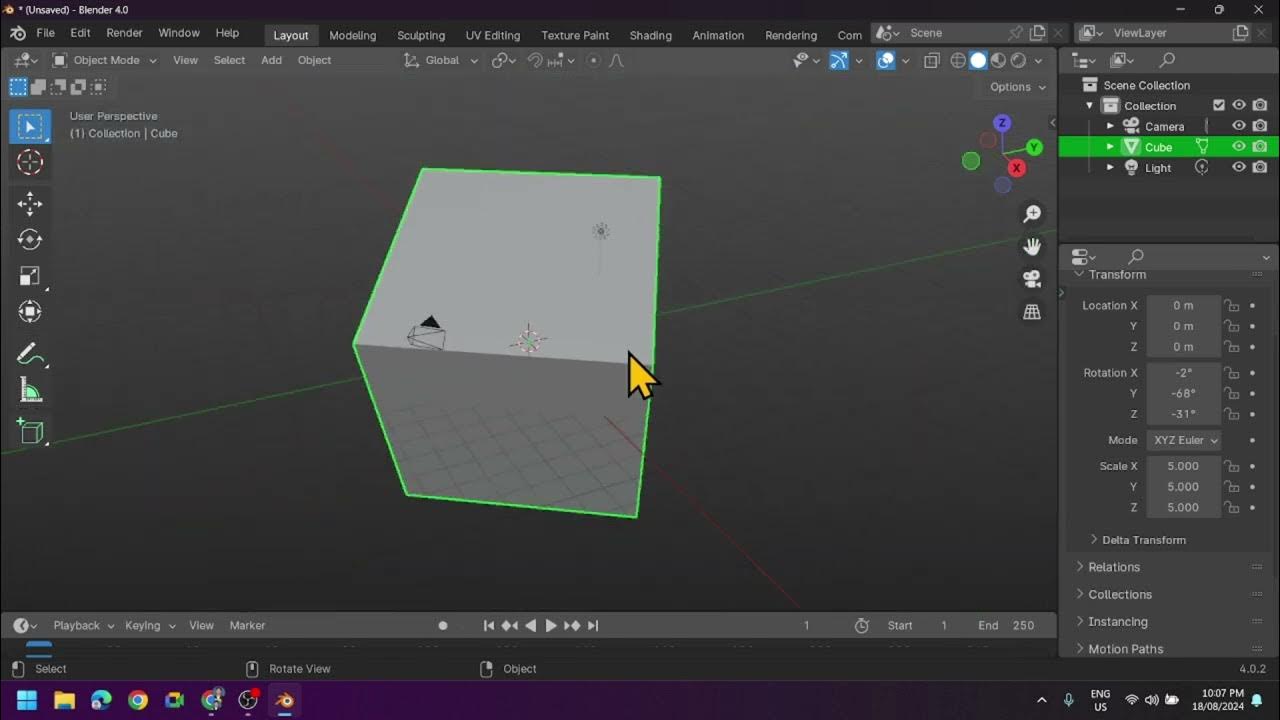
Introduction to Blender 3D: Getting Started with the Interface & Essential Tools in Blender
Tutorial Basic 3d di Blender!! Beginner Tutorial
Building a Career around Blender — Blender Conference 2024
How to Install Blender, BlenderBIM and IfcOpenShell python (IFC 101 - E.01)
Modeling Table Under 2Min || Blender Beginners Tutorial
5.0 / 5 (0 votes)