2006 Hyundai Tucson 2.7 V6 Alternator Replacement Without Removing Cv Axel Or Other Suspension Parts
Summary
TLDRThis video tutorial provides a step-by-step guide on how to replace a car's alternator. It starts with jacking up the car and removing the passenger side wheel, followed by disconnecting the negative battery terminal. The script details the removal of various bolts and covers to access the alternator, including using a 3/8 ratchet and a 10mm socket. It demonstrates how to detach the alternator from its mounting bracket and electrical connections, and emphasizes the importance of careful removal and reinstallation to avoid damage and ensure proper functioning. The video concludes with a reminder to subscribe for more helpful content.
Takeaways
- 🔧 Start by jacking up the car and safely placing it on jack stands, then remove the passenger side wheel.
- ⚡ Disconnect the negative terminal of the battery to ensure safety while working on the vehicle's electrical components.
- 🔩 Remove four bolts to take off the cover, providing access to the pulley for belt removal.
- 🔄 Use a 3/8 ratchet and a pipe extension for leverage to remove the belt from the pulley.
- 🔧 With a 10 millimeter socket, remove the cover and four bolts to access the alternator.
- 🔩 Remove three 12 millimeter bolts to detach the alternator from its position.
- 🔨 Use a screwdriver extension and hammer to gently pry the alternator away from its mount.
- 🔩 Detach the bottom bolt, which is a 14 millimeter, to fully release the alternator.
- 🔌 Disconnect the power cable and the connection cable from the alternator by pressing and pulling the release mechanism.
- 🔧 Remove the last bolt that secures the CV axle to allow the alternator to be removed.
- 🔧 Upon installing the new alternator, ensure that all connections and bolts are properly replaced and tightened.
- 👍 Subscribe and like the video for more helpful content, and leave comments for any questions.
Q & A
What is the first step in the process described in the transcript?
-The first step is to jack up the car and place it on jack stands, then remove the passenger side wheel.
Why is it necessary to remove the negative terminal from the battery?
-Removing the negative terminal from the battery is a safety measure to prevent any electrical issues or short circuits while working on the vehicle.
What tool is used to remove the belt from the pulley?
-A 3/8 ratchet is used to remove the belt from the pulley, with a pipe extension for additional leverage if needed.
How many bolts are there to remove on the cover, and what size are they?
-There are four bolts to remove on the cover, and they are 10 millimeters in size.
What is the purpose of removing the bolts and cover on the side of the vehicle?
-The bolts and cover are removed to access the alternator and prepare it for removal.
What size are the bolts that need to be removed to free the alternator?
-The bolts that need to be removed to free the alternator are 12 millimeters and 14 millimeters in size.
How is the alternator freed from its position?
-The alternator is freed by removing the bolts and using a screwdriver extension or similar tool to gently tap it from the side and detach it from its bracket.
What is the purpose of disconnecting the power cable and the cable on the alternator?
-Disconnecting the power cable and the cable on the alternator is necessary to completely free the alternator from the vehicle for replacement or inspection.
Why is it important to move the CV axle before removing the alternator?
-The CV axle must be moved to provide enough room to remove the alternator without obstruction.
What is the final step described for removing the alternator?
-The final step is to remove the last bolt that holds the alternator in place and carefully take the alternator out from the side of the vehicle.
What is the recommendation for before installing the new alternator?
-Before installing the new alternator, it is recommended to ensure that everything is the same as the original setup and to properly disconnect the alternator's connection without causing any damage.
Outlines

This section is available to paid users only. Please upgrade to access this part.
Upgrade NowMindmap

This section is available to paid users only. Please upgrade to access this part.
Upgrade NowKeywords

This section is available to paid users only. Please upgrade to access this part.
Upgrade NowHighlights

This section is available to paid users only. Please upgrade to access this part.
Upgrade NowTranscripts

This section is available to paid users only. Please upgrade to access this part.
Upgrade NowBrowse More Related Video

How To Replace a 2 Gang (Double) Light Switch

CARA MEMAKAI PRESET ALIGHT MOTION BAGI PEMULA🤩 TERBARU 2024
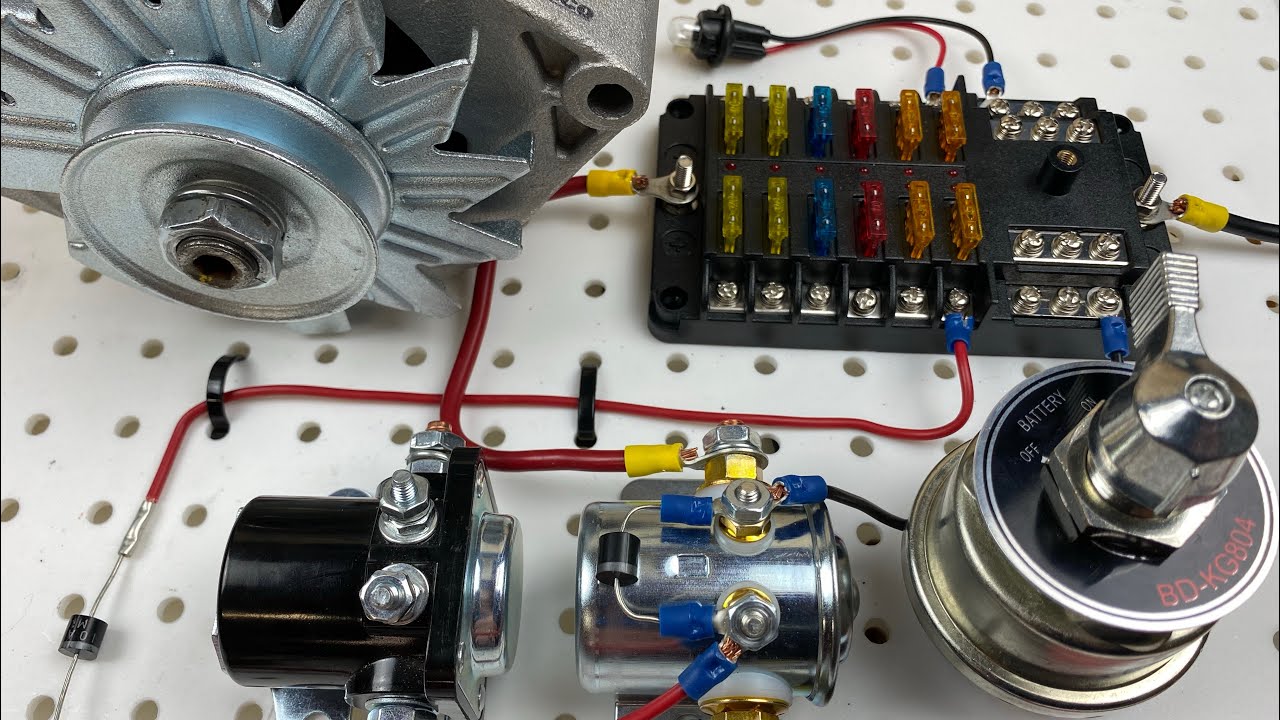
Hotrod | Race car | Drift car Wiring for Beginners. (Alternator Battery Switch Fuse Box Starter)
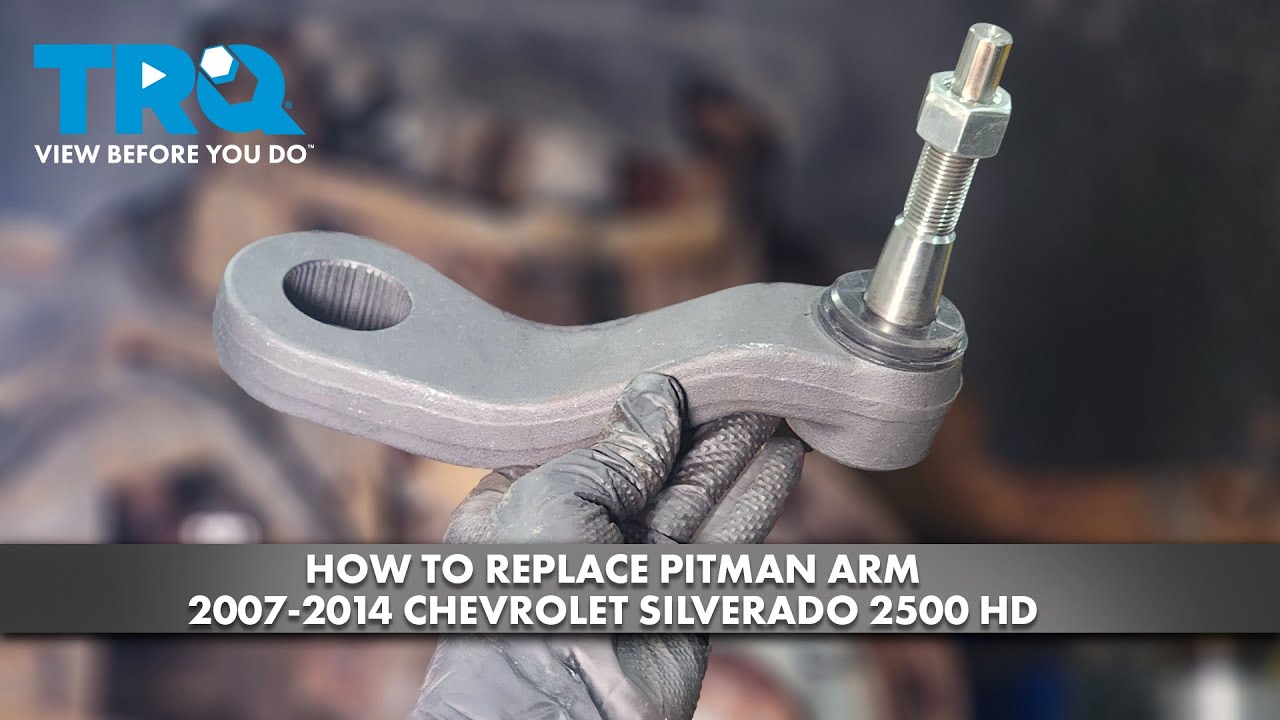
How to Replace Pitman Arm 2007-2014 Chevrolet Silverado 2500 HD
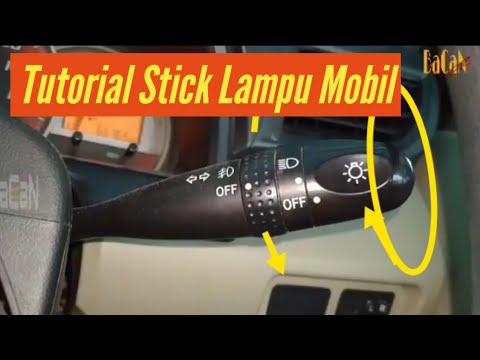
Tutorial STICK LAMPU MOBIL | fungsi lampu | Avanza Xenia
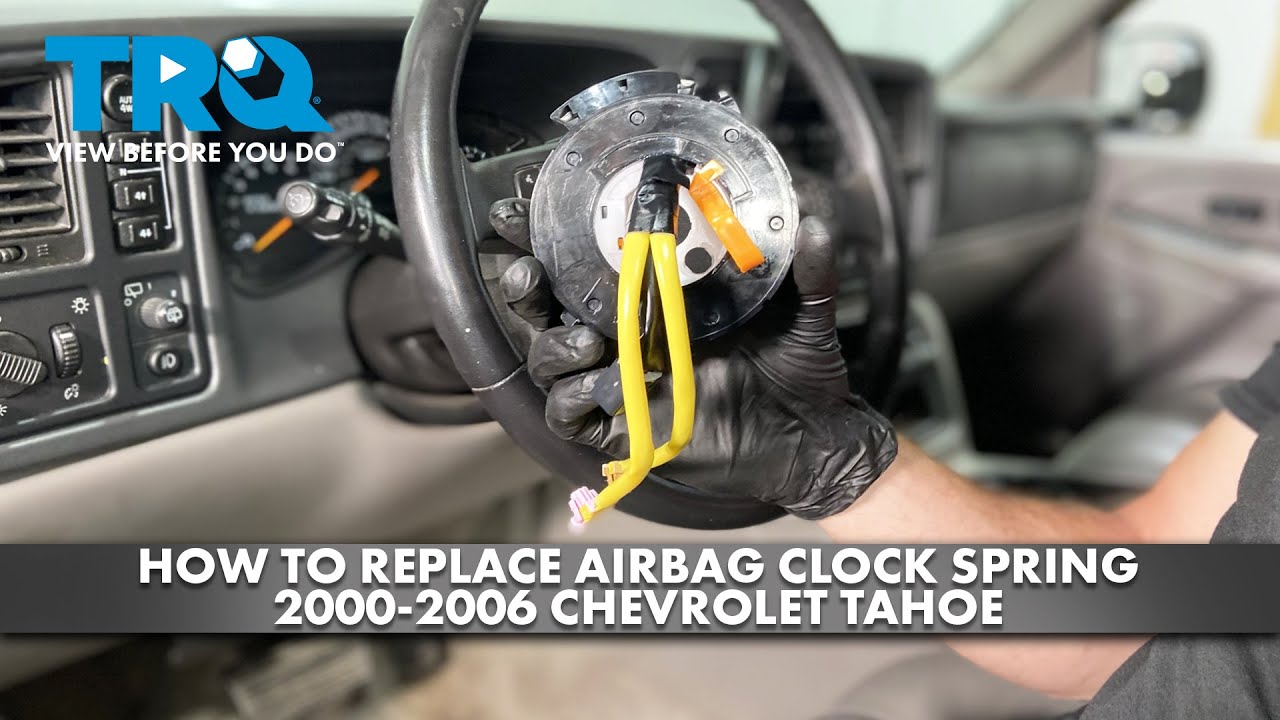
How to Replace Airbag Clock Spring 2000-2006 Chevrolet Tahoe
5.0 / 5 (0 votes)