How To Add An Outlet To A Finished Wall
Summary
TLDRThis DIY tutorial guides viewers through installing a new power outlet in a home, particularly in scenarios without attic, basement, or crawl space access. The host shares tips for minimally invasive wall cutting, using a utility knife and oscillating tool to hide cut lines behind trim. They demonstrate how to safely run Romex through studs, avoiding nail damage, and use Wago 221 lever nuts for secure wiring. The video concludes with reassembly, ensuring a neat finish by aligning the new outlet with existing ones and offering a professional touch-up suggestion for perfect caulking.
Takeaways
- 🛠️ The video provides a DIY guide for adding an electrical outlet in a location without attic, basement, or crawl space access.
- 🏠 This project is aimed at preparing an Airbnb property by creating a charging station in a corner with an outlet.
- 🔌 The process involves removing trim and drywall to access the wall behind, ensuring minimal damage to the wall and trim for easy reinstallation.
- 🔍 A utility knife, zenith trim puller, and end snips are recommended tools for removing trim and nails without damaging the wall.
- 📏 The script emphasizes the importance of measuring accurately to ensure the new outlet is level with existing ones for a consistent look.
- 🔩 The video explains how to locate studs and plan the route for the new electrical wire, ensuring it passes through or between them.
- 🛑 Safety is highlighted by confirming no power is present before starting work and using appropriate connectors to avoid shortcuts that could compromise safety.
- 🔧 An oscillating tool is the preferred method for cutting drywall, and a block is used to ensure clean, straight cuts at the desired height.
- 🔌 The script details the process of running new Romex cable through studs, using a spade bit to drill holes, and ensuring the cable is properly connected and secured.
- 🔩 Wago 221 lever nuts are recommended for secure wire connections, and the video provides a step-by-step guide on how to wire the new outlet correctly.
- 🎨 The final steps include turning the power back on to test the new outlet, reinstalling the trim, and using painter's tape to mark studs for future reference.
- 🏡 The video concludes with advice on finishing touches like caulking and painting, suggesting viewers refer to a professional for these tasks if not confident.
Q & A
What is the main issue the video script addresses?
-The video script addresses the issue of adding an additional electrical outlet in a location without access to an attic, basement, or crawl space, which is a common scenario in home improvement projects.
What is the purpose of the new outlet in the script?
-The new outlet is intended to serve as a charging station in a corner of a room in an Airbnb property that the presenter plans to list.
Why is it important to hide the cut lines when cutting drywall?
-Hiding the cut lines is important to maintain a clean and professional appearance, especially when the trim is reinstalled, as it prevents the electrical work from becoming visible.
What tool does the script recommend for removing trim without damaging the wall?
-The script recommends using a zenith trim puller, which is said to be an effective tool for removing trim without damaging the wall.
How does the script suggest finding the studs for the electrical work?
-The script suggests using a magnet stud finder to locate the fasteners on the studs, which is a common method for identifying the studs' positions.
What is the significance of the 16-inch stud spacing mentioned in the script?
-The 16-inch stud spacing is significant because it is a standard measurement in construction, allowing the presenter to predict and locate the studs for planning the new electrical route.
Why is it not recommended to run non-metallic wires through a hole in the metal box without a connector?
-Running non-metallic wires through a hole in the metal box without a connector is not recommended because it can compromise the safety and integrity of the electrical connection, potentially leading to issues.
What is the purpose of the Wago 221 lever nuts used in the script?
-The Wago 221 lever nuts are used for secure wire connections in the electrical work, providing a reliable and easy-to-use method for connecting wires.
How does the script ensure the new outlet is level with other outlets in the home?
-The script ensures the new outlet is level by marking the new location at 11 and a half inches off the floor, matching the height of other outlets for consistency.
What is the final step in the script for finishing the electrical project?
-The final step in the script is to turn the power back on, confirm that the new outlet has power, and then finish the project with some caulking at the seam and covering the brad nail holes.
Why does the presenter suggest referring to 'The Funny Carpenter' for caulking tips?
-The presenter suggests referring to 'The Funny Carpenter' for caulking tips because they acknowledge their own amateur status in caulking and believe that the professional can provide better advice and techniques.
Outlines

This section is available to paid users only. Please upgrade to access this part.
Upgrade NowMindmap

This section is available to paid users only. Please upgrade to access this part.
Upgrade NowKeywords

This section is available to paid users only. Please upgrade to access this part.
Upgrade NowHighlights

This section is available to paid users only. Please upgrade to access this part.
Upgrade NowTranscripts

This section is available to paid users only. Please upgrade to access this part.
Upgrade NowBrowse More Related Video

How To Hide TV Power Cord And Cables | Easy Way To Move An Outlet
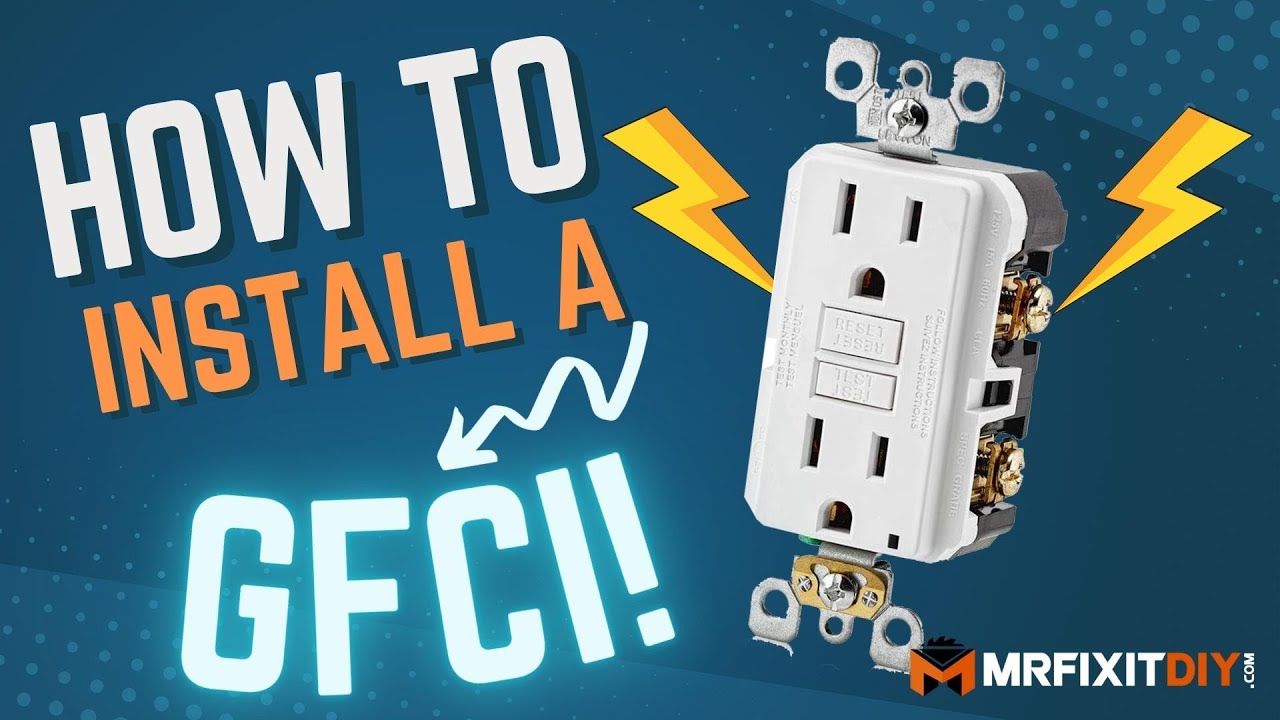
HOW TO INSTALL A GFCI OUTLET
An Introduction to ROS, the Robot Operating System: Install and put together (3/6)
SETELAH NONTON PASTI SEMUA PENGEN BUAT STOP KONTAK CANGGIH TANPA KABEL !!

Fix the door handle on 2007 Ford Fusion (easy)
Instalação das máquinas virtuais usando o VirtualBox e imagem do Linux Debian.
5.0 / 5 (0 votes)