Submersible pump Design ||part 1-Empellar ||Solidworks Tutorial ||
Summary
TLDRIn this video, the creator takes viewers through the process of designing a submersible pump using CAD software. Starting with the basic design of the pump's temperature sensor, the tutorial walks through each step: selecting planes, drawing and extruding shapes, applying dimensions, and refining the design with features like circular patterns and trims. The design process is detailed yet accessible, making it easy to follow along. The final design includes a sleek, gold-glowing pump, ready for assembly. Viewers are encouraged to follow along in future lessons for more advanced techniques.
Takeaways
- 😀 The video tutorial focuses on designing a submersible pump with an emphasis on temperature control.
- 😀 The design process begins by selecting the appropriate plane and drawing a circle with a diameter of 102mm.
- 😀 Smart Dimension tool is used to set the correct dimensions for the circle in the initial design step.
- 😀 After the circle is drawn, the profile of the pump casing is created using the 'Rising Line' command for the fan structure.
- 😀 The shape is finalized by trimming excess lines and blocking the profile to make it clean and functional.
- 😀 The 'Sweep Boss Base' tool is used to create the base of the pump, with the next length set to 7mm.
- 😀 A circular pattern is applied to replicate the design, with a total of 8 circles formed based on the circumference of the plate.
- 😀 Additional details and components are added by selecting a new plane and sketching additional features for the pump assembly.
- 😀 A 20mm circle is drawn to hollow out the center, allowing for the impeller's integration into the design.
- 😀 Final adjustments are made to ensure that all parts are properly aligned and function together in the pump assembly.
- 😀 The model is given a golden glow color for visual appeal, and the completed design is saved as 'Part-1 Emperor.'
Q & A
What is the first step in designing the submersible pump as mentioned in the video?
-The first step is selecting the plane for the pickup, which involves removing the top layer and then drawing a circle on the plane.
What dimension is used for the initial circle in the design?
-The initial circle is dimensioned to 102 mm in diameter, as set using the smart dimension tool.
Why is the use of 'solid waste' mentioned in the context of the design?
-The term 'solid waste' is used in reference to the design's profile, indicating that the shape can be adjusted or modified using solid bodies to add details or perform operations like cutting.
What is the purpose of the 'rising line' command mentioned in the video?
-The 'rising line' command is used to draw lines that will function as the fans of the sampler, which are key to the pump's design.
How is the circular pattern applied in the design?
-A circular pattern is applied using a reference to the circumference of the plate, where a total of 8 instances are created to complete the pattern.
How is the hollow feature created in the design?
-The hollow feature is created by drawing a circle of 20 mm diameter and using the trim command to remove extra lines, resulting in a hollow profile.
What role does the 'reference' play in creating the pump's top plate?
-The reference is used to position the design elements accurately, specifically when creating the top plate and ensuring that the pump is assembled correctly.
Why is the measurement '9mm' mentioned for the tension in the design?
-The 9mm measurement is used to define the tension or gap in the design, ensuring that the components fit together precisely when the pump is assembled.
What material finish is applied to the final design?
-The final design is given a golden glow color finish, which helps in visually distinguishing the component and gives it a more polished, realistic appearance.
How does the design ensure that it can be identified easily during assembly?
-By giving the pump part a golden glow type color, it becomes easily identifiable, which helps during the assembly process, ensuring components are correctly aligned and recognized.
Outlines

This section is available to paid users only. Please upgrade to access this part.
Upgrade NowMindmap

This section is available to paid users only. Please upgrade to access this part.
Upgrade NowKeywords

This section is available to paid users only. Please upgrade to access this part.
Upgrade NowHighlights

This section is available to paid users only. Please upgrade to access this part.
Upgrade NowTranscripts

This section is available to paid users only. Please upgrade to access this part.
Upgrade NowBrowse More Related Video
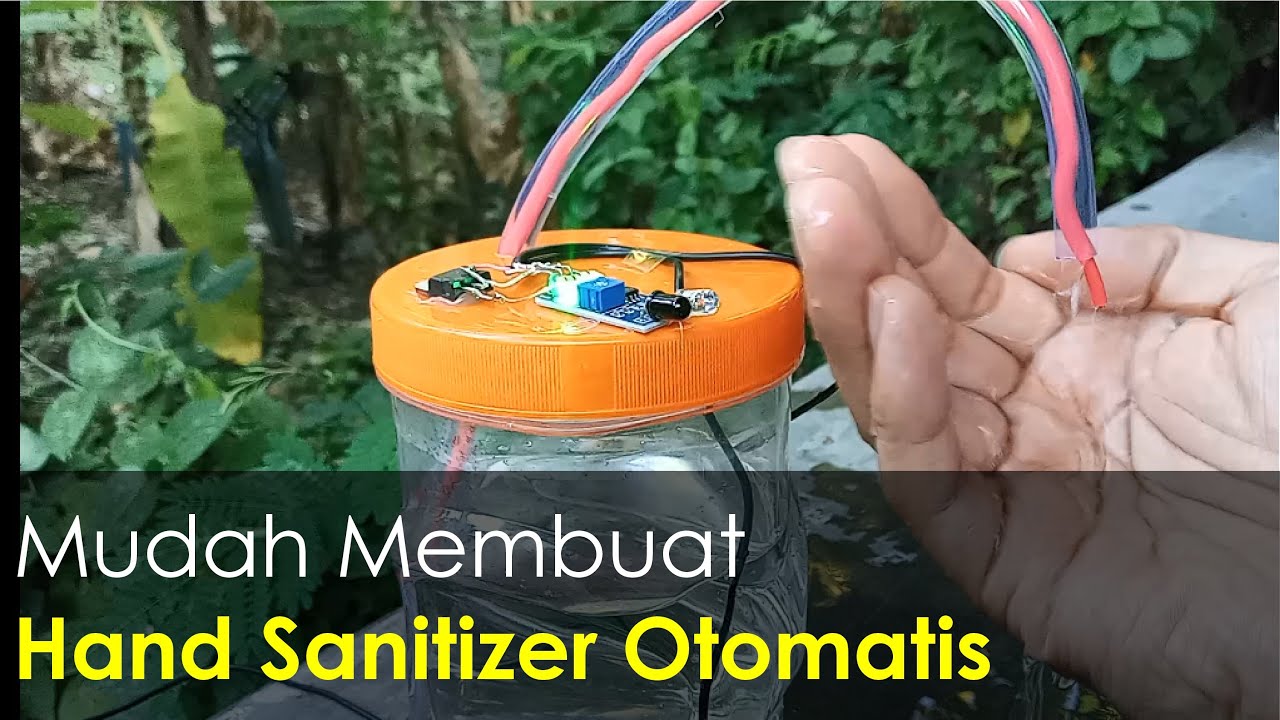
Mudah Membuat Hand Sanitizer Otomatis Tanpa Arduino dan Tanpa Servo
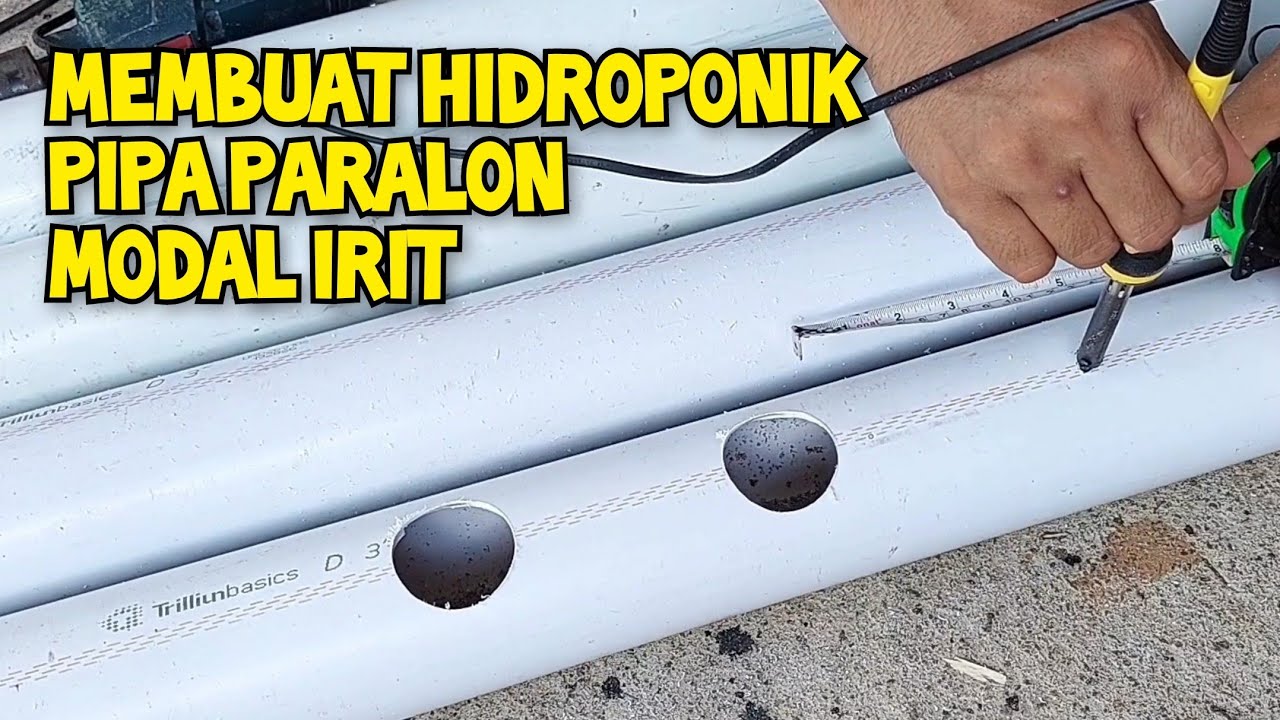
Cara Membuat Tempat Menanam Hidroponik Dari Pipa Paralon PVC

REKA:BIT RBT Project Kit | Project 3B: Auto Plant Watering System #microbit #stemeducation

#PBL - Detection and Removal of blockage in Submersible Pumps | KCT
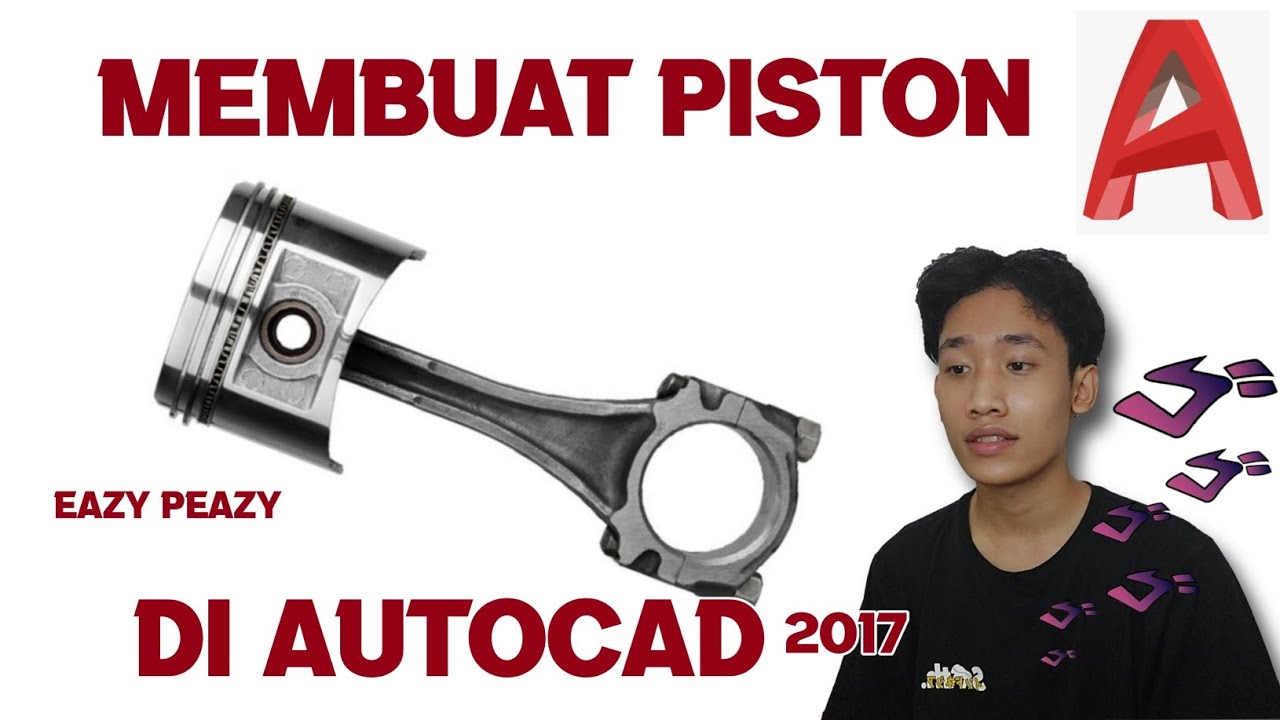
TUTORiAL MEMBUAT PiSTON, BELAJAR BERSAMA - AUTOCAD 2017

solidworks tutorial - how to make spur gear . specially for beginers.
5.0 / 5 (0 votes)