Mudahnya Instalasi Jaringan Nirkabel (Tanpa Kabel) Menggunakan Router TP-LINK!🌐🔧
Summary
TLDRThe video demonstrates a practical exam by Group 6 on setting up a TP-Link wireless router. It begins with turning on the router and connecting to its network, followed by accessing the TP-Link website to create an account and configure settings. The group selects the WISP mode to capture and redistribute an existing Wi-Fi network, customizing the new network name and password. They test connectivity on multiple devices, including laptops, and explain how to manage user limits via IP addresses. The tutorial concludes with a brief overview of additional router features, providing a clear, step-by-step guide to installing and configuring a TP-Link wireless network.
Takeaways
- 😀 The video begins with an introduction by the speaker and a greeting in Arabic, 'Assalamualaikum warahmatullahi wabarakatuh'.
- 😀 The purpose of the video is to demonstrate how to install a TP-Link wireless router and set up a Wi-Fi network.
- 😀 The first step in the process is turning on the TP-Link router.
- 😀 After turning on the router, the speaker connects to the router's network and navigates to the TP-Link setup page via a web browser.
- 😀 The TP-Link setup page requires the creation of an account and a password, which is suggested to be '1234'.
- 😀 The speaker chooses the 'WISP' mode during setup, as they intend to take an existing Wi-Fi network and redistribute it.
- 😀 The speaker selects a Wi-Fi network to connect to and enters the required password for that network.
- 😀 The Wi-Fi name (SSID) is customized and the Wi-Fi password is changed to '2020'.
- 😀 The speaker successfully connects to the new Wi-Fi network and tests it by opening YouTube to verify internet connectivity.
- 😀 The speaker tests the connection on a laptop, ensuring that other devices can connect to the newly set up Wi-Fi network as well.
- 😀 The video concludes with a brief explanation of how to limit the number of users who can access the Wi-Fi network by adjusting the IP address range in the TP-Link router settings.
Q & A
What is the main purpose of this script?
-The main purpose of the script is to demonstrate how to install and configure a TP-Link wireless router to set up a Wi-Fi network.
What is the first step in setting up the router?
-The first step is to power on the TP-Link router and connect to its default Wi-Fi network.
Where can you find the router's login details?
-The router's login details, including the website address and password, are printed on a label located on the bottom of the router.
What is the default password provided for initial router access?
-The default password provided for the initial router access is '1234'.
Which router mode should be selected to redistribute an existing Wi-Fi network?
-The 'WISP' mode should be selected when you want to connect to an existing Wi-Fi network and redistribute it.
How do you connect the TP-Link router to an existing Wi-Fi network?
-You select the Wi-Fi network you wish to connect to, enter its password, and then configure the router's settings to redistribute that network.
What information is required when setting up a new Wi-Fi network?
-You need to enter a new Wi-Fi name (SSID) and set a new password for the Wi-Fi network.
How do you verify the success of the Wi-Fi connection?
-You can verify the connection by opening YouTube on a mobile device or checking the connection status on a laptop to ensure internet access.
What is the purpose of the advanced IP range settings?
-The advanced IP range settings allow you to limit the number of devices that can connect to the Wi-Fi network by adjusting the DHCP IP range.
How can the number of users accessing the Wi-Fi be controlled?
-By adjusting the DHCP IP range in the router settings, you can control the number of users that can connect to the Wi-Fi network. For example, setting the range from IP 192.168.0.100 to 192.168.0.109 allows only 10 users.
Outlines

This section is available to paid users only. Please upgrade to access this part.
Upgrade NowMindmap

This section is available to paid users only. Please upgrade to access this part.
Upgrade NowKeywords

This section is available to paid users only. Please upgrade to access this part.
Upgrade NowHighlights

This section is available to paid users only. Please upgrade to access this part.
Upgrade NowTranscripts

This section is available to paid users only. Please upgrade to access this part.
Upgrade NowBrowse More Related Video
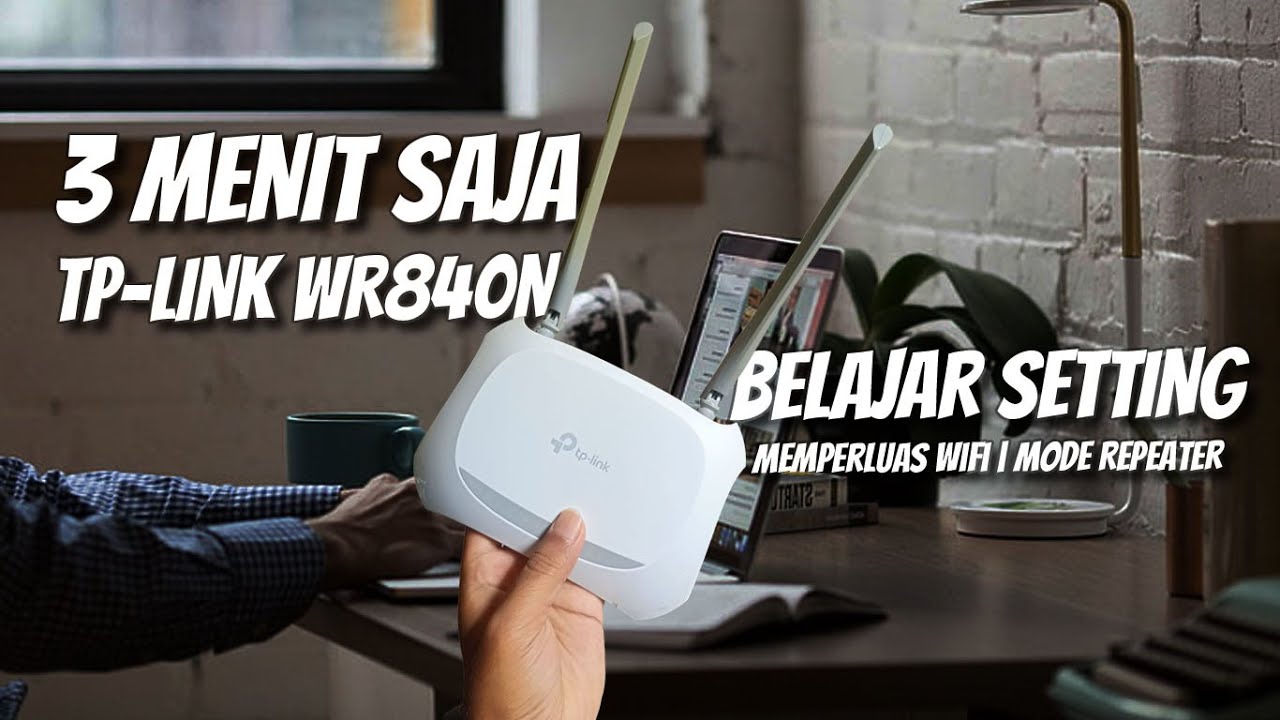
Cara Setting TP Link WR840N Pakai Mode Range Extender ( Memperluas Wifi ) - Tutorial Pemula

REVIEW DAN SETUP AWAL ROUTER TP-LINK AX1500 WIFI 6 ARCHER AX12 [PART 1]
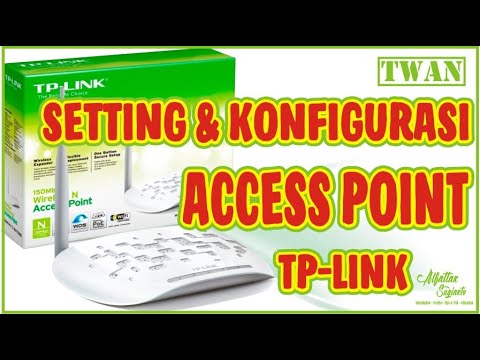
Cara Setting Access Point TP-Link TL-WA701ND || Konfigurasi Dasar Wireless Access Point WAP

Cara Konfigurasi TP-LINK TL-WR840N Lengkap & Mudah | Tutorial Pemula Sampai Mahir
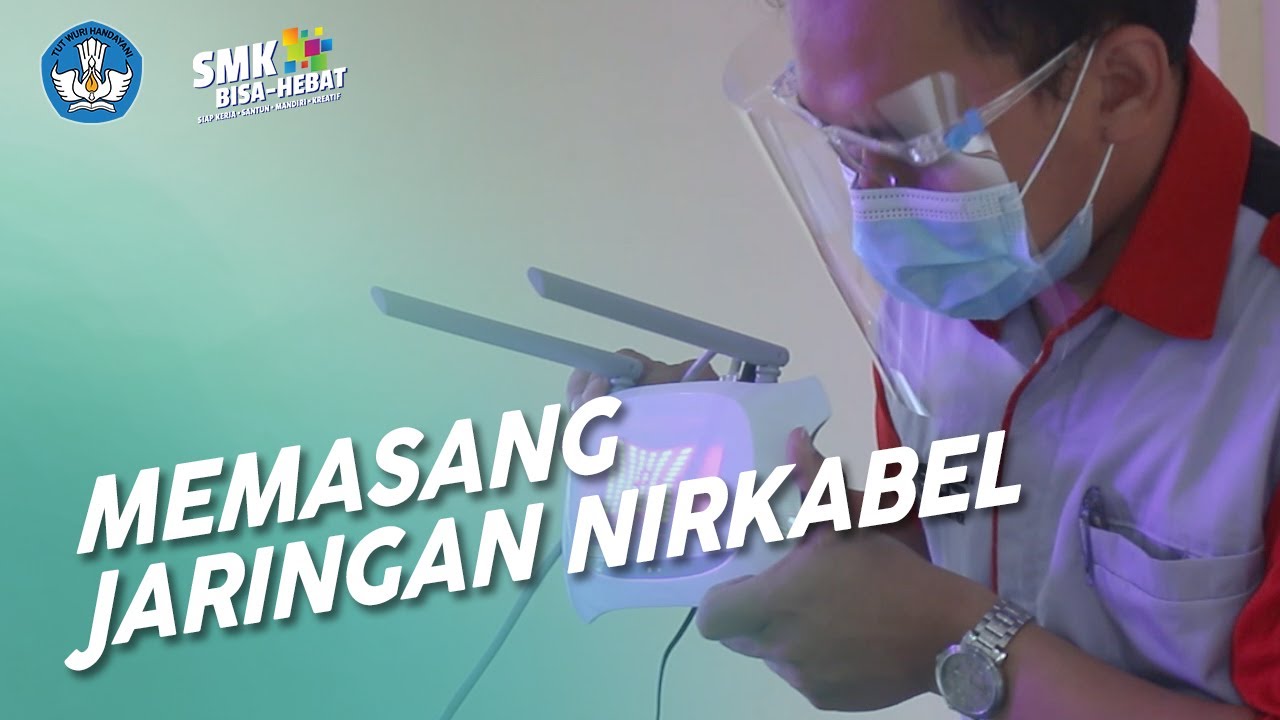
Memasang Jaringan Nirkabel - Sistem Informatika, Jaringan, dan Aplikasi

Setting One Mesh TP LINK Menggunakan Tombol WPS
5.0 / 5 (0 votes)