cara membuat | setting ukuran label cd di photoshop
Summary
TLDRThis tutorial demonstrates how to create a professional CD label in Adobe Photoshop CS6. Starting with setting up the correct canvas size, the video walks through measuring and applying guide lines for accurate placement of shapes. It covers creating and styling the CD's outer and inner circles, adding gradient backgrounds, text, and creative elements like drop shadows. The final steps show how to adjust layers, prepare for printing, and set up the printer to ensure a perfect CD label print. This easy-to-follow guide is ideal for beginners looking to design custom CD labels.
Takeaways
- 😀 The video teaches how to create a CD label using Adobe Photoshop CS6.
- 😀 The first step is measuring the CD label using a ruler to get accurate dimensions.
- 😀 The size of the CD label is set to 25.4 cm by 12.9 cm with a resolution of 300 pixels per inch.
- 😀 Guide lines are created to accurately place elements on the label, such as the circle and edges.
- 😀 An elliptical marquee tool is used to create a circular selection with a diameter of 11.6 cm for the outer circle of the CD label.
- 😀 A second guide line is used to set the distance for the inner circle, with a diameter of 1.6 cm.
- 😀 The stroke tool is applied to the circular selections with black lines of 5 pixels.
- 😀 Duplicating layers is used to create the inner and outer circles for the CD label design.
- 😀 A gradient is applied to the CD label background, and text or graphics can be added for a creative touch.
- 😀 The final step involves printing the design, ensuring the image is rotated and the correct size is set in the printer settings (25.4 cm by 12.9 cm).
Q & A
What is the first step to creating a CD label in Adobe Photoshop?
-The first step is to set the correct size for the CD label. This can be done by measuring the label dimensions using a ruler, then opening a new file in Photoshop with the corresponding size in centimeters, such as 25.4 cm x 12.9 cm with a resolution of 300.
How do you measure the CD label dimensions for the design?
-The CD label dimensions are measured using a ruler. For instance, the diameter of the CD label is 11.6 cm, while the inner circle has a diameter of 1.6 cm. The distance from the circle to the edge of the label is 0.7 cm.
What role do guide lines play in designing the CD label?
-Guide lines are used to ensure the accurate placement of elements like the circle for the CD label. These guides are created by clicking 'View' then 'New Guide', and they help align the elements correctly based on the measured distances.
How do you create the circular selection for the CD label design?
-To create the circular selection, use the elliptical marquee tool and set the size to 11.6 cm x 11.6 cm. Then, click and drag on the canvas, aligning the selection with the guide lines to ensure precision.
What is the purpose of the 'stroke' feature in the design process?
-The 'stroke' feature is used to add an outline to the circular selection. This helps define the shape clearly, and it can be adjusted in terms of color and pixel thickness, such as using a 5-pixel black stroke.
How do you create the second circle for the inner label?
-The second circle for the inner label is created by measuring the distance from the outer edge of the CD label to the inner circle. After measuring, create another guide line and use the elliptical marquee tool again to draw a circle with a 1.6 cm diameter.
What does duplicating layers accomplish in this process?
-Duplicating layers allows for the creation of multiple instances of the same element, such as duplicating the circle layers for the inner and outer circles. This helps in editing different parts of the label while keeping the original intact.
How do you apply colors and effects to the CD label design?
-You can apply colors using the gradient or paint bucket tool. Effects such as drop shadows, stroke, or gradient overlays can be added by selecting 'Blending Options' to give the design a more polished and visually appealing look.
What is the purpose of the 'merge layers' step?
-Merging layers combines all visible elements into a single layer. This ensures that all parts of the design are integrated, making it easier to manipulate the design as a whole, especially when preparing for printing.
What are the key steps in printing the CD label?
-The key steps for printing include rotating the image to fit the CD label format, ensuring that unnecessary layers (like the background or guides) are removed, and adjusting printer settings to match the label size (e.g., 25.4 cm x 12.9 cm). Use A4 paper for printing and adjust the printer settings accordingly.
Outlines

This section is available to paid users only. Please upgrade to access this part.
Upgrade NowMindmap

This section is available to paid users only. Please upgrade to access this part.
Upgrade NowKeywords

This section is available to paid users only. Please upgrade to access this part.
Upgrade NowHighlights

This section is available to paid users only. Please upgrade to access this part.
Upgrade NowTranscripts

This section is available to paid users only. Please upgrade to access this part.
Upgrade NowBrowse More Related Video
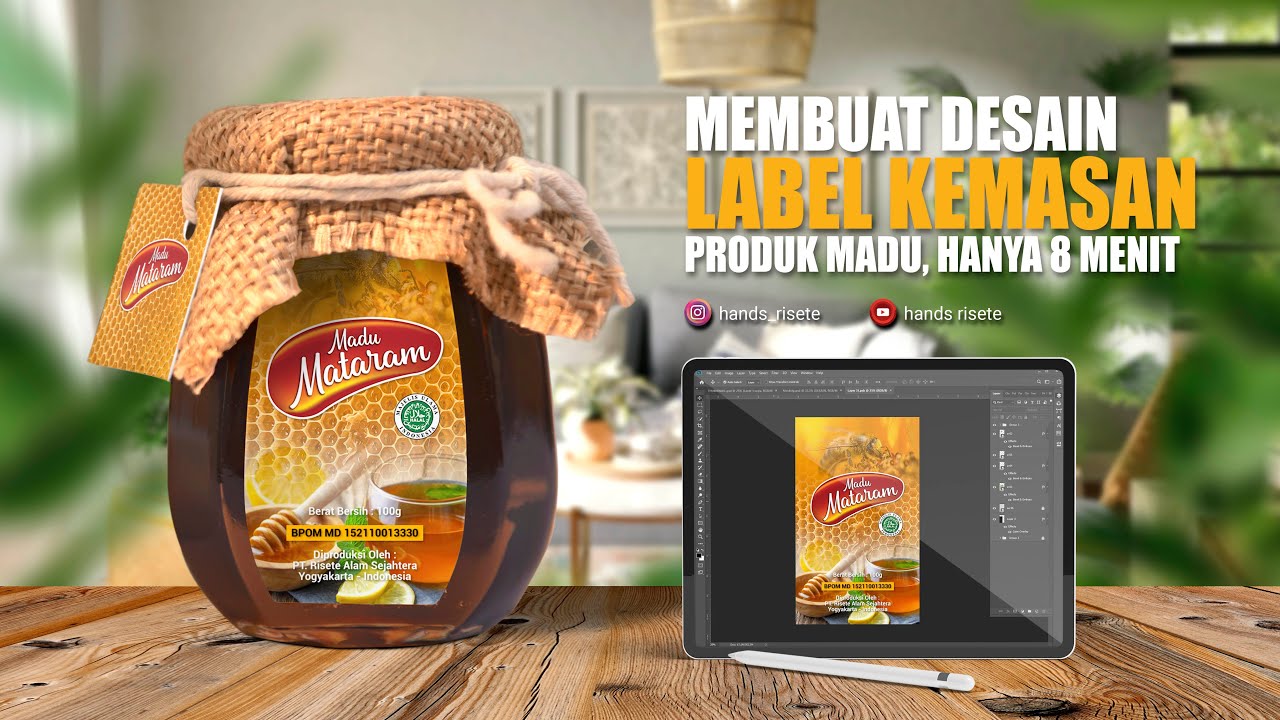
Cara Membuat Desain Label Kemasan Produk Madu Hanya Dalam 8 Menit
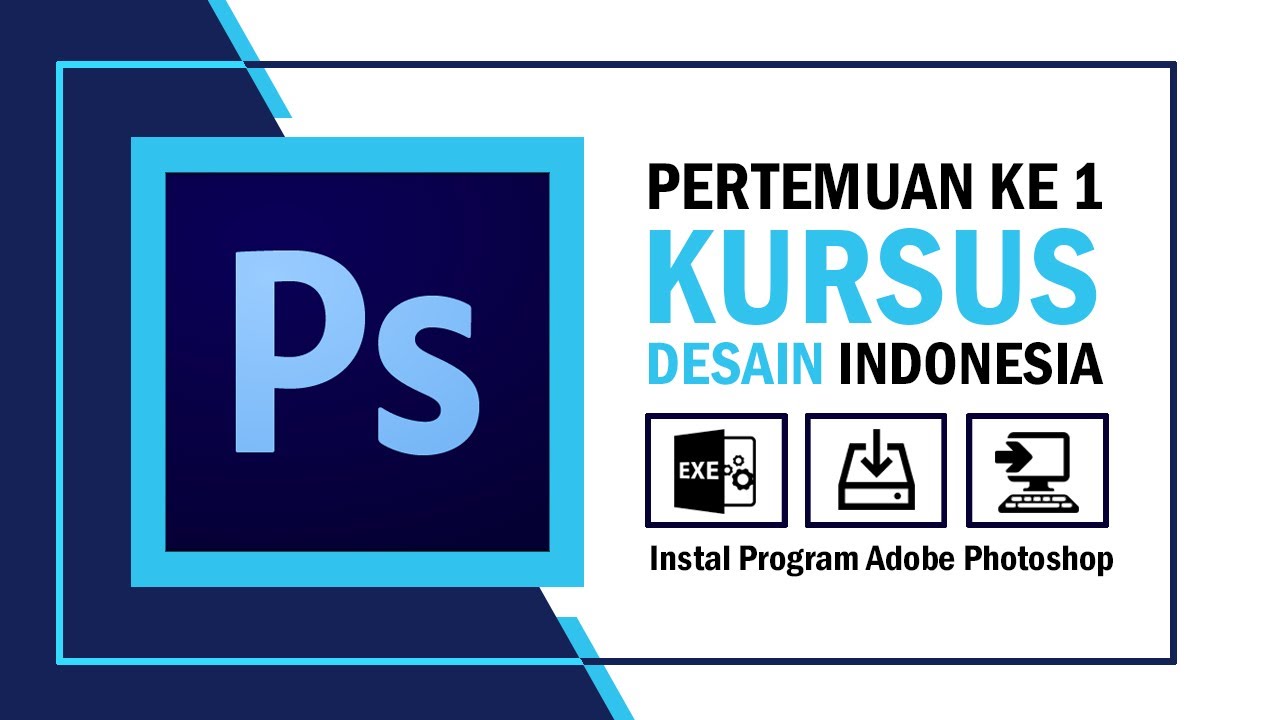
Kursus desain grafis pemula | Belajar desain grafis pemula Adobe Photoshop Part 1

Mudahnya Membuat Animasi Logo Brand DJI - Tutorial After Effect

Adobe Photoshop CC Architectural Post-Production Process | AEG Part 02
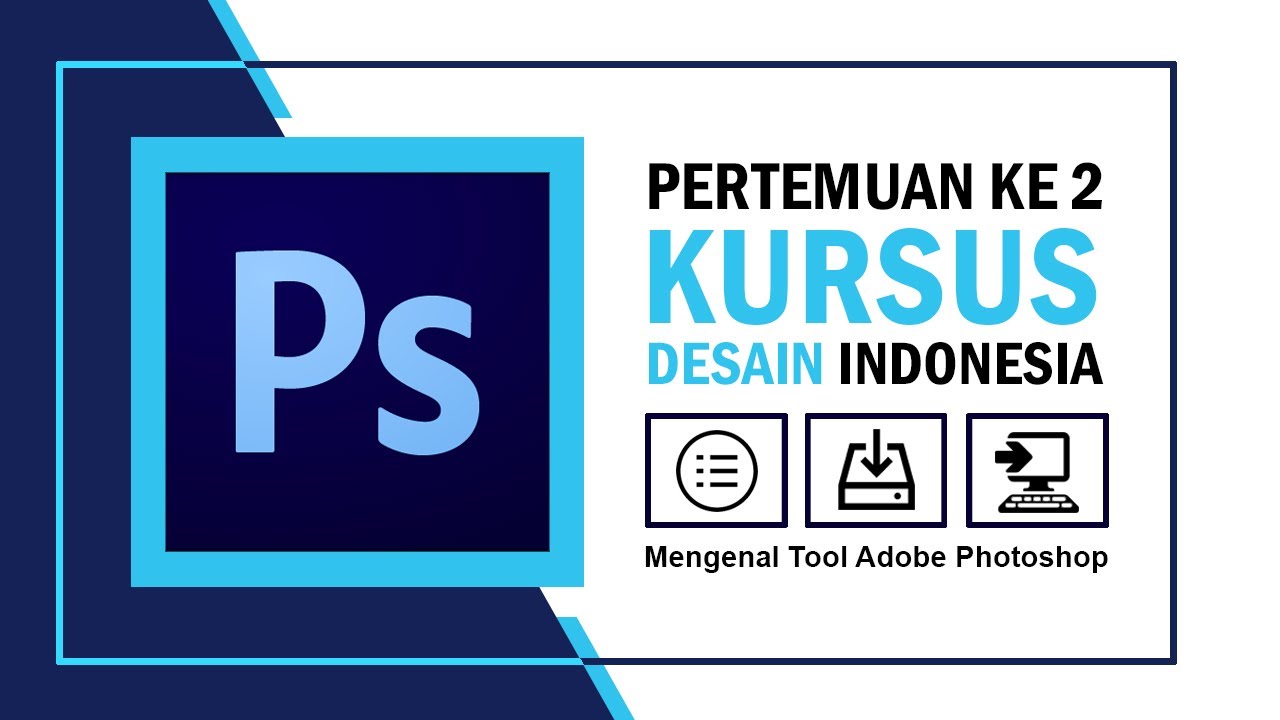
Kursus desain grafis pemula | Belajar desain grafis pemula Adobe Photoshop Part 2

How To Create a Vintage Postcard Design (Illustrator & Photoshop Tutorial)
5.0 / 5 (0 votes)