Kalender Dari Kardus / Kerajinan Kardus Bekas
Summary
TLDRIn this video, the creator demonstrates how to make a mini desk calendar using recycled cardboard. The process involves measuring and cutting the cardboard to size, wrapping it with colored or origami paper, and assembling the components. The creator then adds a section for writing the dates and months, creating small cards with the numbers and months, and attaching them with a string. The calendar is then hung up, and the creator finishes by encouraging viewers to like the video. This simple, creative project is a fun way to repurpose materials and create a personalized calendar.
Takeaways
- 😀 Use recycled cardboard to make a mini desk calendar.
- 😀 Gather materials such as cardboard, colorful paper, scissors, ruler, and glue before starting.
- 😀 The cardboard should be measured to a size of 14 cm by 8.5 cm, or adjusted for your desired size.
- 😀 Cut a 1 cm margin on the sides of the cardboard to create a space for the center cutout.
- 😀 You need three pieces of cardboard for the structure, which should be glued together.
- 😀 Colorful origami or regular paper can be used to cover the cardboard for a decorative touch.
- 😀 For the base, cut two cardboard strips, approximately 5 cm wide, and glue them together.
- 😀 Use cardstock to cut small squares for the months and numbers on the calendar, with each square measuring 6 cm x 3 cm.
- 😀 Write the names of the months and numbers 0-9 on the squares before attaching them to the calendar.
- 😀 Punch holes at the top of each month and date piece to hang them using string or thread.
- 😀 Assemble the calendar pieces in order, and hang the finished mini desk calendar.
Q & A
What materials are needed to make the mini desk calendar?
-The materials needed are cardboard, colored paper or origami paper, a cutter or scissors, a ruler, markers or pens, and glue (preferably glue stick).
What is the first step in making the mini desk calendar?
-The first step is to prepare the cardboard. Measure it to a size of 14 cm by 8.5 cm. If a larger calendar is desired, you can increase the dimensions.
How do you cut the cardboard for the calendar?
-Use a ruler to measure and then cut the cardboard using either a cutter or scissors. A 1 cm gap is left from the center to the sides.
How many pieces of cardboard are needed for the mini desk calendar?
-Three pieces of cardboard are needed to construct the calendar.
How do you assemble the three pieces of cardboard?
-The three pieces are glued together. Apply glue to the edges of each piece and stick them together, forming the basic structure.
What is done after the cardboard structure is glued?
-After the structure is glued, you cover the cardboard with colored paper or origami paper. This step adds a decorative touch.
How is the bottom part of the calendar created?
-The bottom part is made by cutting two pieces of cardboard, each around 5 cm in length. These are also wrapped in colored paper.
What is the purpose of using origami paper or colored paper for the calendar?
-The origami or colored paper is used to wrap the cardboard, giving the calendar a more vibrant and finished look.
How are the months and numbers for the calendar created?
-The months (from January to December) and the numbers (0-9) are written on small pieces of cardboard, each sized 6 cm by 3 cm.
How are the months and numbers attached to the calendar?
-The months and numbers are glued to the calendar using hot glue, ensuring they are securely attached.
Outlines

This section is available to paid users only. Please upgrade to access this part.
Upgrade NowMindmap

This section is available to paid users only. Please upgrade to access this part.
Upgrade NowKeywords

This section is available to paid users only. Please upgrade to access this part.
Upgrade NowHighlights

This section is available to paid users only. Please upgrade to access this part.
Upgrade NowTranscripts

This section is available to paid users only. Please upgrade to access this part.
Upgrade NowBrowse More Related Video
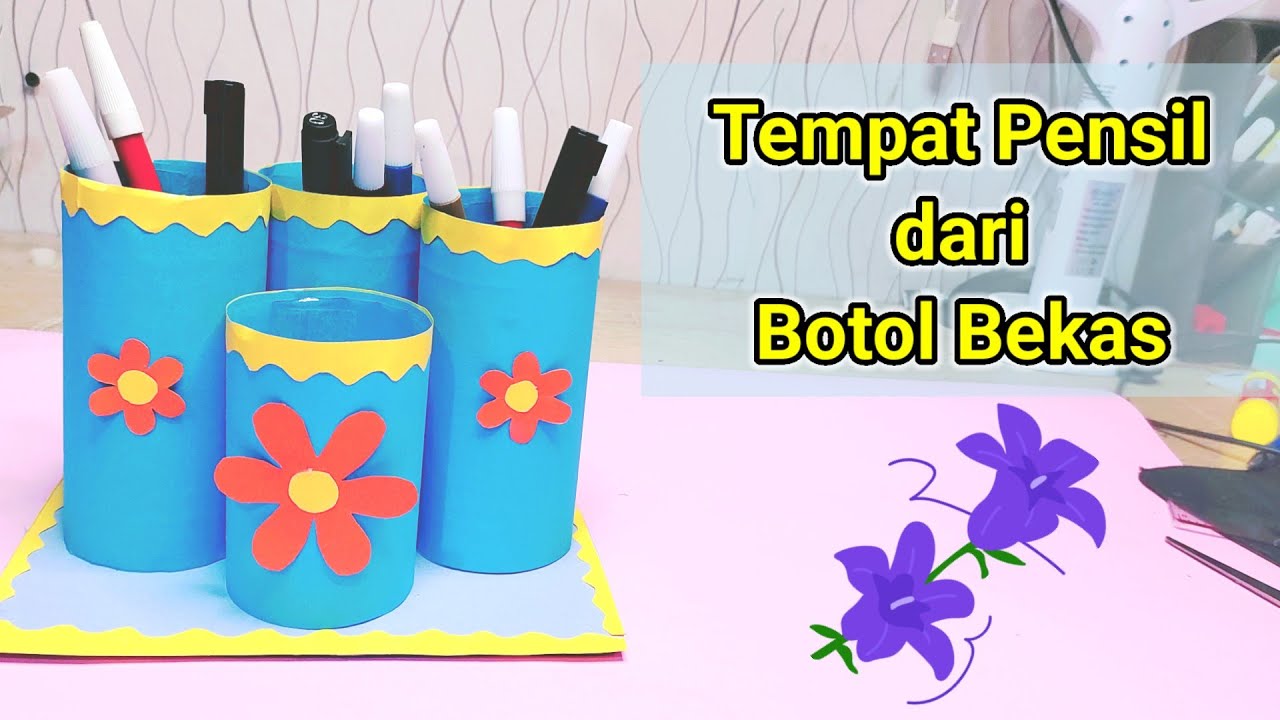
Tempat Pensil Dari Botol Bekas / Contoh Kegiatan P5 Kurikulum Mereka

DIY Bingkai foto dari kardus dan kertas kado||Photo frame with cardboard@TamtamArtandCraft
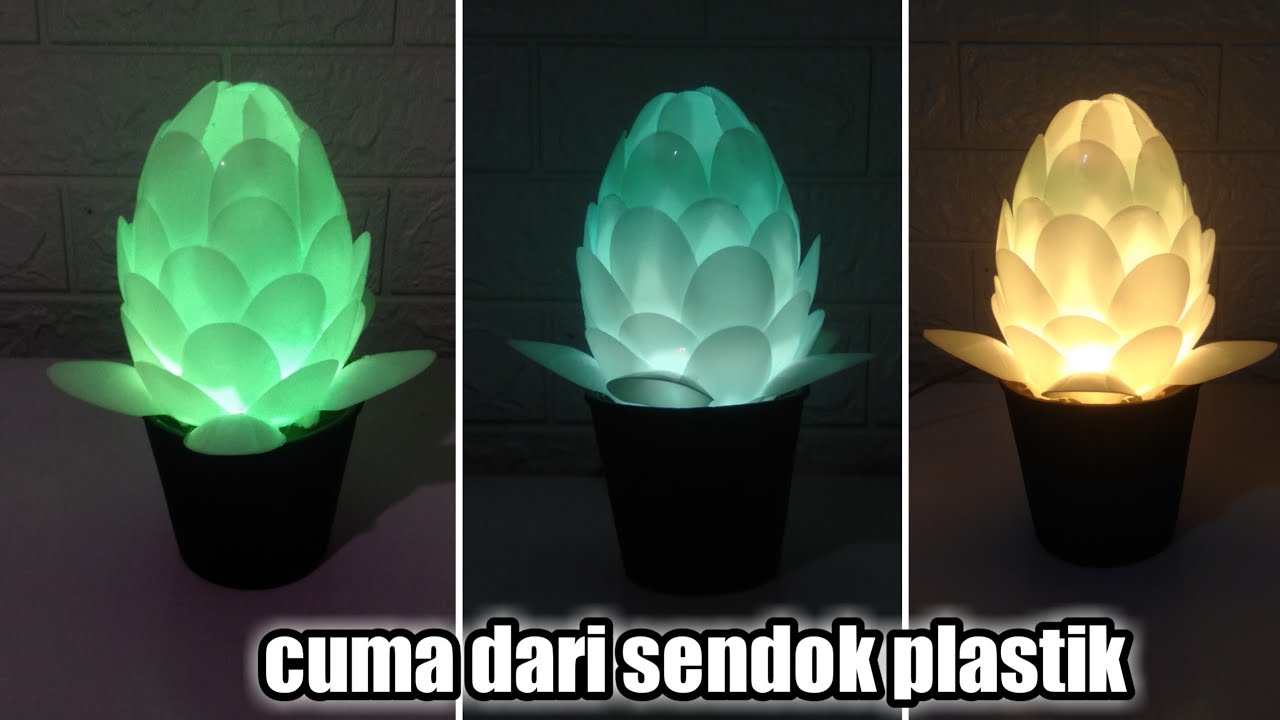
Lampu tidur sederhana lampu hias dari botol bekas dan sendok plastik

Creating a Smart Trash Can From Cardboard
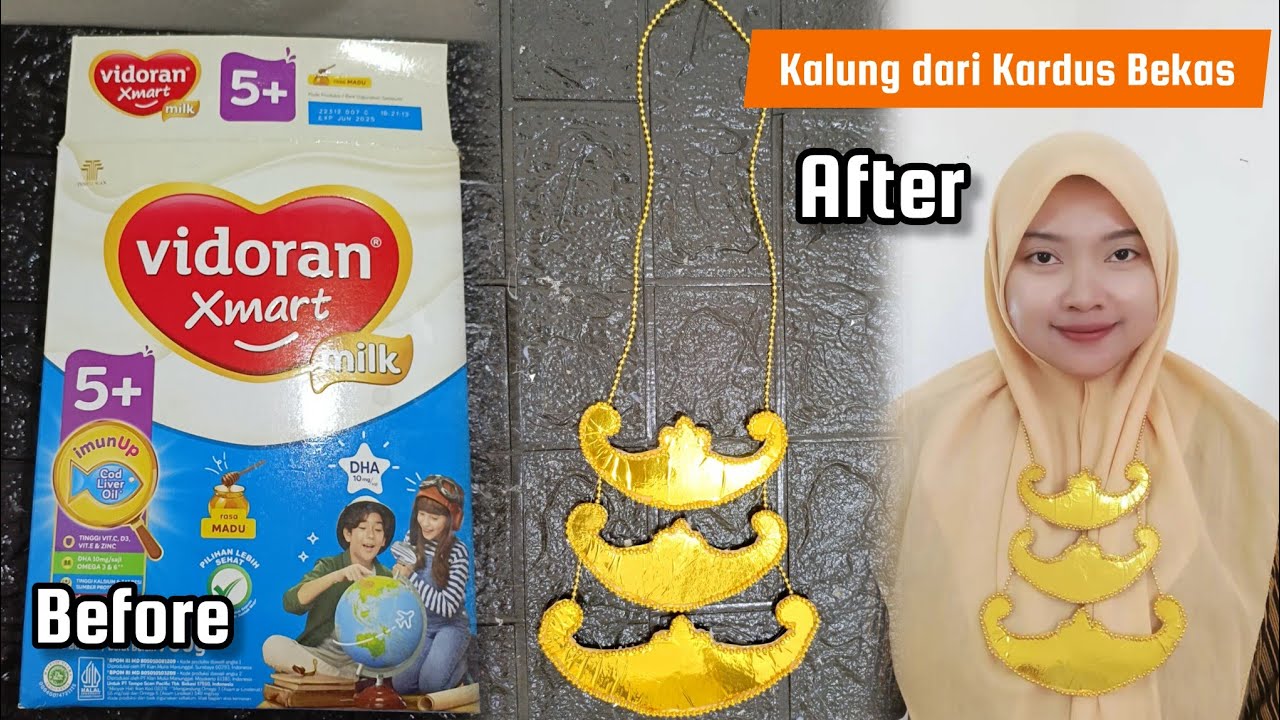
KALUNG ADAT DARI KARDUS BEKAS DAN KERTAS EMAS

Tempat Pensil Dari Botol Bekas || Kerajinan Botol Bekas || Kerajinan Limbah Anorganik
5.0 / 5 (0 votes)