ROUTING STATIS
Summary
TLDRIn this tutorial, the process of configuring two routers is explained step-by-step. The speaker guides the audience through setting up Router 1, assigning IP addresses, and configuring basic settings such as wireless connections and DHCP. Key actions include setting up the network interface, applying the correct IP addresses, and establishing routing to connect different segments of the network. The tutorial covers essential troubleshooting steps like verifying connections and ensuring routers are properly configured for internet access and internal communication, with a focus on clear, practical instructions.
Takeaways
- 😀 Router configuration begins by addressing both routers: Router 1 on the left and Router 2 on the right.
- 😀 Router 1's Ether 2 interface will be configured with the IP address 10.10.1.1/24.
- 😀 Ensure proper setup by accessing the router via MAC address login and resetting if necessary.
- 😀 The router should be named to avoid confusion during configuration. In this case, Router 1 is named 'R1'.
- 😀 Wireless settings are enabled by accessing the wireless menu and inputting the correct password for the network.
- 😀 After entering the correct password, verify the connection by checking for the 'R' icon next to WLAN 1.
- 😀 If the wireless password is incorrect, the connection will not establish, requiring a password check and retry.
- 😀 To enable internet connectivity, configure Network Address Translation (NAT) by setting up source NAT for the router’s WAN interface.
- 😀 The router then distributes IP addresses to clients via DHCP, with specific address allocations to Ether 2 and Ether 3.
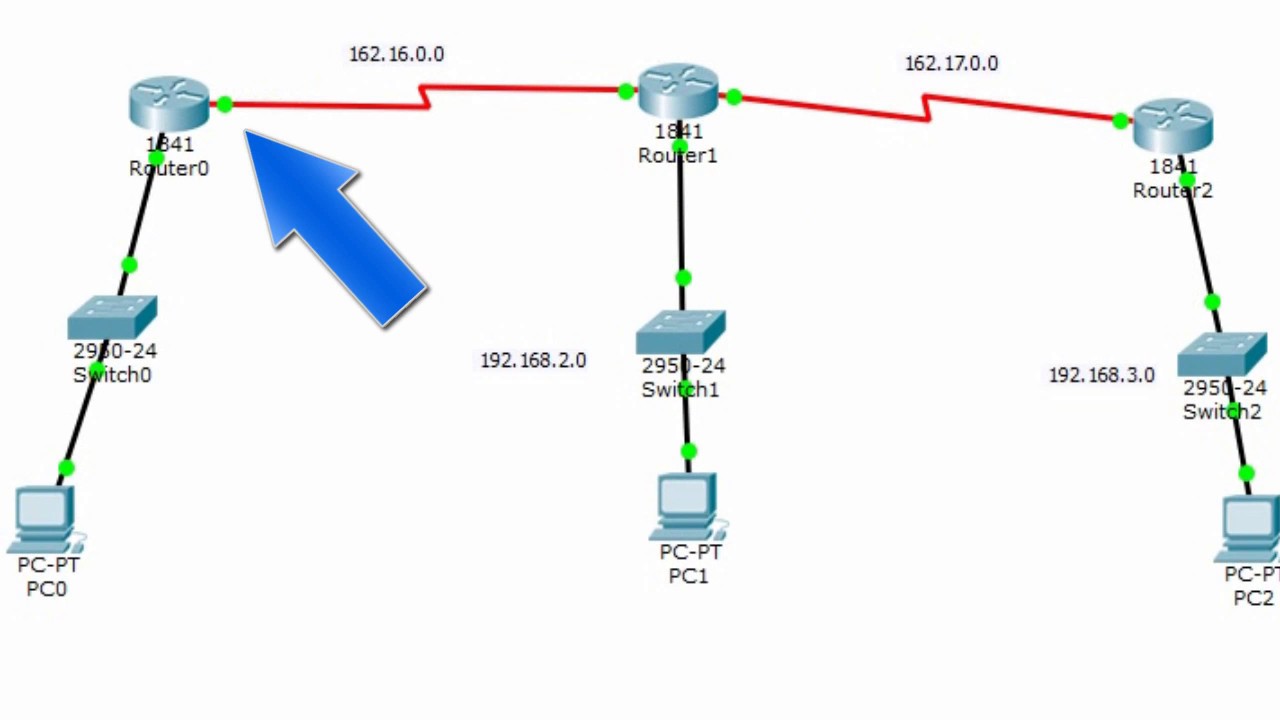
- 😀 Routing configuration ensures that the router can recognize and reach networks beyond its local network by adding routes to Router 2's IP segment.
- 😀 The routing table is set up by specifying the destination network address and the gateway address for the router to recognize the other network's IP address.
Q & A
What is the purpose of configuring both routers in this script?
-The purpose is to set up basic network configurations for both routers, including IP addressing, wireless setup, and routing to ensure proper communication and internet connectivity.
How is the IP address configured for Ether 2?
-Ether 2 is configured with the IP address 10.10.1.1/24, as part of the network configuration process.
What is the significance of resetting the router before configuration?
-Resetting the router ensures it returns to its default settings, removing any previous configurations that may cause confusion or errors during the new setup.
How does one change the router's name in the configuration?
-To change the router's name, go to the 'System' menu, click on 'Identity', and enter the desired name for the router. In this case, it is named 'R1'.
Why is the wireless feature enabled during the configuration process?
-The wireless feature is enabled to connect the router to a wireless network, allowing for internet access and proper communication between devices.
What happens if the wireless password is incorrect?
-If the password is incorrect, the router will not connect to the wireless network, and the indicator (R) for the wireless interface will not appear.
What is the role of the DHCP client in this setup?
-The DHCP client is used to obtain an IP address automatically from the network. It is configured to receive an IP address once the wireless connection is established.
How is Network Address Translation (NAT) configured in this script?
-NAT is configured by creating a source NAT rule in the firewall, with the outgoing interface set to the wireless interface (WAN1), ensuring proper internet access for devices connected to the router.
What is the process for assigning IP addresses to clients in the network?
-The process involves assigning IP addresses to Ether 2 and Ether 3 using the 'IP Address' menu. These IPs are then distributed to clients via DHCP server configurations.
How is routing configured between the two routers?
-Routing is configured by creating a route with a destination address corresponding to the network on the other router (10.10.3.0/24). The gateway is set to the IP address of Ether 3 on Router 2 (10.10.2.2).
Outlines

This section is available to paid users only. Please upgrade to access this part.
Upgrade NowMindmap

This section is available to paid users only. Please upgrade to access this part.
Upgrade NowKeywords

This section is available to paid users only. Please upgrade to access this part.
Upgrade NowHighlights

This section is available to paid users only. Please upgrade to access this part.
Upgrade NowTranscripts

This section is available to paid users only. Please upgrade to access this part.
Upgrade NowBrowse More Related Video
Enrutamiento estatico (3 router) Packet Tracer
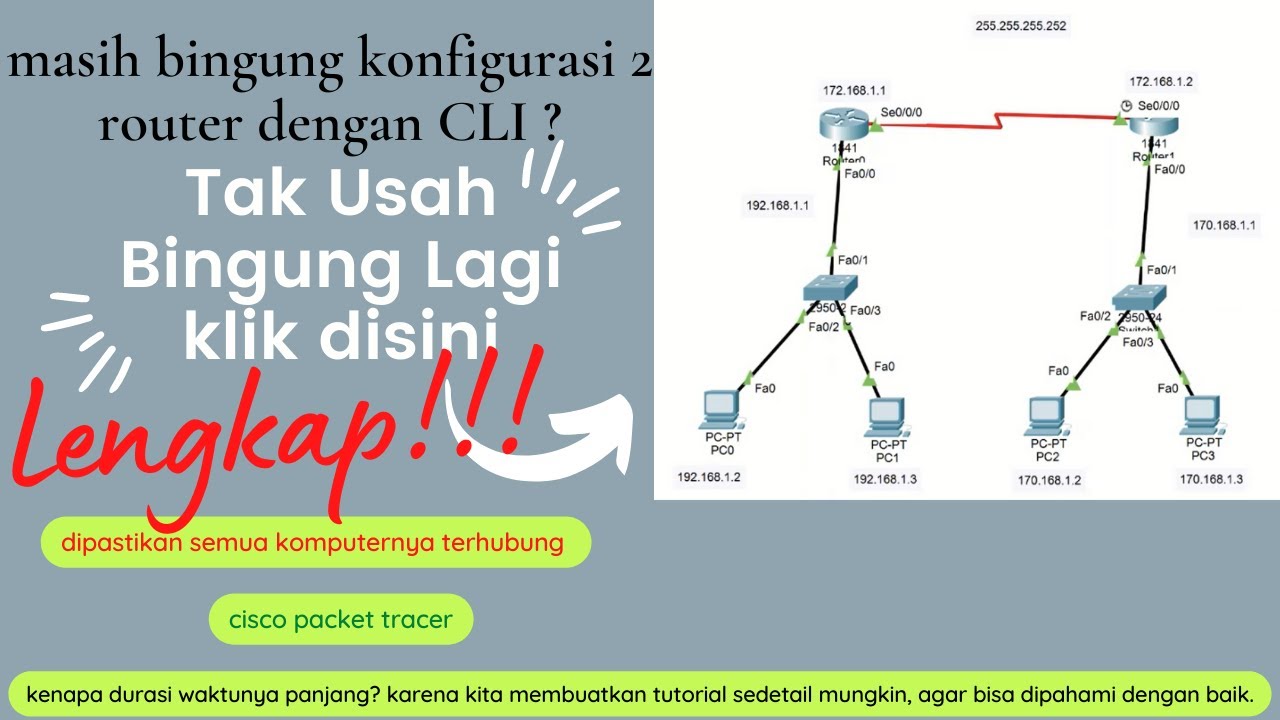
cara konfigurasi 2 router dan 2 switch menggunakan CLI di cisco packet tracer -4 pc saling terhubung

Network Interconnection with IP Tunnel - MIKROTIK TUTORIAL [ENG SUB]
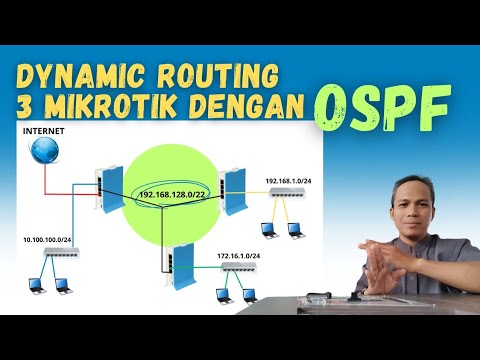
Konfigurasi Routing OSPF 3 Router Mikrotik
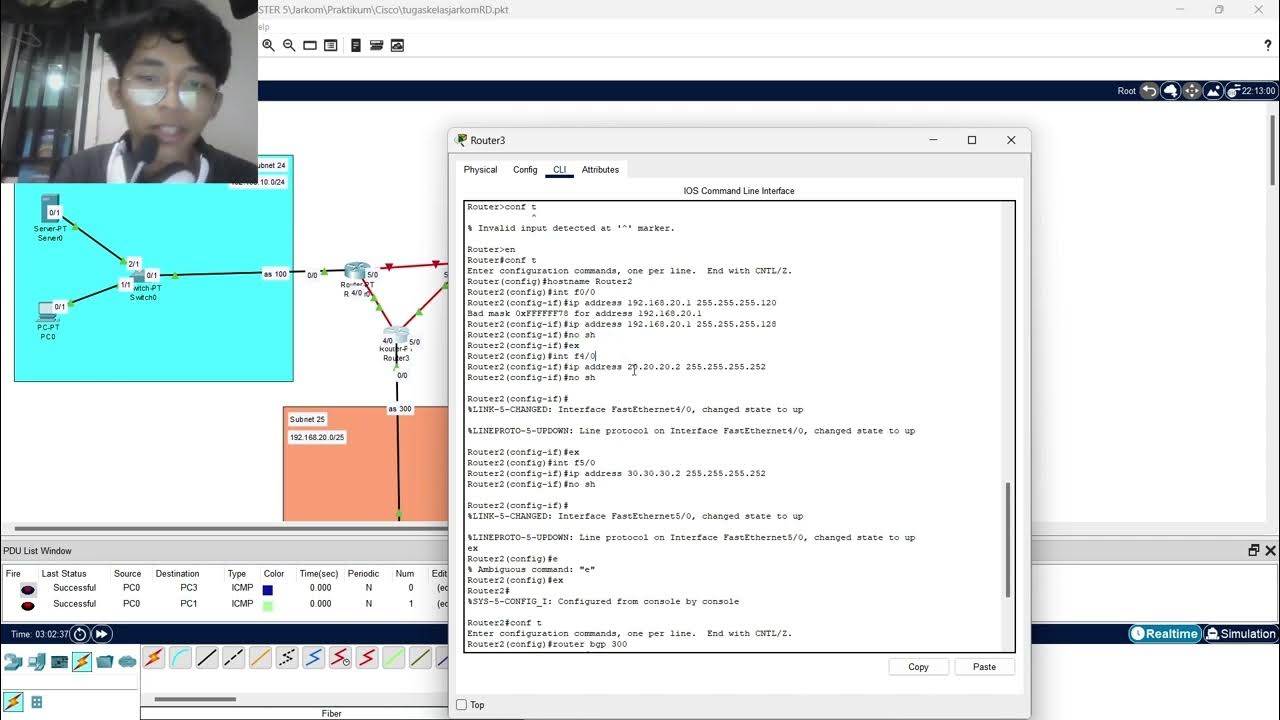
Tugas Routing BGP pada Cisco Packet Tracer Jarkom RB Akhdan Arif Prayoga
Cara Konfigurasi DNS Server Di Cisco Packet Tracer
5.0 / 5 (0 votes)