Acara Kadar Lengas Kering Udara
Summary
TLDRThis educational video script outlines a practical session on measuring soil moisture content. The process involves preparing soil samples of varying sizes, weighing them using an analytical scale, and determining their moisture levels by drying them in an oven at a controlled temperature. The procedure emphasizes precision in measuring and recording data, ensuring that the final weight after drying reflects the loss of moisture. The script offers a detailed, step-by-step guide for conducting the experiment, making it an informative resource for students or anyone learning about soil analysis techniques.
Takeaways
- 😀 The session starts with an introduction in which the speaker greets the audience and mentions the objectives of the upcoming practical activities related to soil moisture analysis.
- 😀 The focus of the activity is to analyze soil moisture content through various methods, including weighing soil samples and using an oven to remove moisture.
- 😀 The practical session will involve six participants, each playing a role in helping to carry out the tasks required for the experiment.
- 😀 The soil samples used will come in different sizes and weights, including large blocks, 0.5mm-sized particles, and 2mm-sized particles.
- 😀 One of the first tasks is to weigh the bottles and label them for identifying the corresponding soil sample inside.
- 😀 Once the bottles are labeled, participants will record the weight of the empty bottles, then proceed to fill the bottles with soil and measure the weight again.
- 😀 After weighing the soil-filled bottles, participants will place them in an oven to remove the moisture content, setting the oven temperature to 105-110°C and the timer for at least 4 hours.
- 😀 The weight of the bottles after being in the oven will be recorded to determine the moisture loss due to evaporation of the water in the soil.
- 😀 The drying process is critical as it helps calculate the percentage of water content in the soil, which is the main focus of the experiment.
- 😀 Throughout the session, accurate recording of all measurements is emphasized to ensure proper analysis and results from the practical work.
Q & A
What is the main topic of the script?
-The main topic of the script revolves around a practical session on measuring the water content in soil, specifically focusing on determining the moisture level in dry soil through a laboratory experiment.
What is the first step in the experiment described in the script?
-The first step is to prepare the analytical balance and ensure the containers (bottles) are labeled correctly before weighing them empty. Each container is then weighed, and the data is recorded.
What types of soil are used in the experiment?
-The experiment uses two types of soil: one with larger particle sizes (referred to as 'bongkah') and another with smaller particle sizes (measuring 0.5mm). The soils are sorted by size through sieving.
How is the weight of the soil measured in the experiment?
-The weight of the soil is measured by placing the soil into the labeled containers and weighing them. Each container's weight is recorded before and after the soil is added.
What equipment is essential for this experiment?
-The essential equipment for the experiment includes an analytical balance (or weighing scale), bottles for containing the soil, and an oven for drying the soil to remove moisture.
How does the drying process work in this experiment?
-The soil samples are placed into an oven, set at a temperature between 105-110°C, for a minimum of four hours. The oven removes the moisture from the soil, which is then measured by the weight reduction.
What is the purpose of drying the soil in the oven?
-The purpose of drying the soil is to eliminate the water content, allowing for the measurement of the soil's dry weight. This helps calculate the soil's moisture content by comparing the weight before and after drying.
What happens to the soil's weight after it is dried in the oven?
-After drying, the soil loses some of its weight due to the evaporation of water. The difference in weight before and after drying is used to calculate the moisture content.
What is the role of the timer during the drying process?
-The timer is used to set the exact duration of the drying process. A minimum of four hours is required for the soil to dry properly, and the timer ensures the soil is in the oven for the correct amount of time.
Why is it important to record the weight of the bottles and soil?
-Recording the weight of the bottles and soil at each stage of the process is crucial for accurate calculation of the moisture content in the soil. The difference in weight before and after drying will indicate how much water was present in the soil initially.
Outlines

This section is available to paid users only. Please upgrade to access this part.
Upgrade NowMindmap

This section is available to paid users only. Please upgrade to access this part.
Upgrade NowKeywords

This section is available to paid users only. Please upgrade to access this part.
Upgrade NowHighlights

This section is available to paid users only. Please upgrade to access this part.
Upgrade NowTranscripts

This section is available to paid users only. Please upgrade to access this part.
Upgrade Now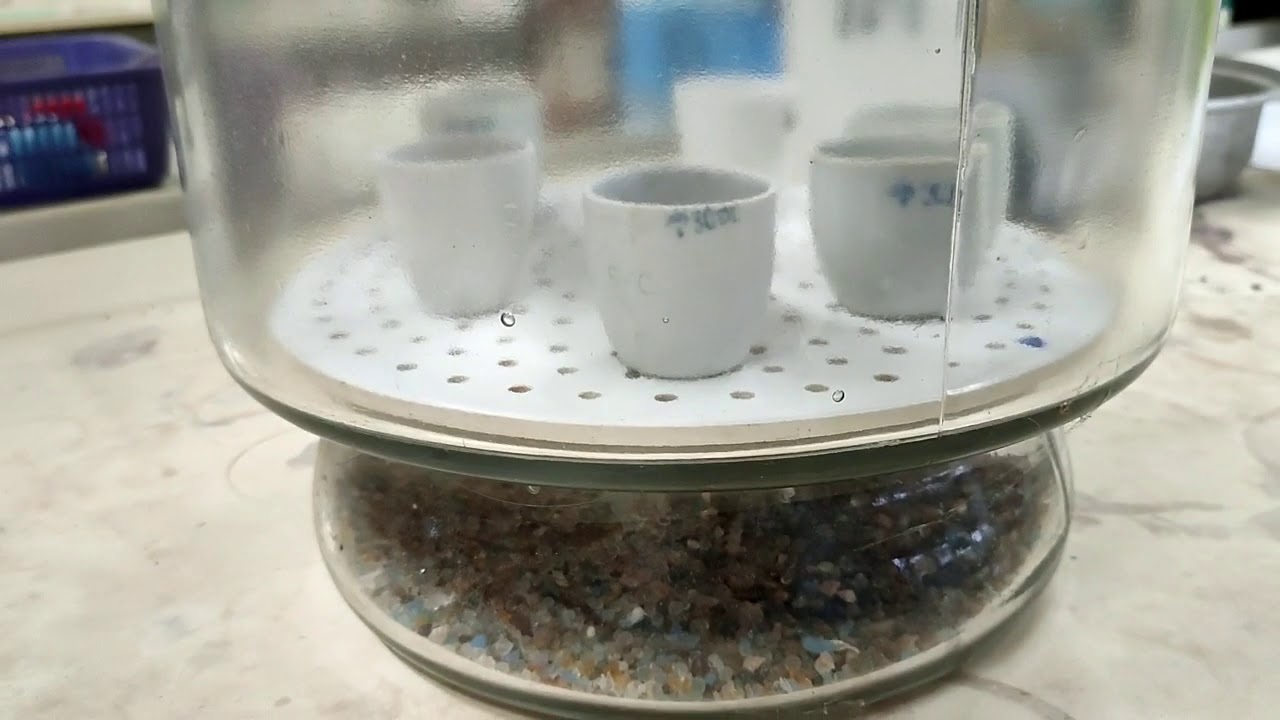


5.0 / 5 (0 votes)