Media Pembelajaran Video Pembuatan Pola Dasar Badan dan Rok berbasis BISINDO
Summary
TLDRThis video provides a detailed step-by-step guide on creating a basic bodice and skirt pattern using the draping technique. It covers the preparation of fabric, measurement guidelines, and how to accurately drape and mark the bodice and skirt on a dress form. The instructor explains key techniques such as forming darts, aligning fabric with grain lines, and finishing seam allowances. Additionally, the process for making both the front and back patterns for the bodice and skirt is clearly demonstrated, helping viewers understand the method for creating custom patterns for their projects.
Takeaways
- 😀 The script is about creating a basic body pattern using draping techniques.
- 😀 The first step involves preparing fabric of appropriate dimensions based on the dress form's measurements.
- 😀 The fabric's length should be measured from the highest shoulder point to the waist, adding 10 cm for extra length.
- 😀 For width, the fabric should be measured from the widest side to the middle back (TM), adding 10 cm for extra width.
- 😀 The fabric should be applied to the dress form, starting by pinning it to the TM and then to the sides, ensuring there is 0.5 cm of ease.
- 😀 A marking pencil is used to outline the neckline, shoulder line, and armhole on the fabric for clear pattern guidance.
- 😀 The script includes steps for creating darts for shaping, particularly at the waist, ensuring they are aligned with the fabric's grainline.
- 😀 After completing the front pattern, the same procedure is followed to create the back body pattern, with the same measurements and draping technique.
- 😀 A detailed process for creating the front and back skirt patterns follows, starting with the preparation of fabric and measurements from the waist to the desired skirt length.
- 😀 After pinning the skirt to the dress form, darts are added to the waist area, and the pattern is outlined, ensuring the correct grainline and shape.
- 😀 The script emphasizes the importance of finishing the edges (hemming) and perfecting the darts before removing the fabric from the dress form to finalize the pattern.
Q & A
What is the main focus of the tutorial in the script?
-The main focus of the tutorial is on how to create a basic body pattern for a dress using the draping technique.
What is the first step in making the body pattern using the draping technique?
-The first step is to prepare fabric with measurements according to the dress form, including the length from the highest shoulder to the waist, plus an additional 10 cm for length, and a width measurement that is the widest part of the body, plus 10 cm for the width.
Why is it important to mark the fabric with a 2.5 cm seam allowance?
-The 2.5 cm seam allowance is necessary to ensure there is enough fabric to sew the pieces together and to maintain the correct fit when constructing the garment.
How should the fabric be positioned on the dress form?
-The fabric should be pinned to the dress form starting from the center front (TM) and then the sides, ensuring the fabric fits the body shape correctly for accurate pattern creation.
What is the purpose of marking the pattern lines with red pencil?
-Marking the pattern lines with a red pencil helps to clearly define key points such as the neckline, shoulder line, armhole line, waistline, and other important areas for construction and cutting.
What role does the 'kupnat' or dart play in the pattern creation?
-The 'kupnat' or dart is used to shape the fabric, allowing it to conform to the body’s curves, especially at the waist and bust area. It is an essential technique for creating a well-fitted garment.
What is the significance of adding a 2.5 cm drop at the waist when creating the skirt pattern?
-The 2.5 cm drop at the waist helps to adjust the fit of the skirt pattern, ensuring it sits comfortably at the waistline and is proportionate to the body.
How should the fabric be manipulated when making the back part of the body pattern?
-For the back part of the body pattern, the fabric should be pinned similarly to the front, with careful attention to the fabric grain and the shaping around the neckline and shoulder, ensuring a precise fit.
What should be done after completing both the front and back body patterns?
-Once both the front and back body patterns are completed, they should be carefully detached from the dress form and the lines should be refined to ensure smooth and accurate cuts.
What are the final steps after creating the body pattern before moving on to the skirt?
-The final steps include checking the curves, refining the pattern lines, and ensuring all measurements are correct. Once these are done, the pattern can be transferred to the table for further adjustments, and then the skirt pattern creation can begin.
Outlines

This section is available to paid users only. Please upgrade to access this part.
Upgrade NowMindmap

This section is available to paid users only. Please upgrade to access this part.
Upgrade NowKeywords

This section is available to paid users only. Please upgrade to access this part.
Upgrade NowHighlights

This section is available to paid users only. Please upgrade to access this part.
Upgrade NowTranscripts

This section is available to paid users only. Please upgrade to access this part.
Upgrade NowBrowse More Related Video

PEMBUATAN POLA DASAR BADAN MENGGUNAKAN TEKNIK DRAPING

How to sew this stylish halter neck dress with a rope
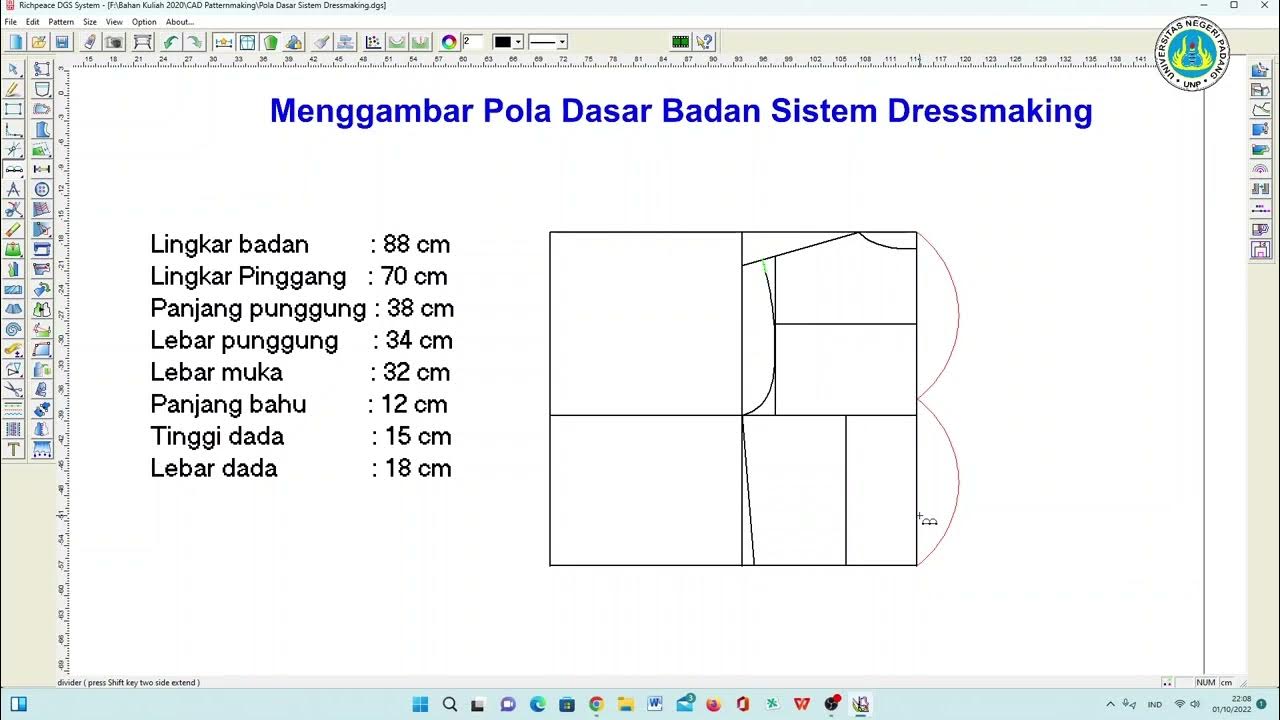
Cara Membuat Pola Dasar Badan Dressmaking dengan Richpeace

Mini crochet shoulder bag tutorial / crochet ruffle bag/ how to crochet a coquette bag for beginners
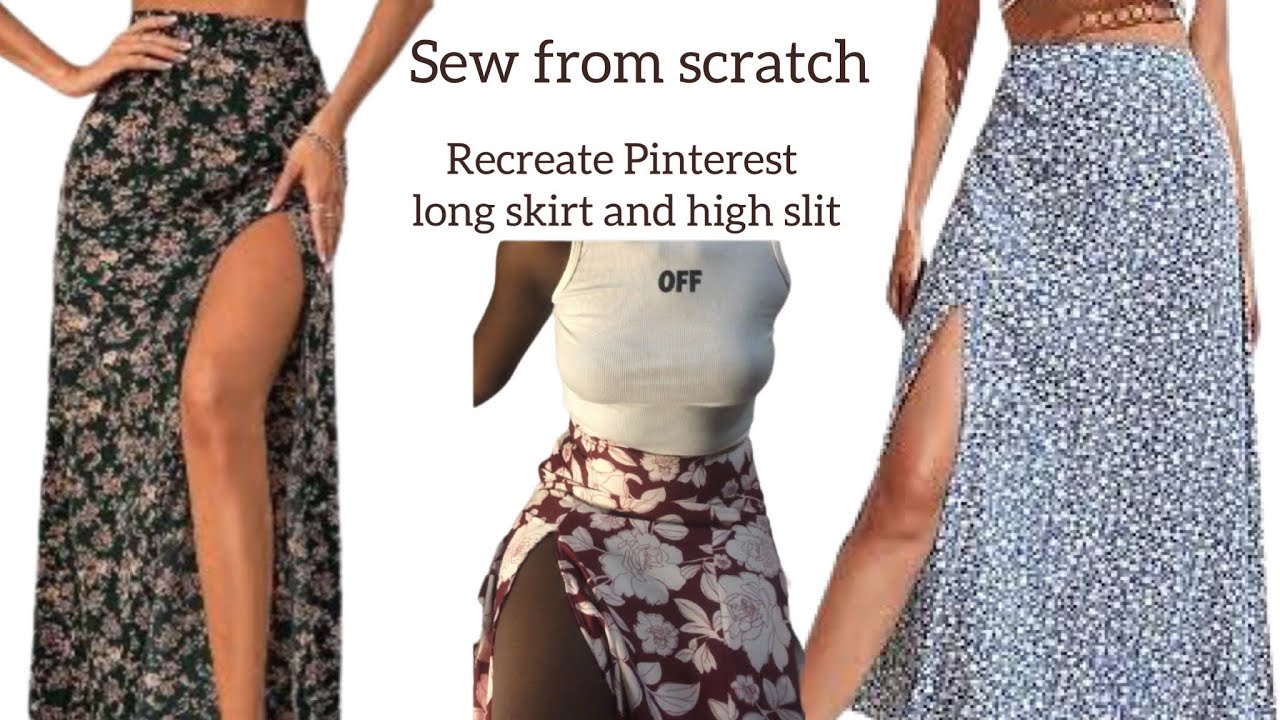
Maxi Skirt with High Slit Sewing Tutorial
TLE 8 QUARTER 3 WEEK 6 Pattern Drafting Pattern Making
5.0 / 5 (0 votes)