Belajar HTML Dari Nol Sampai Mahir | Untuk Pemula | Cara Mudah Memasukkan Gambar ke Website
Summary
TLDRIn this tutorial, you will learn how to display images in a web browser using HTML. The process involves preparing a folder containing the image and creating an HTML file with an `img` tag to call the image. The `src` attribute specifies the image location, and the `alt` attribute serves as a backup if the image fails to load. Additionally, the video covers adjusting the image size using `width` and `height` attributes. This basic HTML technique is an essential skill for web development and will be expanded upon in future CSS tutorials.
Takeaways
- 😀 The video demonstrates how to display an image in a web browser using HTML.
- 😀 You need to have two main components: a folder to store the image and the image file itself.
- 😀 The folder where the image is stored is called 'gambar' and the image file is named 'gambar1.jpg'.
- 😀 The HTML file for this task is named 'pertemuan_14.html', and the title of the page is 'Menampilkan Gambar'.
- 😀 To display the image, use the `<img>` tag in HTML with the 'src' and 'alt' attributes.
- 😀 The 'src' attribute points to the source of the image, which in this case is 'gambar/gambar1.jpg'.
- 😀 The 'alt' attribute provides alternative text, such as 'laptop', which is displayed if the image doesn't load.
- 😀 If there is an error in the image filename, the alternative text (e.g., 'laptop') will be shown instead of the image.
- 😀 You can also set the width and height of the image directly using the 'width' and 'height' attributes in the `<img>` tag.
- 😀 For resizing, you can define the width (e.g., 100px) and height (e.g., 50px) for the image directly within the HTML, without needing CSS.
Q & A
What is the main purpose of the video?
-The main purpose of the video is to teach viewers how to display an image on a web browser using HTML, specifically by utilizing the <img> tag.
What are the two essential things needed to follow along with the tutorial?
-The two essential things are a folder named 'gambar' containing an image file (such as 'gambar_satu.jpg') and an HTML file where the image will be displayed.
What tag is used in HTML to display an image?
-The <img> tag is used in HTML to display an image.
How do you specify the source of the image in HTML?
-The source of the image is specified using the 'src' attribute within the <img> tag. The value of the src attribute should be the file path to the image.
What happens if the image does not load in the browser?
-If the image does not load, the text provided in the 'alt' attribute will be displayed as a fallback. This alternative text is useful for accessibility and for situations when the image is missing or cannot be loaded.
What is the purpose of the 'alt' attribute in the <img> tag?
-The 'alt' attribute provides alternative text for the image, which is shown if the image cannot be displayed. It also improves accessibility by helping screen readers describe the image to users with visual impairments.
What attributes are used to adjust the size of an image in HTML?
-The 'width' and 'height' attributes are used to adjust the size of an image in HTML. These attributes accept values in pixels.
How can you change the width of an image using HTML?
-The width of an image can be changed by setting the 'width' attribute to a specific pixel value (e.g., width='100').
What happens if the image path is incorrect or the file is missing?
-If the image path is incorrect or the file is missing, the browser will not display the image, and the alternative text specified in the 'alt' attribute will be shown instead.
Is it necessary to use CSS to change the size of an image in HTML?
-No, it is not necessary to use CSS to change the size of an image. You can directly use the 'width' and 'height' attributes in HTML for quick adjustments. However, CSS offers more flexibility for styling images.
Outlines

This section is available to paid users only. Please upgrade to access this part.
Upgrade NowMindmap

This section is available to paid users only. Please upgrade to access this part.
Upgrade NowKeywords

This section is available to paid users only. Please upgrade to access this part.
Upgrade NowHighlights

This section is available to paid users only. Please upgrade to access this part.
Upgrade NowTranscripts

This section is available to paid users only. Please upgrade to access this part.
Upgrade NowBrowse More Related Video
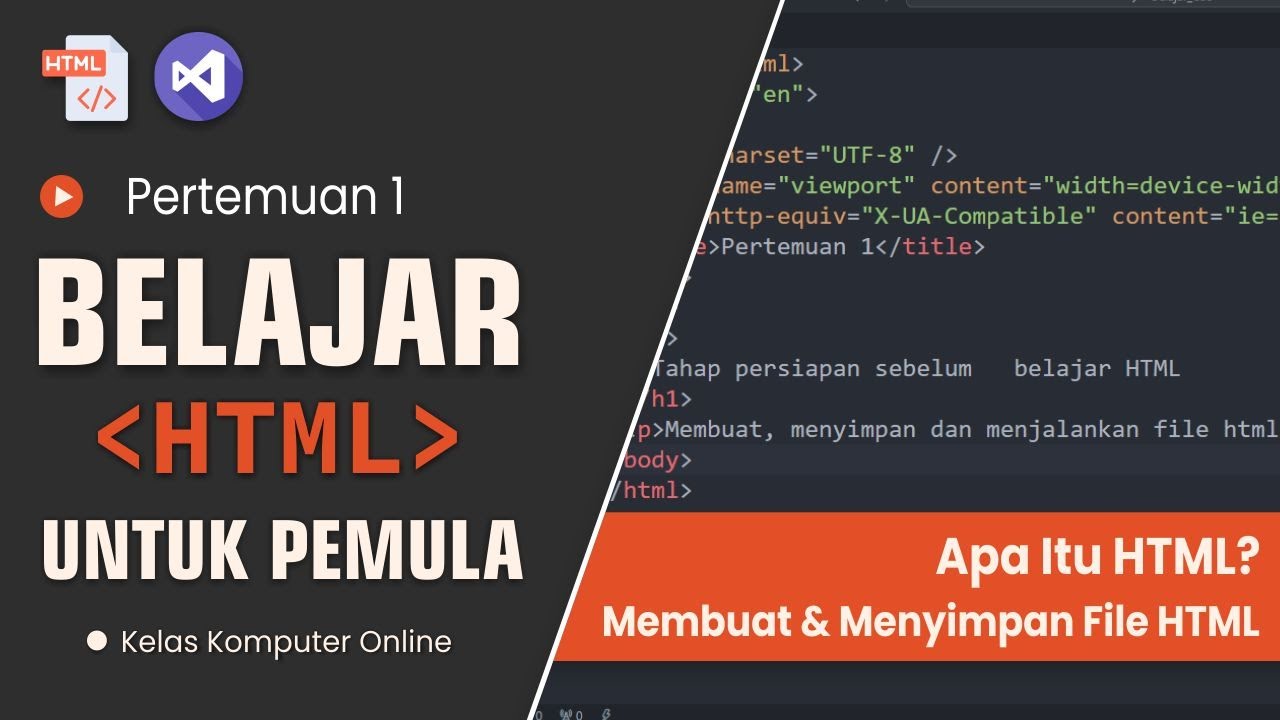
Belajar HTML Dari Nol Sampai Mahir | Untuk Pemula | Membuat, Menyimpan Dan Menjalankan HTML

06. How the Web Works? | Code with Mosh

How to view our local host website on mobile phone | web development tutorial
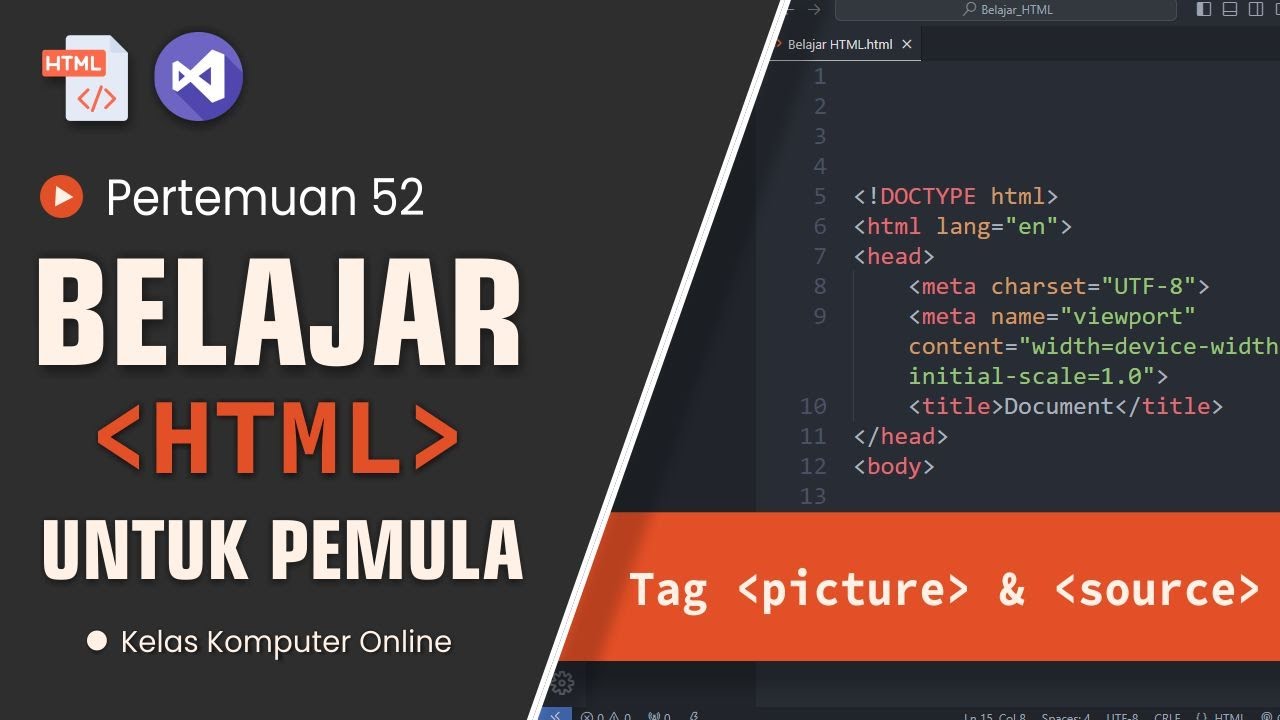
Belajar HTML Untuk Pemula: Mengatur Ukuran Gambar Secara Otomatis Tag Picture dan Source
Corso HTML e CSS Smart - Creare un sito HTML con funzionalità Smart #1 Lezione
BELAJAR PHP : mengimplementasikan Upload File berupa Gambar/Foto ke dalam database MySQL melalui WEB
5.0 / 5 (0 votes)