Part 3 Trigger & Light Meter:Flash Mate
Summary
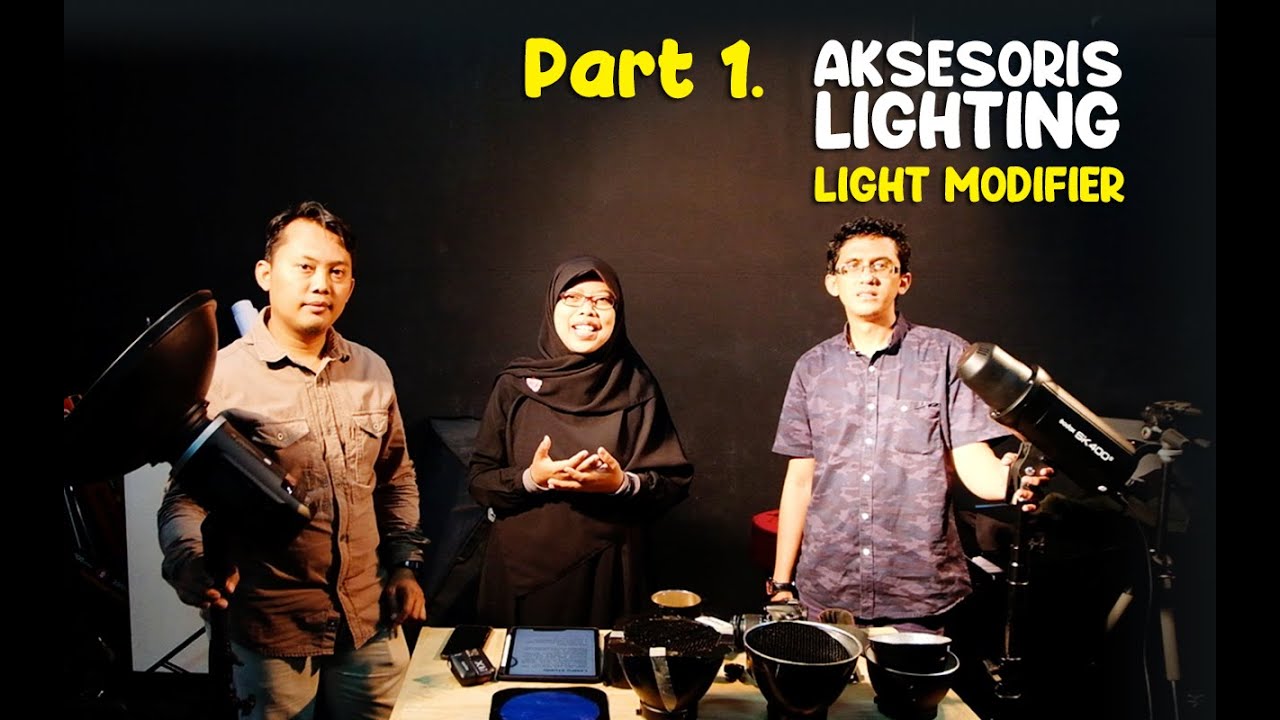
TLDRIn this video, the presenter introduces essential tools for photography, focusing on the use of the 'free The Trigger' and its setup for studio lighting. Viewers learn how to synchronize the trigger with the camera and multiple lighting modifiers using different channels. The video also covers how to handle accessories like LED ring lights and flash meters to adjust light intensity and measure flash output effectively. The guide emphasizes safety, proper installation, and achieving the right lighting effects for professional photography.
Takeaways
- 😀 The video introduces the use of a 'Trigger' tool, essential for photography, especially when working with lighting setups outside of a studio.
- 😀 The trigger needs to be synchronized with the camera and lighting equipment for optimal use.
- 😀 The trigger has channels (up to four), which allow it to control multiple lights or light modifiers at once.
- 😀 Proper setup involves turning on the camera and the trigger, ensuring they sync properly before starting to shoot.
- 😀 It's important to check whether the trigger and light modifiers are correctly synchronized before shooting to ensure functionality.
- 😀 The setup involves attaching the trigger to the camera and using specific buttons to activate synchronization with the lights.
- 😀 The lamp modifier, such as a LED light, has a sensitive structure and should be handled with care to avoid damaging it.
- 😀 The ring light used in the modifier has three support points that must be installed correctly to prevent damage.
- 😀 A reflector accessory can be used to adjust the direction and intensity of light from the lamp modifier.
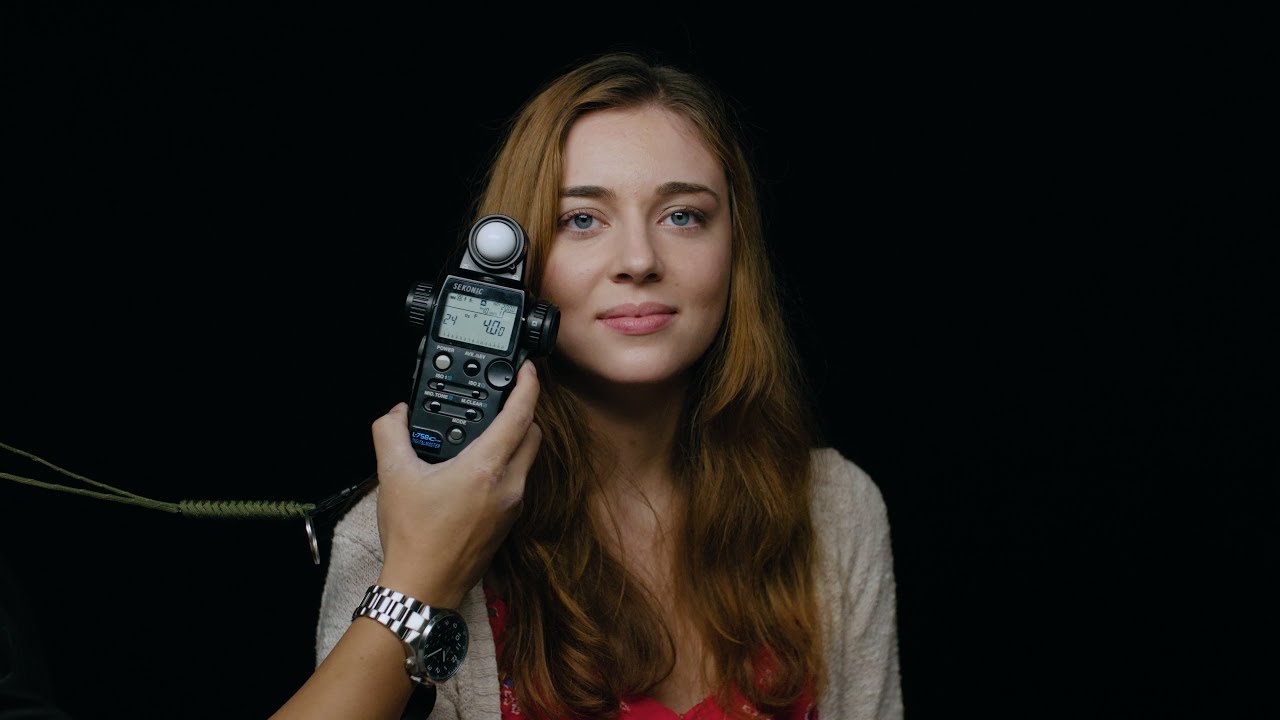
- 😀 The flash meter is a tool used to measure the intensity of the light emitted by the modifiers, helping photographers adjust their settings effectively.
- 😀 The flash meter allows adjustments to ISO and flash strength, and can be moved to measure different light angles for more accurate results.
Q & A
What is the primary purpose of the 'Trigger' mentioned in the video?
-The 'Trigger' is used to synchronize the camera with external lights, enabling proper lighting control when taking photos in settings outside of a studio.
How should the 'Trigger' be used with the camera?
-The 'Trigger' should be attached to the camera's hot shoe, and the camera should be powered on. After that, the trigger's on/off switch must be turned on, and it should be synchronized with the lights.
What is the significance of using different channels with the Trigger?
-Using different channels allows for better synchronization and control over multiple light modifiers. Each channel can control up to four lights independently, ensuring flexibility in lighting setups.
What should be checked to ensure the Trigger and lights are properly synchronized?
-You should check if the Trigger and lights are both powered on and synchronized. This can be verified by pressing the trigger's test button to confirm that the lights fire correctly.
What is the role of the reflector in the video, and how should it be used?
-The reflector is used as an accessory with the light to shape and direct the light. When attaching the reflector, it's important to ensure it is securely fixed to avoid damage, as it is quite sensitive.
Why is it important to be careful when installing the ring light reflector?
-The ring light reflector is sensitive, and improper installation or accidental contact can cause it to break, leading to malfunctioning. Therefore, it’s important to handle it with care.
What is the purpose of the diffuser mentioned in the video?
-The diffuser is used to soften the light emitted from the lamp, reducing the harshness and creating a more even, controlled light output on the subject.
How does the Flash Meter function, and what does it measure?
-The Flash Meter is used to measure the intensity of the light produced by the lamp modifier. It helps ensure that the light output is appropriate for the subject being photographed.
What adjustments can be made using the Flash Meter?
-The Flash Meter allows you to adjust the ISO, shutter speed, and flash settings to achieve the desired exposure for the image. It also has a sensor that can be moved left or right depending on the lighting setup.
What type of photography is the video mainly focused on?
-The video focuses on off-camera flash photography and how to use lighting equipment effectively for portrait or product photography in non-studio environments.
Outlines

This section is available to paid users only. Please upgrade to access this part.
Upgrade NowMindmap

This section is available to paid users only. Please upgrade to access this part.
Upgrade NowKeywords

This section is available to paid users only. Please upgrade to access this part.
Upgrade NowHighlights

This section is available to paid users only. Please upgrade to access this part.
Upgrade NowTranscripts

This section is available to paid users only. Please upgrade to access this part.
Upgrade NowBrowse More Related Video


5.0 / 5 (0 votes)