Proses Hemodialisa/Cuci Darah || Tutorial Prosedur Akses Vaskuler Cimino || Part 2
Summary
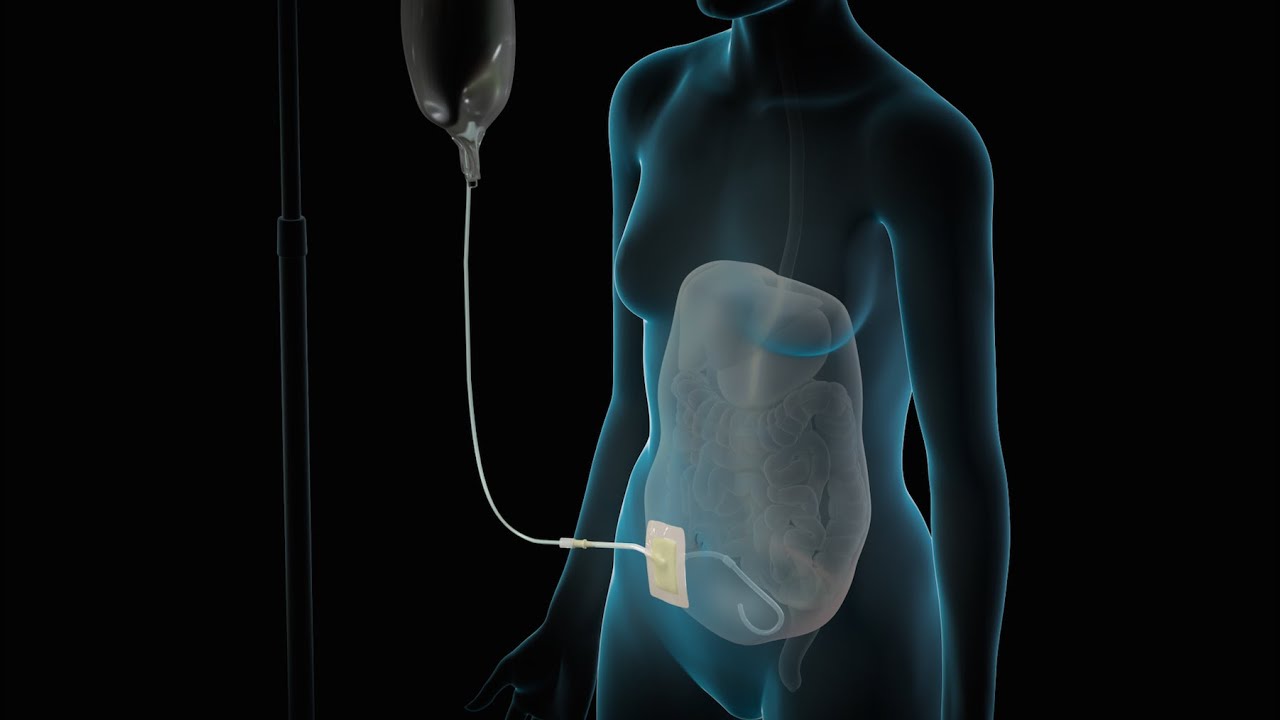
TLDRIn this video, Yanos Ranu takes viewers through the detailed process of hemodialysis, focusing on vascular access and cannulation. The video highlights key procedures, including equipment preparation, heparinization, and the insertion of needles into the patient’s vascular system using a fistula or shunt. The process also covers how to monitor vital signs, adjust machine settings, and ensure a smooth dialysis session. The video provides an educational walkthrough for healthcare professionals, emphasizing safety and accuracy in each step of hemodialysis treatment.
Takeaways
- 😀 The video focuses on the second stage of hemodialysis: vascular access (cannulation), following the priming process from a previous video.
- 😀 The presenter, Yanos Ranu, provides an in-depth explanation of the procedure with nurse Nursita demonstrating the steps involved.
- 😀 Key tools for the procedure include NaCl (saline solution), heparin, syringes (20cc and 5cc), alcohol swabs, and hypafix plaster for fixation.
- 😀 The dialysis machine setup includes entering patient data (weight, age, blood pressure) and adjusting ultrafiltration and blood pressure settings.
- 😀 Vital signs (blood pressure, pulse) are monitored and displayed on the machine as part of patient preparation before the procedure.
- 😀 The nurse prepares both venous and arterial fistulas by filling them with NaCl to eliminate air, disinfecting the area, and verifying the cannulation site.
- 😀 Proper cannulation is crucial, and blood return is checked to confirm correct needle placement in both the venous and arterial fistulas.
- 😀 The machine is connected to the fistulas after successful cannulation, and the NaCl flow is checked to ensure there are no air bubbles in the system.
- 😀 Heparin is administered to prevent clotting during the hemodialysis process, and the heparin flow is adjusted according to the procedure's requirements.
- 😀 The video concludes with the start of dialysis, signaled by a green alarm light, and the narrator encourages viewers to subscribe for more educational videos on hemodialysis.
Q & A
What is the focus of the video?
-The video focuses on the process of hemodialysis, specifically on the second stage, which is vascular access or cannulation. The first part of the hemodialysis process, priming, is briefly mentioned as a precursor.
What is the significance of priming in the hemodialysis process?
-Priming is the first step in hemodialysis where the machine and dialysate are prepared. The video suggests viewers should watch the previous video on priming to fully understand the entire process.
What materials are necessary for the cannulation process?
-The materials required include NaCl (0.9%), heparin, alcohol swabs, hypafix plaster, syringes (20cc and 5cc), and fistulas for arterial and venous access.
What is the role of heparin in the process?
-Heparin is used to prevent blood clotting during the dialysis process. The video shows how heparin is mixed with NaCl and circulated to maintain fluid flow and prevent clotting.
What is the importance of checking for air in the fistula during the procedure?
-It is crucial to ensure there is no air in the fistula before cannulation to avoid air embolism, which can be dangerous. The NaCl is used to check for air bubbles before insertion.
What is the purpose of using alcohol swabs during cannulation?
-Alcohol swabs are used for disinfecting the puncture sites to reduce the risk of infection during the cannulation procedure.
How is the cannulation process for both arterial and venous fistulas carried out?
-First, NaCl is aspirated and used to fill the fistulas to remove air. Then, the site is disinfected, and cannulation is performed. After ensuring the needle is correctly placed and blood flow is visible, the site is fixed with a plaster and disinfected again.
What is the significance of setting the UF (ultrafiltration) goal?
-The UF goal is set to match the doctor’s prescription and regulate the amount of fluid to be removed during hemodialysis. It is crucial to adjust this based on the patient's condition.
What happens after the vascular access is established?
-Once the vascular access is established, the machine is connected, and NaCl flows through the system to ensure no air is present. The dialysis process then begins with the correct settings for ultrafiltration and heparin.
How does the video conclude regarding the dialysis process?
-The video concludes with the dialysis process beginning, as indicated by the green alarm light. It also emphasizes the importance of cleaning up after the procedure and the upcoming video on how to conclude the hemodialysis session.
Outlines

This section is available to paid users only. Please upgrade to access this part.
Upgrade NowMindmap

This section is available to paid users only. Please upgrade to access this part.
Upgrade NowKeywords

This section is available to paid users only. Please upgrade to access this part.
Upgrade NowHighlights

This section is available to paid users only. Please upgrade to access this part.
Upgrade NowTranscripts

This section is available to paid users only. Please upgrade to access this part.
Upgrade NowBrowse More Related Video


5.0 / 5 (0 votes)