SABLON KAOS MANUAL PRAKTIS DARI AWAL HINGGA AKHIR DIJAMIN BISA
Summary
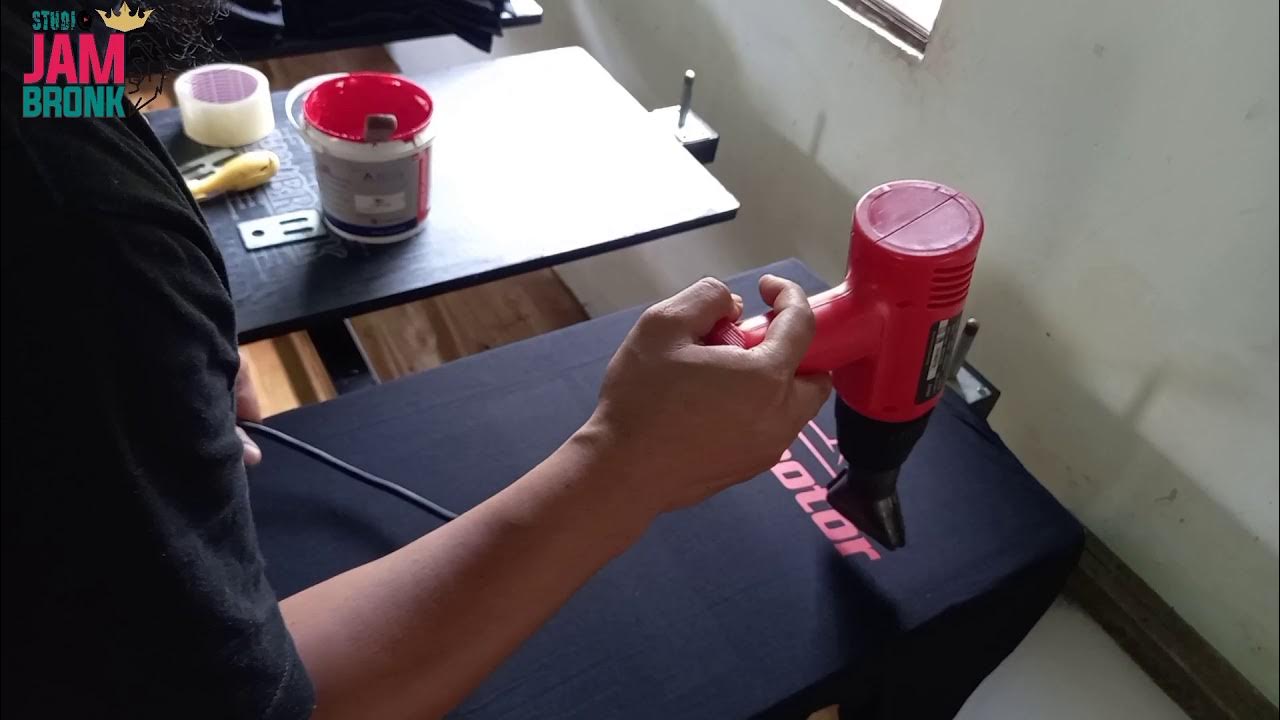
TLDRThis tutorial demonstrates the process of manual screen printing for beginners, guiding viewers through each step. The video covers design preparation, including printing in black ink and creating a screen stencil. The process also involves preparing the screen with a special emulsion, drying it, and ensuring proper ink application. The guide includes techniques for printing in two colors (black and red), using a hair dryer for quick drying and a heat press for finishing. Throughout, the tutorial emphasizes tips for achieving clean, professional results on T-shirts, even for novice printers.
Takeaways
- 😀 Ensure to print designs in black color first, regardless of the final design color (e.g., red, yellow, blue).
- 😀 Use vegetable oil to evenly coat the screen film during the exposure process for better results.
- 😀 Choose a high-quality photo emulsion (like bra mortech) for coating the screen, mixing it to the right consistency.
- 😀 After coating, use a scraper to spread the emulsion thinly and evenly over the screen, then allow it to dry completely using a hair dryer.
- 😀 After drying, apply a vegetable oil layer to the emulsion to facilitate easy removal of the design.
- 😀 Expose the screen to a light source for about 5 minutes to create the stencil, and then rinse the film with water to reveal the design.
- 😀 Use clear tape to cover any areas of the screen that are not part of the design to avoid ink leakage.
- 😀 Prepare the t-shirt by inserting cardboard inside to keep it flat and prevent shifting during printing.
- 😀 For multi-color designs, first print the dark colors (like black), then use masking techniques to cover those areas when printing lighter colors (like red).
- 😀 After printing, dry the ink quickly with a hair dryer to ensure the design stays intact before the finishing steps.
- 😀 Finish the print by using a heat press machine for 20 seconds to ensure durability and long-lasting results.
Q & A
What is the first step in the manual screen printing process?
-The first step is to prepare the design. It should be printed in black ink, as the design needs to be in a solid black color before any other colors can be applied.
Why is it important to print the design in black ink first?
-Printing the design in black ink is crucial because it forms the base of the design, which will later allow for the application of other colors like red, yellow, or blue.
What is the purpose of the 'afdruk' film in the screen printing process?
-The 'afdruk' film is used to create a screen print stencil. This film is treated with a special solution that hardens the design, making it possible to transfer the design onto the fabric.
How do you prepare the afdruk film for screen printing?
-To prepare the afdruk film, you need to coat it with a mixture of vegetable oil and the afdruk solution, then spread it evenly with a card. After that, the film is dried using a hairdryer to ensure it hardens properly.
What is the role of the screen mesh in the process?
-The screen mesh is used to hold the design stencil in place. Once the afdruk film is prepared, the design is transferred onto the screen mesh, which is then used to print the design onto the fabric.
What type of ink is used for the screen printing process described in the script?
-The script mentions the use of black ink for the first layer of printing. Afterward, other colors such as red are applied using the same screen stencil.
Why is it important to dry the screen thoroughly before proceeding?
-It is essential to dry the screen thoroughly to ensure the afdruk film hardens completely. If any part of the screen is still wet, the design might not transfer correctly.
How can you ensure that the ink does not bleed onto the fabric during the printing process?
-To prevent the ink from bleeding, it is important to tape off the areas around the design with transparent tape. This ensures that only the design area is printed and protects the surrounding fabric.
What should you do after printing the first color (black) on the fabric?
-After printing the first color (black), the screen should be dried using a hairdryer. This helps speed up the drying process before you can move on to printing the second color.
How do you print the second color (red) without affecting the first color?
-To print the second color, the areas where the first color (black) has been printed should be taped off to avoid bleeding. Once the screen is properly positioned, the second color (red) can be applied carefully.
Outlines

This section is available to paid users only. Please upgrade to access this part.
Upgrade NowMindmap

This section is available to paid users only. Please upgrade to access this part.
Upgrade NowKeywords

This section is available to paid users only. Please upgrade to access this part.
Upgrade NowHighlights

This section is available to paid users only. Please upgrade to access this part.
Upgrade NowTranscripts

This section is available to paid users only. Please upgrade to access this part.
Upgrade NowBrowse More Related Video

CARA SABLON PLASTISOL | CARA SABLON KAOS MANUAL | CARA SABLON KAOS MANUAL MEMAKAI TINTA PLASTISOL

Cara Pisah Warna di Photoshop Untuk Film Sablon Pemula ( 6 warna 4 warna 2 warna )

Pembuatan Cetak Saring - Studio Grafis (Cetak Saring) - Dyah Yuni Kurniawati, S.Sn., M.Sn.

Ultimate Screen Printing Guide: Screen Creation Techniques

📗 Qué es la SERIGRAFIA y COMO SE LLEVA A CABO - DICCIONARIO de Diseño Gráfico Trino

KEGIATAN P5 PERAKTEK MENYABLON | pkbm bina warga
5.0 / 5 (0 votes)