Mahkota Karnaval dari Kertas Nasi dan Kardus | Ide Topi Karnaval
Summary
TLDRIn this tutorial, Oshin Craft demonstrates how to create a beautiful carnival headpiece using simple materials like rice paper and cardboard. The process begins with cutting and shaping a semicircular pattern, followed by layering the rice paper. Decorative flowers and hanging beads are added, along with paper leaves for a touch of nature. The final step involves assembling the headpiece, ensuring all parts are securely glued. This easy-to-follow guide offers an affordable and creative way to make a festive and colorful accessory for any carnival or celebration.
Takeaways
- 😀 Start by creating a half-circle pattern with a diameter of approximately 15 cm, adjusted to your head size.
- 😀 Add 5 cm extra in width to the half-circle pattern and cut it out for the base shape.
- 😀 Use rice paper to cover the rough side and glue it to the cardboard for added texture and sturdiness.
- 😀 Make small cuts around the edges of the rice paper to help it adhere to the cardboard easily.
- 😀 Fold rice paper lengthwise and cut it into leaf shapes by folding multiple times for decorative elements.
- 😀 Trim the leaf edges with small cuts to create a fringed effect for a more decorative look.
- 😀 Attach the folded rice paper leaves to the cardboard using glue to enhance the design.
- 😀 Create flowers by folding rice paper and cutting the edges in a circular shape, then roll and glue them into flower shapes.
- 😀 Use beads or paper rolls for hanging decorations, and attach rice paper leaves to create a flowing effect.
- 😀 Prepare a headband by using cardboard, wrapping it with rice paper, and folding the ends to secure the fit.
- 😀 Finalize the headband by covering the inner side with rice paper for a neat finish and increased durability.
Q & A
What materials are used to make the carnival head decoration in the tutorial?
-The materials used are nasi paper, cardboard, glue stick, and a bamboo skewer.
What is the first step in making the carnival head decoration?
-The first step is to create a half-circle pattern, the width of which should match the size of the head. The diameter used in the tutorial is approximately 15 cm.
Why is the rough side of the nasi paper glued to the cardboard?
-The rough side of the nasi paper is glued to the cardboard because it provides better adhesion, as the rough texture holds the glue better than the smooth side.
How does folding the nasi paper help in creating the flower decorations?
-Folding the nasi paper multiple times and then cutting it into petal shapes allows the creation of layered, textured flowers that can be rolled and glued into decorative shapes.
How many flowers are made for the carnival head decoration?
-A total of 10 flowers are made in the tutorial.
Can beads be substituted for the decorative thread used in the tutorial?
-Yes, beads can be substituted with rolled paper if beads are not available.
How are the flower decorations attached to the carnival headpiece?
-The flowers are attached to the carnival headpiece by gluing them with a glue stick.
What are the lengths and widths of the cardboard used in the headpiece?
-The cardboard used for the headpiece is 31 cm long and 5 cm wide.
Why is it important to cover the inside of the headpiece with nasi paper?
-Covering the inside of the headpiece with nasi paper gives it a cleaner, more finished appearance and hides the raw edges for a neat look.
What should be done to ensure the glue holds the pieces of the headpiece securely?
-To ensure the glue holds securely, it's important to allow the glued sections to dry completely and press them down to ensure a strong bond.
Outlines

This section is available to paid users only. Please upgrade to access this part.
Upgrade NowMindmap

This section is available to paid users only. Please upgrade to access this part.
Upgrade NowKeywords

This section is available to paid users only. Please upgrade to access this part.
Upgrade NowHighlights

This section is available to paid users only. Please upgrade to access this part.
Upgrade NowTranscripts

This section is available to paid users only. Please upgrade to access this part.
Upgrade NowBrowse More Related Video
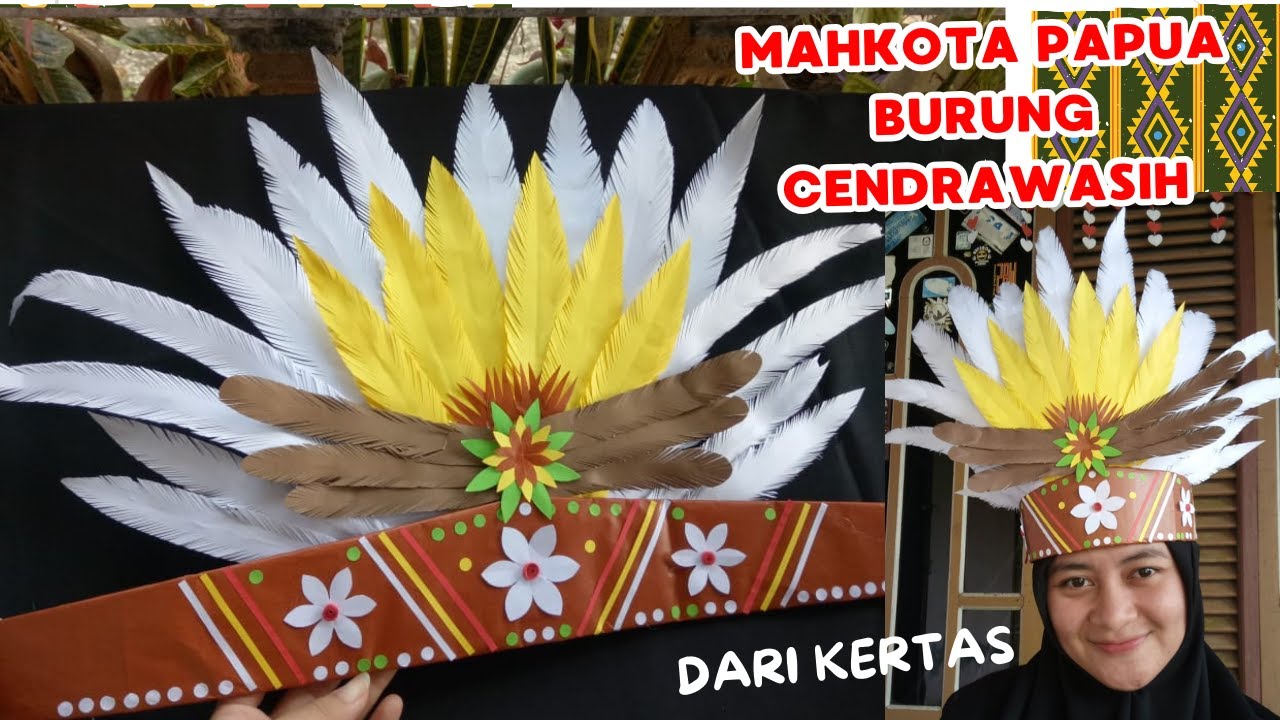
Cantik !! Tutorial Membuat Mahkota Hiasan Kepala Karnaval Adat Papua Burung Cendrawasih dari Kertas

DIY Bingkai foto dari kardus dan kertas kado||Photo frame with cardboard@TamtamArtandCraft
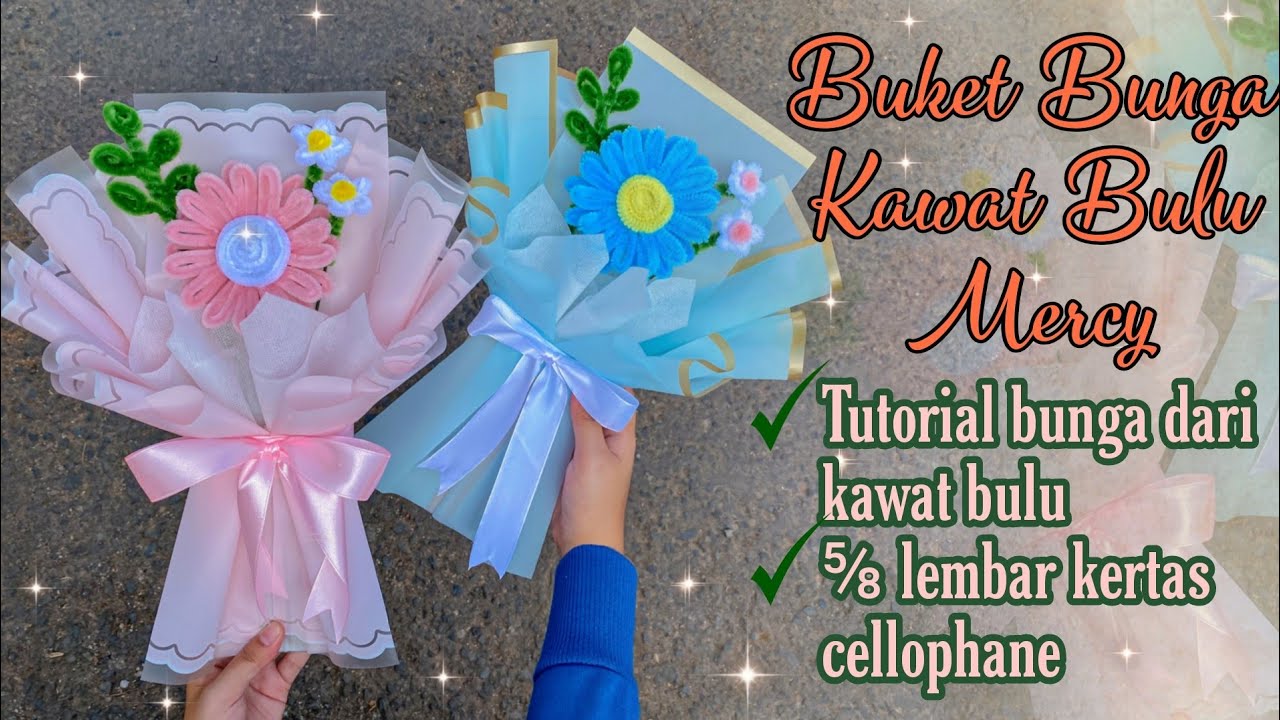
BUKET BUNGA DARI KAWAT BULU MERCY WRAPPING ⅝ LEMBAR KERTAS CELLOPHANE || PIPE CLEANER FLOWER BOUQUET
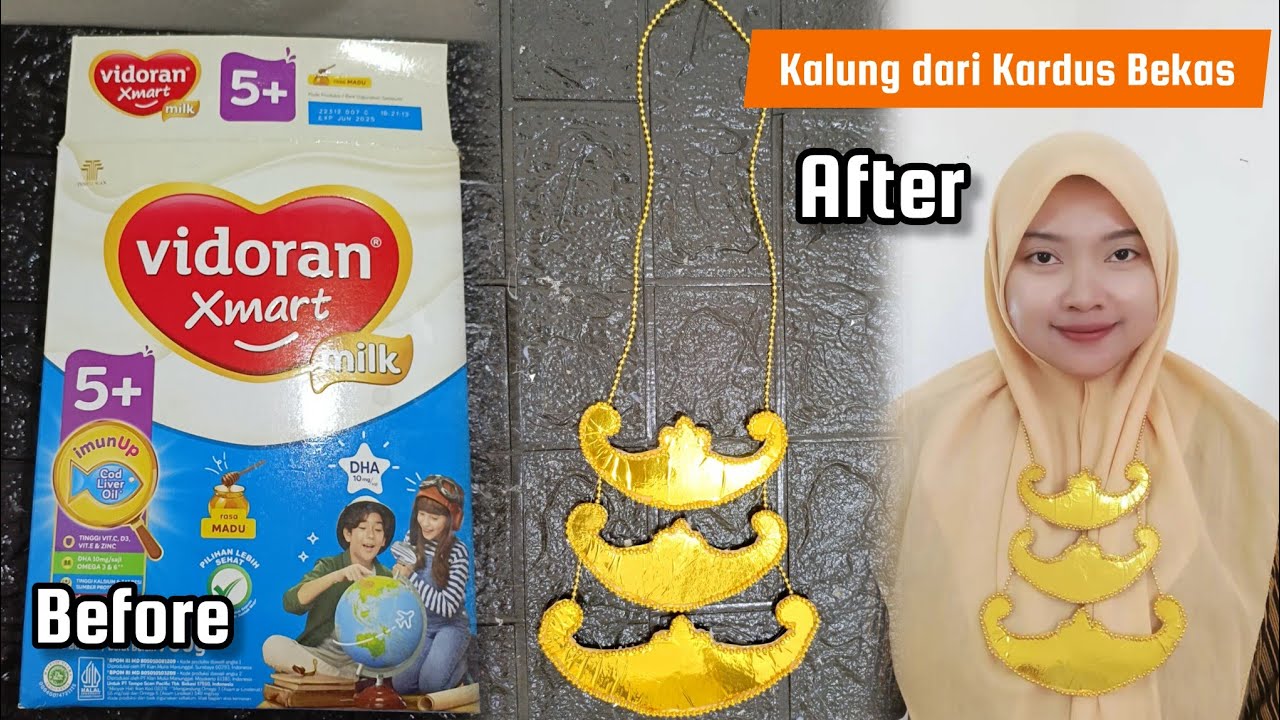
KALUNG ADAT DARI KARDUS BEKAS DAN KERTAS EMAS
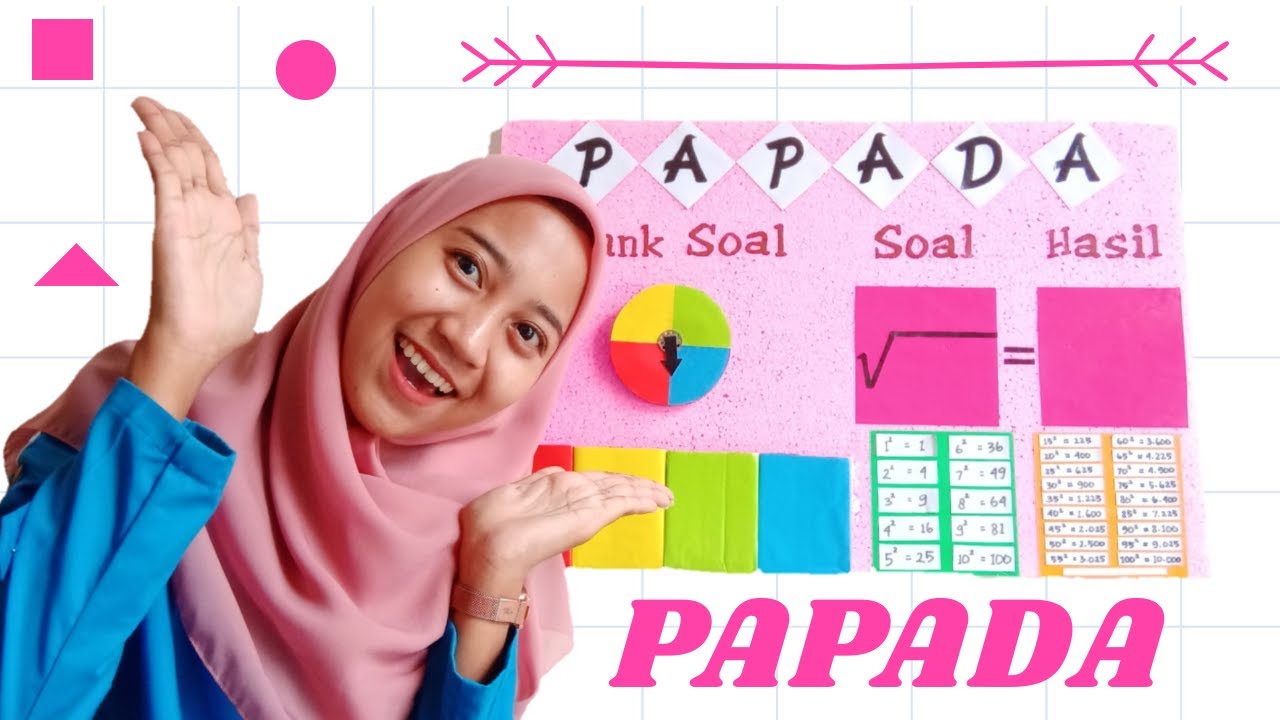
Media Pembelajaran PAPADA (Papan Akar Pangkat Dua)

Cara Membuat Bangun Ruang Tabung Dari Kertas Karton || Jaring Jaring Tabung || Buat Bangun Ruang
5.0 / 5 (0 votes)