Beta FPV Nano V2 With Pavo 20 (review and test)
Summary
TLDR在这个视频中,主播展示了如何通过安装Beta FPV Nano V2模块,使没有内置ELRS的遥控器能够支持ELRS功能。他详细介绍了安装过程,包括如何在遥控器上激活模块,并配置无人机(如Pavo 20)以适应新的遥控系统。通过实际操作,他向观众展示了ELRS系统带来的方便与效率,比如快速绑定和改善的飞行距离。视频中还包含了一些飞行测试,展示了无人机在各种模式下的表现,尤其是在有风的情况下。整个视频不仅提供了技术指导,还展示了通过一个小改动如何显著提升遥控飞行体验。
Takeaways
- 📡 介绍了Beta FPV Nano V2,一个可以为没有ELRS(Express Link Remote System)的遥控器增加ELRS功能的模块。
- 🔌 该模块有1千瓦和2千瓦两种型号,2千瓦型号提供更远的传输范围。
- 🔄 通过将模块安装在遥控器背面,即使是没有ELRS的Radio Master遥控器也能实现ELRS功能。
- 🔋 模块需要充电,一旦连接到遥控器,它就会启动并为遥控器提供ELRS功能。
- 📺 展示了如何实时将模块连接到遥控器,并在菜单中选择Express LRS进行设置。
- 🛠️ 为了使无人机与ELRS模块配合工作,需要在Data Flight中进行特定的端口和配置设置。
- 🔄 在配置方面,需要将UART 3和UART 4端口打开,并禁用自动配置。
- 📶 需要将UART 4的外围设备设置更改为VTX MSP加显示端口。
- ⚙️ 确保接收器通过串行UART连接,并且接收器提供商设置为Crossfire。
- 🔗 描述了如何将无人机与遥控器进行绑定,包括将遥控器置于绑定模式并按下无人机侧面的按钮。
- 🌬️ 尽管现场风很大,但使用ELRS模块的遥控器与无人机和护目镜的连接非常迅速。
- 🚁 飞行体验中提到,使用ELRS模块的遥控器与使用DJI遥控器2相比,连接速度更快。
- 🛤️ 飞行演示表明,Pavo无人机在风中表现稳定,即使有小碰撞也能继续飞行。
- 🔧 通过使用Nano V2模块,用户可以将任何遥控器转变为ELRS遥控器,而无需携带多个遥控器。
Q & A
Beta FPV Nano V2模块有什么特别之处?
-Beta FPV Nano V2模块是一个电子长距离系统(ELRS)模块,可以安装在没有ELRS功能的遥控器上,使其具备ELRS功能。这使得用户可以用一个遥控器来操控不同的无人机,包括微型无人机和大型高清无人机。
1千瓦和2千瓦模块的区别是什么?
-1千瓦和2千瓦模块的主要区别在于它们的通信范围。2千瓦模块比1千瓦模块提供更远的控制距离。
如何在遥控器上安装Beta FPV Nano V2模块?
-将Beta FPV Nano V2模块插入遥控器后部的相应插槽中即可。安装过程简单,不需要进行复杂的配置。
使用Beta FPV Nano V2模块后,如何在遥控器上启用ELRS功能?
-安装模块后,打开遥控器,进入菜单选择'ExpressLRS'选项,即可看到ELRS功能已经被启用。
为什么需要给Beta FPV Nano V2模块充电?
-Beta FPV Nano V2模块包含内置电池,需要充电以保证其正常工作。充电完成后,该模块可以为遥控器提供ELRS功能。
如何配置无人机以使用Beta FPV Nano V2模块?
-需要连接无人机到电脑,使用Betaflight软件配置。主要步骤包括设置UART端口,选择串行接收器选项,并确保接收器提供商设置为Crossfire。
如何将无人机与Beta FPV Nano V2模块绑定?
-在无人机和遥控器都开启的状态下,使用一个小工具按下无人机上的绑定按钮,进入绑定模式。之后遥控器和无人机会自动连接。
在飞行中如何切换不同的飞行模式?
-在遥控器上设置不同的辅助开关(AUX)来控制无人机的飞行模式,如arm模式、angle模式和horizon模式。
Beta FPV Nano V2模块的通用性如何?
-该模块非常通用,可以安装在任何没有内置ELRS的遥控器上,非常适合需要多种遥控器来操控不同无人机的飞行者。
Beta FPV Nano V2模块在风大的情况下表现如何?
-尽管测试飞行中遇到了较大的风,但使用Beta FPV Nano V2模块的无人机仍然能够稳定飞行,表明其性能在恶劣天气条件下依然可靠。
Outlines

This section is available to paid users only. Please upgrade to access this part.
Upgrade NowMindmap

This section is available to paid users only. Please upgrade to access this part.
Upgrade NowKeywords

This section is available to paid users only. Please upgrade to access this part.
Upgrade NowHighlights

This section is available to paid users only. Please upgrade to access this part.
Upgrade NowTranscripts

This section is available to paid users only. Please upgrade to access this part.
Upgrade NowBrowse More Related Video

BetaFPV Nano TX V2 ExpressLRS Module Review and TBS Tango 2 Module Bay Install
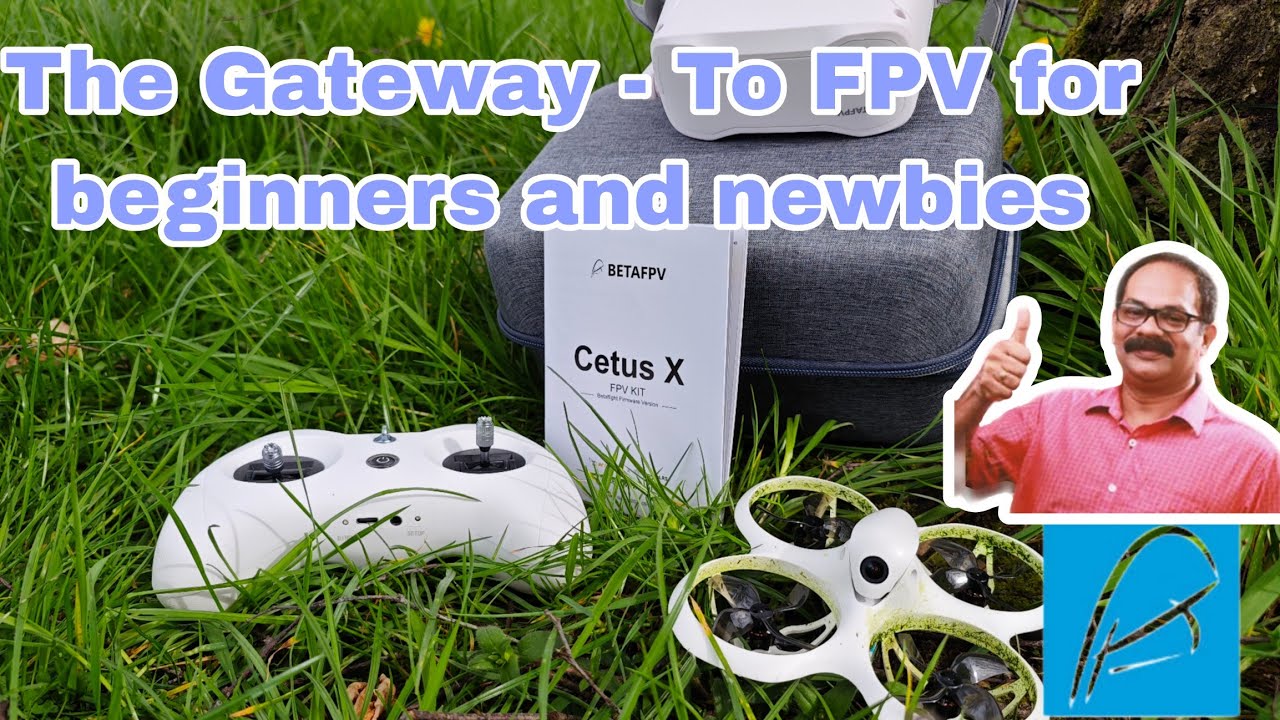
The Ultimate Betafpv Cetus X Kit Review - The Gateway Drug into FPV

🔶Mejora Tu SEÑAL RSSI en Tu DRON FPV🔶Prueba y Comparativa Modulo Externo | Super G Nano, BetaFPV

Easiest DIY Motion Controller for FPV using Betaflight

The GAME CHANGER BetaFPV SuperG Nano ELRS transmitter #elrs #betafpv #transmitter

【ELRS/drone】BetaFPV⌘Meteor75Pro 簡易設定&さっくりレビュー!!!!【Futaba/ExpressLRS】
5.0 / 5 (0 votes)
