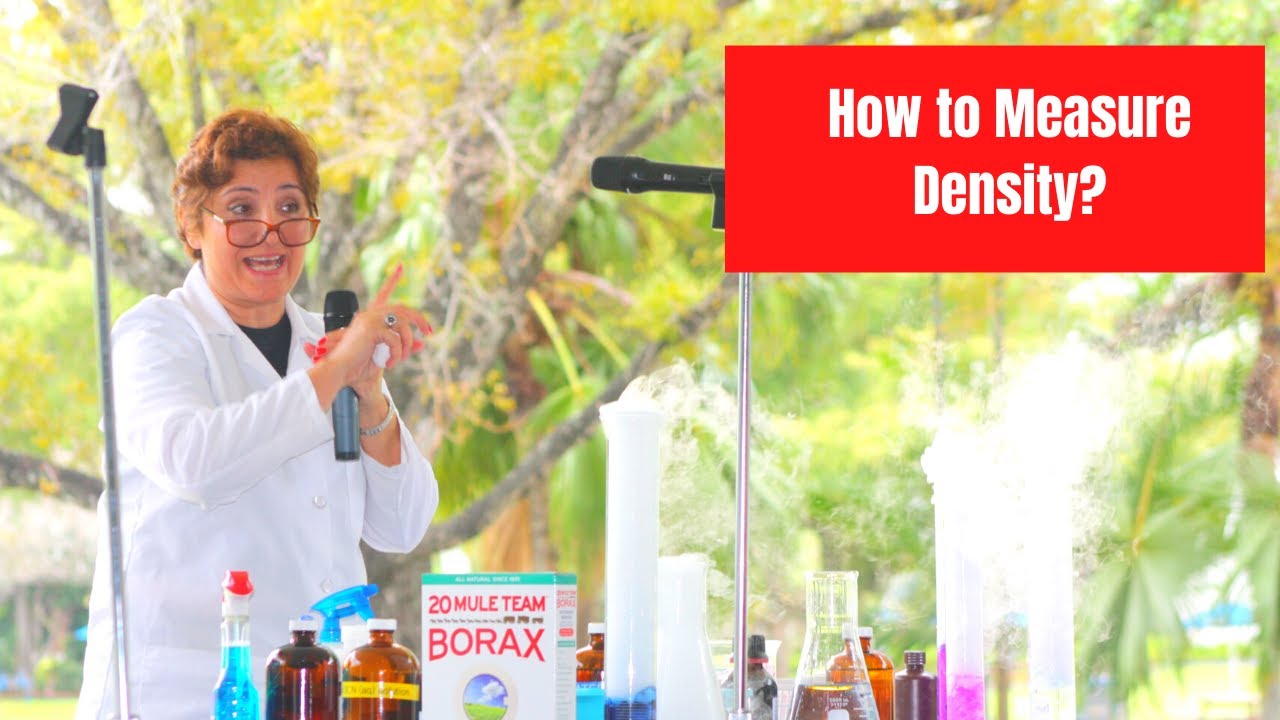
How to find the volume of a liquid in a graduated cylinder

Penny Marcotte
9 Mar 201601:18

Summary

TLDRThis video explains how to accurately measure the volume of a liquid in a graduated cylinder. It highlights the importance of observing the meniscus, the curve formed by the liquid's surface, and emphasizes measuring from the lowest point of the meniscus. The video also teaches viewers how to read the increments on the cylinder, breaking down the markings into smaller units. By understanding this, the video demonstrates how to calculate the volume, showing that the liquid measures 7.6 milliliters in the example provided.

Takeaways

  • 🔬 The video explains how to measure the volume of a liquid in a graduated cylinder.
  • 🌊 The surface of the liquid forms a curve called a meniscus, which is important when measuring.
  • 📏 In chemistry, volume is measured from the bottom of the meniscus for accuracy.
  • 📉 If the meniscus curves up, measure from the center (lowest point), and if it curves down, measure from the edges.
  • 🔍 It's crucial to first understand the increments on the cylinder before measuring.
  • 📊 In the example, the increments go from 7 milliliters (ml) to 8 ml, with five smaller tick marks between them.
  • ⚖️ Each smaller tick mark represents 0.2 ml (since 1 ml is divided into 5 parts).
  • 📈 The measurement is taken by counting the tick marks between the 7 and the meniscus.
  • 🔢 The bottom of the meniscus is at the third small tick mark after 7 ml, which equals 7.6 ml.
  • 🧪 The final volume of the liquid in the cylinder is 7.6 ml.

Q & A

  • What is a meniscus in a liquid?

    -A meniscus is the curve formed at the surface of a liquid when it is in a container like a graduated cylinder. The shape of the meniscus can either curve up or down depending on the liquid and container.

  • How do you measure the volume of a liquid with a meniscus?

    -You measure the volume of a liquid by reading from the bottom of the meniscus. If the meniscus curves upward, measure from the lowest point. If it curves downward, measure from the edges.

  • What is the significance of understanding the increments on the graduated cylinder?

    -Understanding the increments is essential for accurately measuring the liquid. Each tick mark represents a specific volume, and knowing what each mark stands for allows you to make precise measurements.

  • In the script, what is the volume between 7 ml and 8 ml divided into?

    -The volume between 7 ml and 8 ml is divided into five smaller tick marks. Each of these smaller marks represents 0.2 ml.

  • How is the volume calculated in this example?

    -The volume is calculated by counting the smaller tick marks beyond the 7 ml mark. In this case, three tick marks are counted, giving a volume of 7.6 ml.

  • What is the total volume of the liquid in the graduated cylinder as per the script?

    -The total volume of the liquid in the graduated cylinder is 7.6 ml.

  • Why is it important to read the bottom of the meniscus in chemistry?

    -Reading the bottom of the meniscus ensures consistent and accurate measurements of liquid volume, as the curved surface can distort the reading if taken from the top.

  • What would each small tick mark represent if there were 10 divisions between 1 ml increments?

    -If there were 10 divisions between 1 ml increments, each small tick mark would represent 0.1 ml.

  • What should be done before measuring the liquid in a graduated cylinder?

    -Before measuring, you should check the increments on the cylinder to understand how much each tick mark represents. This will help ensure an accurate reading.

  • Why is accurate measurement important in chemistry?

    -Accurate measurement is crucial in chemistry because even small errors can affect the outcomes of experiments, reactions, and calculations.

Outlines

00:00

📏 Understanding Liquid Volume Measurement in a Graduated Cylinder

This paragraph explains the process of measuring the volume of a liquid using a graduated cylinder. The liquid takes on a curved surface, known as the meniscus, and it is important to always measure from the bottom of this curve. Whether the meniscus curves up or down, the correct measurement is either from the lowest point at the center (for an upward curve) or from the edges (for a downward curve).

🔢 Reading Increments and Tick Marks on the Graduated Cylinder

This section describes the importance of understanding the increments on the graduated cylinder. The example provided shows increments of 7 and 8 milliliters (ml), with five smaller tick marks in between. Each smaller tick represents two-tenths of a milliliter (0.2 ml), and the person measures the liquid's volume by counting the tick marks until the meniscus is reached.

📊 Calculating the Volume of Liquid in the Cylinder

The final portion explains how to calculate the liquid volume. By counting three small tick marks after 7 ml, the liquid level reaches 7.6 ml. Thus, the total volume of the liquid in the graduated cylinder is 7.6 ml.

Mindmap

Keywords

💡Graduated Cylinder

A graduated cylinder is a common laboratory instrument used to measure the volume of liquids. In the video, it is the tool used to hold the liquid, allowing for an accurate reading of its volume. The increments on the side of the cylinder help determine the precise volume, which is central to the video's lesson.

💡Volume

Volume refers to the amount of space a substance (in this case, a liquid) occupies. It is a key measurement being discussed in the video, where the volume of liquid in a graduated cylinder is being determined in milliliters (ml). Understanding how to read volume accurately is the primary focus of the demonstration.

💡Meniscus

A meniscus is the curved surface of a liquid inside a container. The video emphasizes that in chemistry, measurements are always taken from the bottom of the meniscus to ensure accuracy. The concept of the meniscus is central to understanding how to correctly measure the volume of liquids in a graduated cylinder.

💡Milliliters (ml)

Milliliters are a unit of measurement for liquid volume. In the video, the liquid's volume is measured in milliliters, with the increments on the graduated cylinder showing values such as 7 ml and 8 ml. This measurement system helps provide precise and standardized readings in laboratory settings.

💡Tick Marks

Tick marks are the small lines on a graduated cylinder that represent units of measurement. In the video, both long and short tick marks indicate different values, with smaller marks dividing the space between larger increments. Understanding how to interpret these marks is crucial for reading the exact volume of the liquid.

💡Increments

Increments refer to the divisions of measurement on the graduated cylinder. The video explains that the cylinder has increments between the major tick marks, which represent smaller units such as fractions of a milliliter. Recognizing these increments helps in accurately determining the volume of the liquid.

💡Surface

The surface of the liquid refers to the visible top layer of the liquid in the graduated cylinder. The video shows how the surface can form a curve (the meniscus), and it explains how the shape of this surface affects where the measurement should be taken. This concept is important for proper volume measurement.

💡Measurement

Measurement in the context of the video is the process of determining the volume of liquid in the graduated cylinder. Accurate measurement involves recognizing the meniscus and understanding the increments between tick marks to record the correct value. The video guides viewers through this process step-by-step.

💡Accuracy

Accuracy refers to the precision with which the liquid’s volume is measured in the video. The video emphasizes the importance of being accurate by reading from the bottom of the meniscus and carefully counting the tick marks to ensure the correct volume is recorded.

💡Chemistry

Chemistry is the scientific field focused on the study of matter and its properties. In the video, the practice of measuring liquid volumes in a graduated cylinder is a fundamental skill in chemistry labs. Accurate volume measurement is essential for conducting chemical experiments and analyses.

Highlights

Introduction to measuring the volume of a liquid in a graduated cylinder.

Description of the graduated cylinder and the process of pouring liquid into it.

Explanation of the meniscus and how the surface of the liquid curves.

Clarification that in Chemistry, measurements are taken from the bottom of the meniscus.

Instructions on measuring from the center of the lowest point if the surface curves up.

Guidance on measuring from the edges if the surface curves down.

Emphasis on understanding the increments marked on the graduated cylinder.

Specific mention of the larger tick marks representing 7 ml and 8 ml on the cylinder.

Explanation of the smaller tick marks, representing 0.2 ml each.

Demonstration of how to count the tick marks between the larger increments.

Calculation of the volume as 7.6 ml based on the position of the meniscus.

Reminder to carefully identify the lowest point of the meniscus for accurate measurement.

Reinforcement of the importance of reading the cylinder at eye level to avoid parallax error.

Final conclusion that the volume of the liquid in the cylinder is 7.6 ml.

Overview of the step-by-step process for accurately measuring liquid volume in a lab setting.

Transcripts

play00:00

Let's review how we measure the Volume

play00:02

of a liquid in a graduated cylinder Here

play00:04

we have a graduated cylinder and just

play00:06

poured some water into it now when we

play00:09

pour a liquid in You'll notice that the

play00:11

surface of the liquid might take a bit

play00:13

of a curve Shape we call that Curve

play00:15

Surface a meniscus and in Chemistry we

play00:18

always measure From the bottom of the

play00:20

meniscus So if the surface curves up

play00:23

We'll measure from the center the lowest

play00:25

Point and if the surface curves down we

play00:28

measure from the edges So In Our

play00:30

cylinder Let's have a look and see what

play00:33

the actual volume of this liquid would

play00:35

be It's really important to first make

play00:37

sure you understand what the increments

play00:39

are so Here we have 7 mils and then we

play00:42

have 8 mils and that's represented by

play00:44

These long tick Marks Here In Between

play00:47

the seven and the 8 we actually have

play00:48

five smaller tick Marks So if this is 1

play00:51

m divided into 5 that means that each

play00:55

one of those smaller tick Marks

play00:56

represents two of a Mill so now I'm just

play00:59

going to count after we got 1 two 3 tick

play01:03

Marks until we Hit the bottom of our

play01:04

Surface our meniscus So that's going to

play01:07

be

play01:08

7.2

play01:09

4.6 so we would say the Volume of this

play01:12

liquid in this graduated cylinder would

play01:14

be 7.6 ml

Rate This

5.0 / 5 (0 votes)

Related Tags
Liquid VolumeMeniscus ReadingGraduated CylinderChemistry BasicsMeasurement TechniqueLab SkillsScience TutorialAccurate MeasuringSTEM LearningScientific Method