Weefun Tina2S 3D printer. Small, but perfectly formed!
Summary
TLDR视频展示了一款小巧便携的3D打印机开箱和测试过程。主播首先介绍了包装内容,包括快速入门指南、PLA线材、电源适配器、清洁工具和USB线。随后,主播展示了打印机的开箱和组装过程,强调了其自动调平功能和Wi-Fi连接能力。通过打印测试模型,主播验证了打印机的性能,并对打印质量表示满意。视频还探讨了使用第三方线材的问题、云打印功能以及通过手机应用控制打印机的体验。最后,主播总结了打印机的优缺点,特别提到了其适合空间有限的用户和初学者。
Takeaways
- 📦 开箱体验:视频展示了一个新3D打印机的开箱过程,强调了包装的紧凑性和保护措施。
- 🔌 配件概览:介绍了打印机的配件,包括快速入门指南、PLA线材、电源适配器、小工具包和USB线。
- 🌍 地区适配:特别指出了电源适配器是英国规格,意味着对不同地区的用户可能需要额外适配。
- 📄 说明书与软件:提到了包含的说明书、模型、软件和PDF文件,强调了它们的全面性和实用性。
- 🖨️ 打印机初印象:描述了打印机的外观和尺寸,以及与另一台打印机的比较,突出了其小巧的特点。
- 🚫 第三方线材限制:提到了打印机对第三方PLA线材的使用限制,但后来与厂商沟通后得知政策有所放宽。
- 🛠️ 设置与测试:详细说明了打印机的设置过程,包括装载线材、预热和打印测试模型。
- 📱 应用程序与Wi-Fi:探讨了通过应用程序和Wi-Fi远程控制打印机的可能性和步骤。
- 🔩 打印效果:展示了使用不同材料(如PLA和TPU)的打印效果,并对打印质量进行了评价。
- 🏠 空间占用:讨论了打印机对空间的需求,强调了其适合空间有限的环境。
- 🔧 维护与限制:提到了打印机的维护简便性,但也指出了线材卷大小和打印区域的限制。
Q & A
1. 这个视频主要介绍了什么产品?
-这个视频主要介绍了一款名为We Fun Tina 2S的小型3D打印机。
2. 打印机的开箱内容包括哪些?
-打印机开箱内容包括快速启动说明书、一卷250g的PLA耗材、电源适配器、胶棒、清洁喷嘴的工具、USB线和内存卡等。
3. 打印机是否支持第三方耗材?
-视频中提到,打印机的标签建议使用官方耗材,并禁止使用第三方耗材。但随后澄清说这是为了避免不兼容问题,并不是强制禁止第三方耗材。
4. 这款3D打印机的自动调平系统是如何工作的?
-打印机的自动调平系统依靠一个接近传感器来测量喷嘴和打印床之间的距离,从而实现自我校准,确保打印平台水平。
5. 打印机的打印尺寸是多少?
-打印机的最大打印尺寸大约为100x100x100毫米,适合打印小型物件。
6. 这款打印机在视频中展示的打印质量如何?
-视频展示了几次打印的结果,整体打印质量相当不错,尽管在某些细节方面略有不同,但与高端3D打印机的输出质量相差不大。
7. 视频中提到了通过云端控制打印机的功能,用户可以通过云端做什么?
-通过云端控制,用户可以远程控制打印机,包括上传打印文件、监控打印进程等功能。
8. 打印机的主要优点是什么?
-打印机的主要优点是价格实惠、适合初学者、自动调平系统易于操作、开箱即用、尺寸小巧适合空间有限的用户。
9. 这款3D打印机的主要缺点是什么?
-主要缺点是打印区域较小,耗材卷也相对较小,需要频繁更换,此外第三方耗材的使用存在一定的限制。
10. TPU材质打印效果如何?
-视频中展示了使用TPU材质进行打印,结果相当不错,打印件具有弹性,非常适合用于制作柔性部件,如摄像头支架。
Outlines

This section is available to paid users only. Please upgrade to access this part.
Upgrade NowMindmap

This section is available to paid users only. Please upgrade to access this part.
Upgrade NowKeywords

This section is available to paid users only. Please upgrade to access this part.
Upgrade NowHighlights

This section is available to paid users only. Please upgrade to access this part.
Upgrade NowTranscripts

This section is available to paid users only. Please upgrade to access this part.
Upgrade NowBrowse More Related Video
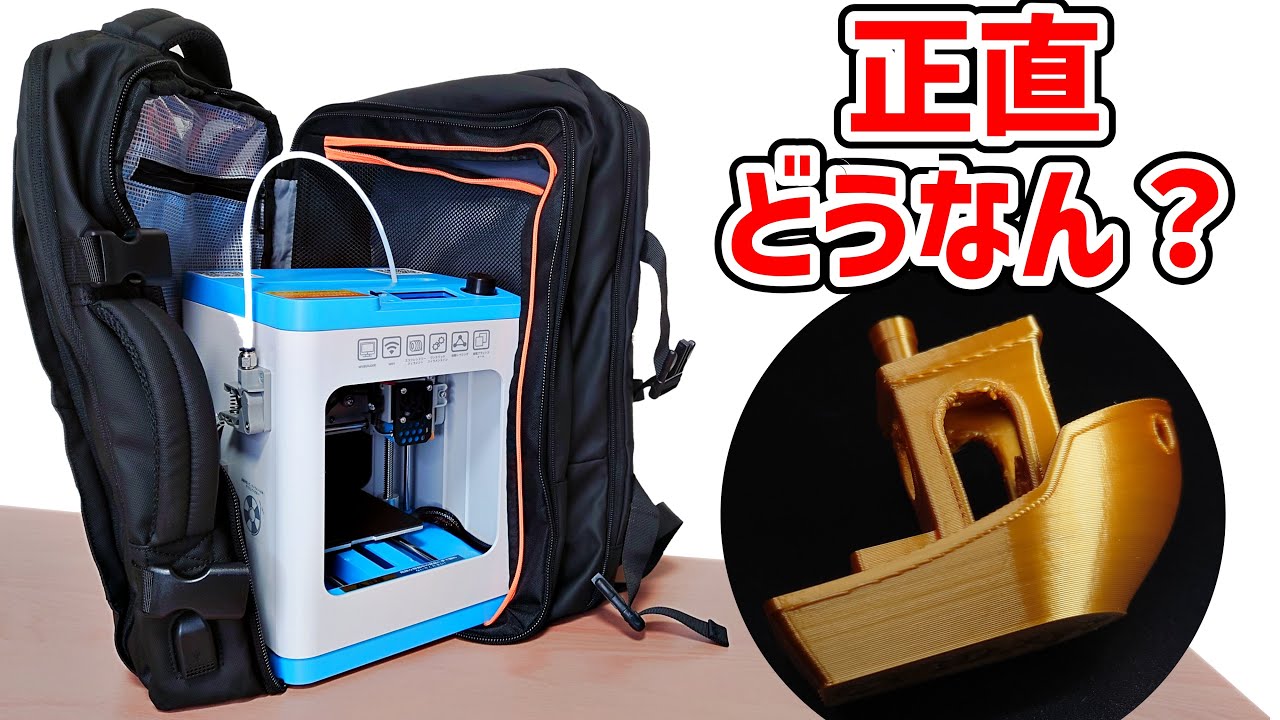
持ち運べるコンパクト3Dプリンター ENTINA Tina2Sの実力とは!?

格安でコンパクトな3DプリンターTina 2Sをレビュー!【ENTINA】
3D printing made easy with the Tina2 PLUS from WEEFUN!!
【初心者におすすめ】3DプリンターENTINA Tina2Sで実際に作ってみた|レビュー|家でも簡単で子どもにも
Entina 3D - It's a fun little printer! Product Review

The Entina Tina2S 3D Printer is so tiny! #3DPrinting #Entina #Tina2S #Polymaker
5.0 / 5 (0 votes)
