Double Exposure Effect in Photoshop Tutorial
Summary
TLDRIn this tutorial, learn how to create a stunning double exposure effect in Photoshop. Start by selecting the subject and adding a layer mask. Place a second image and adjust it above the subject, creating a clipping mask. Use the brush tool with a soft round brush and low flow to blend the images. Add a gradient background and adjust it to your liking. Merge layers into a Smart Object and apply the Camera Raw filter for final touches. The video is a helpful guide for those looking to enhance their photo editing skills.
Takeaways
- 🖼️ Start by creating a double exposure effect in Photoshop.
- 🔍 Use the 'Select Subject' tool to isolate the subject in the first image.
- 🎭 Add a layer mask after selecting the subject to refine the selection.
- 🏞️ Place a second image and position it above the first image.
- 📋 Create a clipping mask to align the second image with the subject.
- 🖌️ Adjust the image inside the subject using the brush tool with a flow of 15%.
- 🎨 Add a gradient background to enhance the visual appeal.
- 🔧 Adjust the gradient layer to achieve the desired effect.
- 🤖 Convert both layers into a Smart Object for non-destructive editing.
- 📸 Apply the Camera Raw filter to make final adjustments to the image.
- 👍 Encourage viewers to like and subscribe for more helpful content.
Q & A
What is the main topic of the video?
-The main topic of the video is how to create a double exposure effect in Photoshop.
Where should you start in Photoshop to create the double exposure effect?
-You should start by going to the 'Select' menu and selecting 'Subject'.
What is the purpose of adding a layer mask after selecting the subject?
-Adding a layer mask after selecting the subject helps to refine the selection and isolate the subject from the background.
How do you place the second image in the double exposure effect?
-You place the second image by adjusting it above the subject layer in the Layers panel.
What is a clipping mask and how is it used in this tutorial?
-A clipping mask is a way to confine the visibility of the layers above it to the shape of the layer directly below it. In this tutorial, it is used to make the second image conform to the shape of the subject.
Why is the flow of the brush tool decreased to 15% in the video?
-Decreasing the flow to 15% allows for more control and subtlety when painting with the brush tool, which is useful for blending the edges in the double exposure effect.
What type of brush is recommended for brushing in the double exposure effect?
-A soft round brush is recommended for brushing in the double exposure effect, as it provides a smooth and natural blending.
How does adding a gradient background enhance the double exposure effect?
-Adding a gradient background can add depth and visual interest to the double exposure effect, making the composition more dynamic and engaging.
What is a Smart Object and why is it used in this video?
-A Smart Object is a layer that allows for non-destructive editing. It is used in this video to enable further adjustments and transformations without losing quality.
What is the purpose of using the Camera Raw filter in the video?
-The Camera Raw filter is used for making advanced adjustments to the image, such as color correction, exposure, and contrast, to enhance the final look of the double exposure effect.
How can viewers show their appreciation for the video?
-Viewers can show their appreciation by liking and subscribing to the channel, as mentioned in the video.
Outlines

This section is available to paid users only. Please upgrade to access this part.
Upgrade NowMindmap

This section is available to paid users only. Please upgrade to access this part.
Upgrade NowKeywords

This section is available to paid users only. Please upgrade to access this part.
Upgrade NowHighlights

This section is available to paid users only. Please upgrade to access this part.
Upgrade NowTranscripts

This section is available to paid users only. Please upgrade to access this part.
Upgrade NowBrowse More Related Video

Create VIRAL Double Exposure Couple Photos in Canva (FREE Step by Step Tutorial)
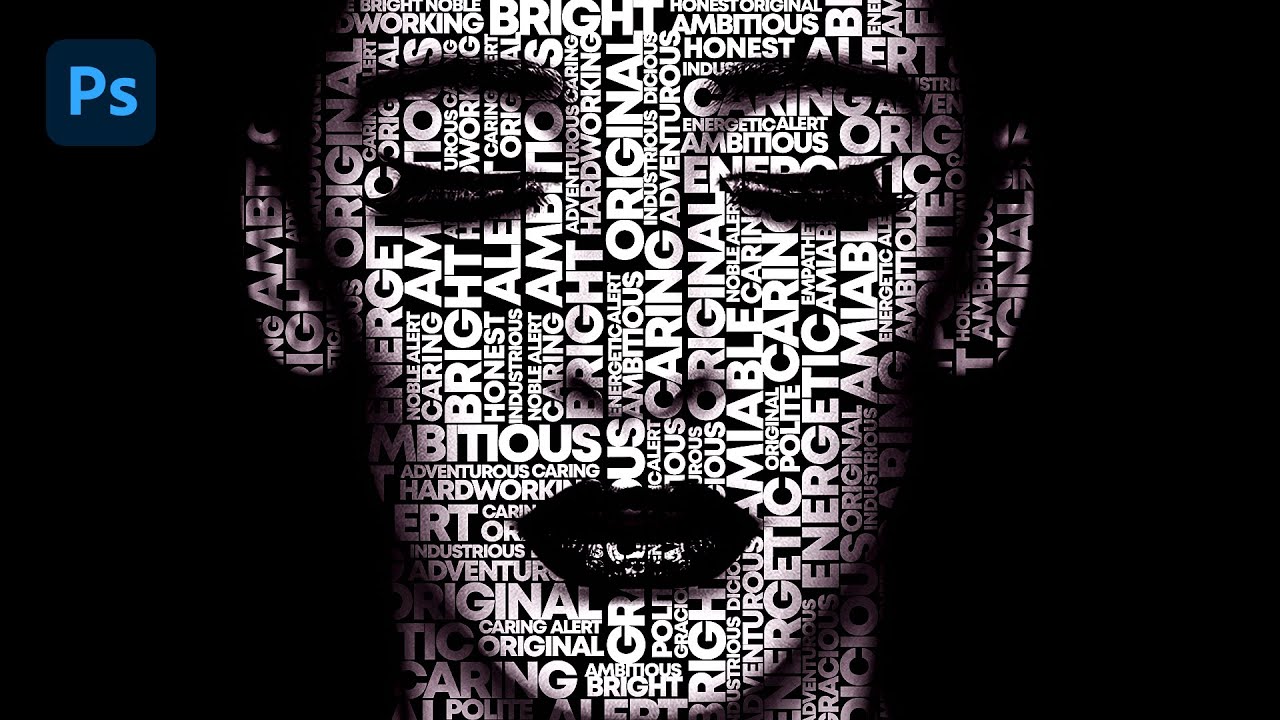
Text portrait Effect in Photoshop

Double Exposure Effect in Canva | Easy Photo Manipulation Tutorial

Double Colour Exposure Photoshop Tutorial
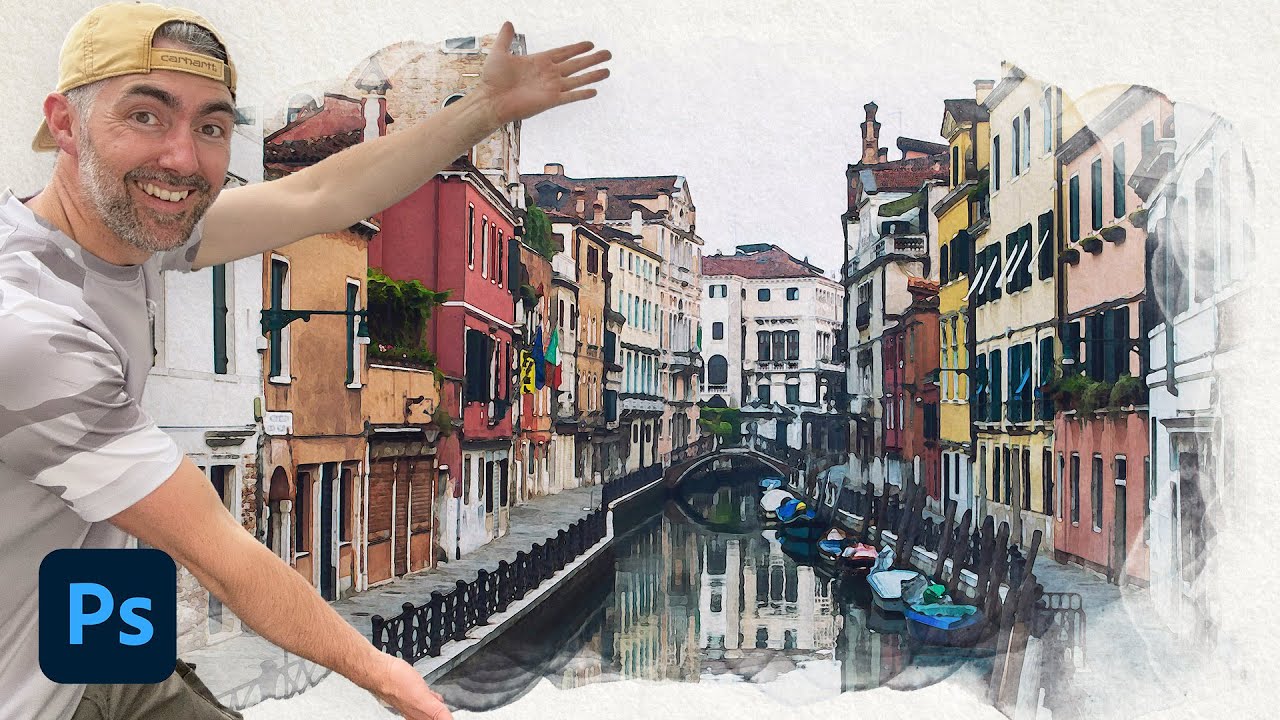
How to Create a Watercolor Painting Effect in Photoshop

How To Create a Vintage Postcard Design (Illustrator & Photoshop Tutorial)
5.0 / 5 (0 votes)