CapCut App Video Editing Tutorial - FOR BEGINNERS
Summary
TLDRThis tutorial introduces CapCut, a free editing app praised as the best in the world, perfect for beginners. The speaker guides viewers through downloading the app, setting up a free account, and navigating the interface on various devices. Key features include importing videos, arranging clips, cutting and trimming footage, and adding transitions—all without spending a dime. The goal is to help users quickly master the basics of video editing and export high-quality content for platforms like YouTube.
Takeaways
- 😀 The video is a tutorial for beginners on using the free editing app 'CapCut'.
- 📱 CapCut is available for download on iOS, Android, and desktop platforms.
- 🆓 The app can be used for free, with an option to upgrade to a Pro account for additional features.
- 🎥 The tutorial covers how to import videos into the app and arrange them in the desired order.
- ✂️ It explains how to use the split tool to trim and cut video clips precisely.
- 🔍 The importance of starting the video right before speaking to avoid dead space is highlighted.
- 🔄 The script mentions that it's possible to reorder clips and make adjustments as needed.
- 🕊️ The app offers a 'Pro' feature set for paying users, but the tutorial focuses on free tools.
- 📊 The process of adding transitions between clips is demonstrated, including how to adjust their duration.
- 🔄 Undoing actions like transitions, color correction, and zooming is possible with a simple tap.
- 🎨 CapCut allows for detailed adjustments such as adding text, cutting out backgrounds, and color correction.
- 📹 The tutorial emphasizes the importance of exporting video at the correct resolution and frame rate to match the original footage.
- 🚀 The final step involves exporting the edited video to the device and then uploading it to platforms like YouTube.
Q & A
What is the name of the free editing app recommended in the video?
-The app recommended in the video is called CapCut.
Is it necessary to pay for CapCut to use it for editing videos as described in the tutorial?
-No, the tutorial emphasizes that CapCut can be used for free, and there's no need to pay for the basic editing features demonstrated.
How can one download CapCut according to the video?
-CapCut can be downloaded from the iOS Store, Google Play Store, or by visiting capcut.com.
What should a beginner do if prompted to pay after downloading CapCut?
-If prompted to pay, a beginner should look for an 'X' in one of the corners and tap on it to close the prompt, continuing to use the app for free.
What device is the tutorial conducted on?
-The tutorial is conducted on an iPad.
How does the video editor know where to make the first cut in the video?
-The editor suggests scrubbing to the very beginning of the video and making the cut right before they start speaking.
What is the importance of trimming the beginning of the video as described?
-Trimming the beginning of the video is important to avoid dead space and to start the video quickly, engaging the viewer right away.
How can one adjust the order of video clips in the timeline in CapCut?
-One can adjust the order by pressing and holding a clip and moving it to the desired position in the timeline.
What is the purpose of the 'split' tool in CapCut?
-The 'split' tool is used to make a cut in the video clip, allowing the user to select and delete a specific part of the video.
What does the video tutorial cover in terms of basic video editing with CapCut?
-The tutorial covers cutting, trimming at the playhead, adding transitions, and adjusting the volume, with mentions of other features like text, background cutout, stickers, and color adjustments.
How can users export their edited video from CapCut?
-After editing, users can tap on the upload arrow, choose the desired resolution and settings, and then save the video to their device to upload elsewhere, like YouTube.
What is the default ending feature mentioned in the video, and how can it be removed?
-The default ending feature adds a CapCut logo at the end of the video. It can be removed by tapping on the logo to delete it or by going to settings and turning off the 'add default ending' option.
Outlines

This section is available to paid users only. Please upgrade to access this part.
Upgrade NowMindmap

This section is available to paid users only. Please upgrade to access this part.
Upgrade NowKeywords

This section is available to paid users only. Please upgrade to access this part.
Upgrade NowHighlights

This section is available to paid users only. Please upgrade to access this part.
Upgrade NowTranscripts

This section is available to paid users only. Please upgrade to access this part.
Upgrade NowBrowse More Related Video

10 Smart Hacks For Creating Content!
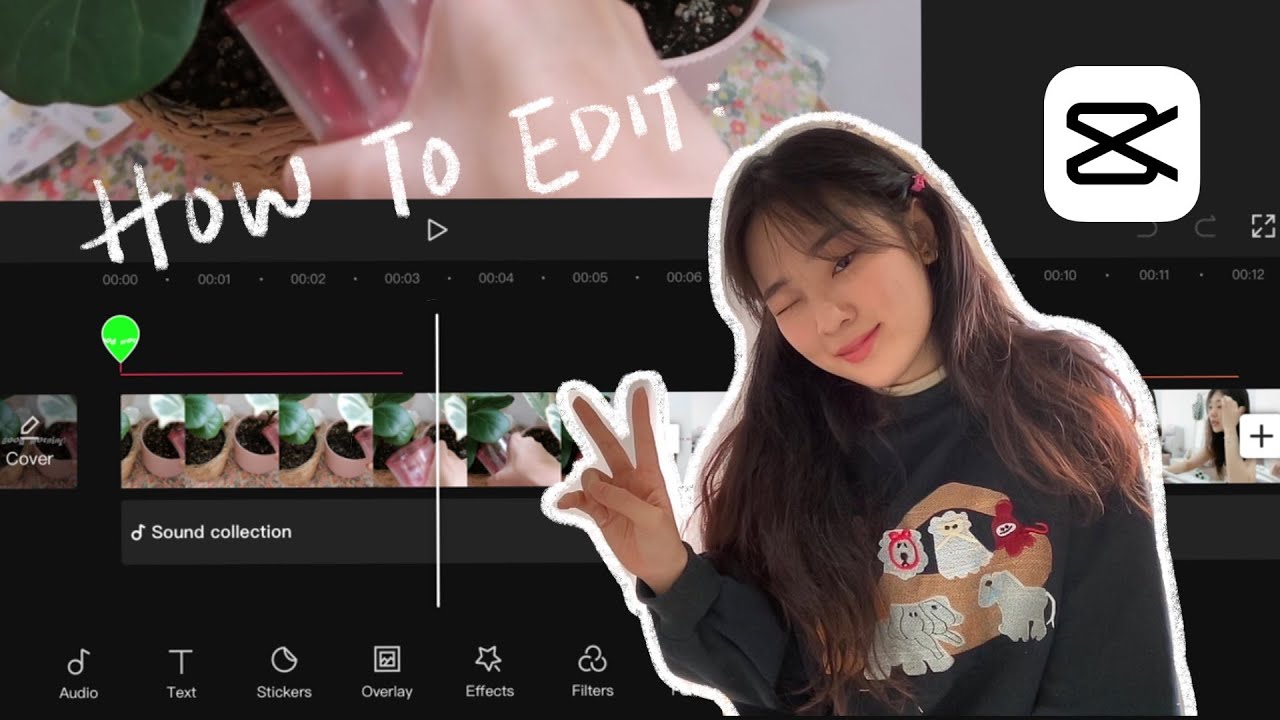
☁️ how to edit aesthetic videos on capcut! 🌻 (mobile/ tablet friendly!)
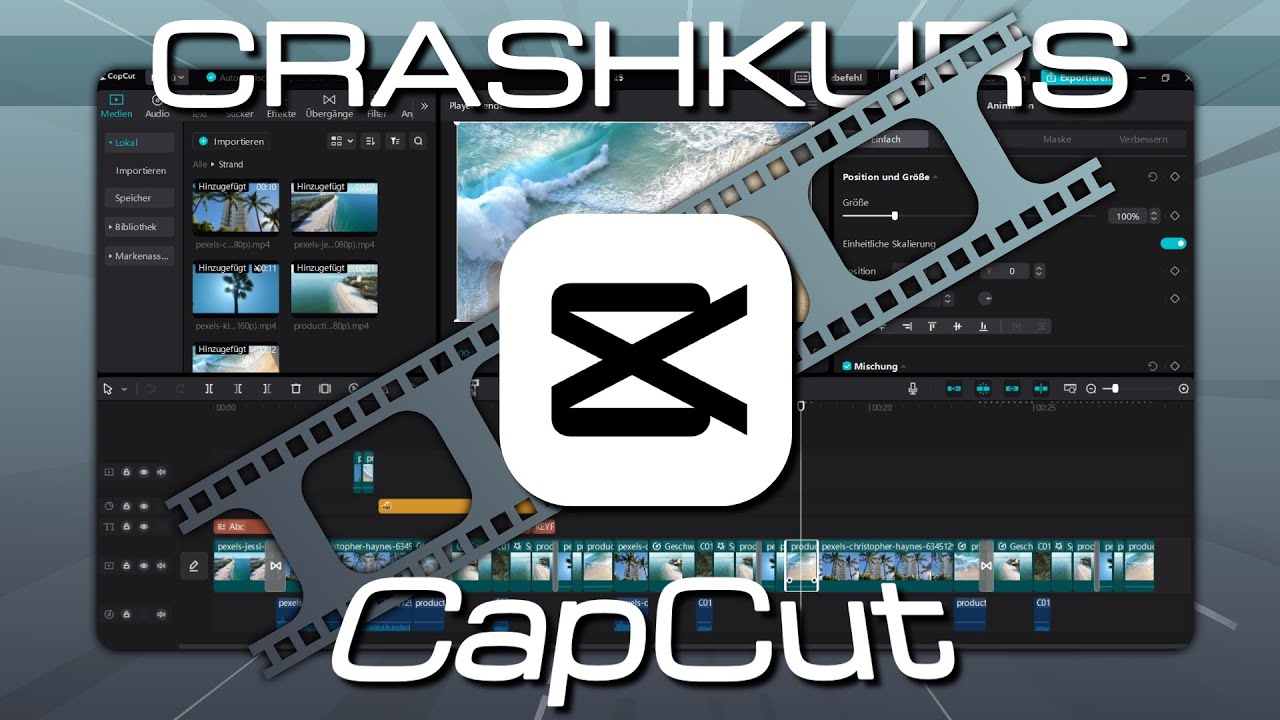
Crashkurs für Anfänger | CapCut (Desktop) Tutorial Deutsch
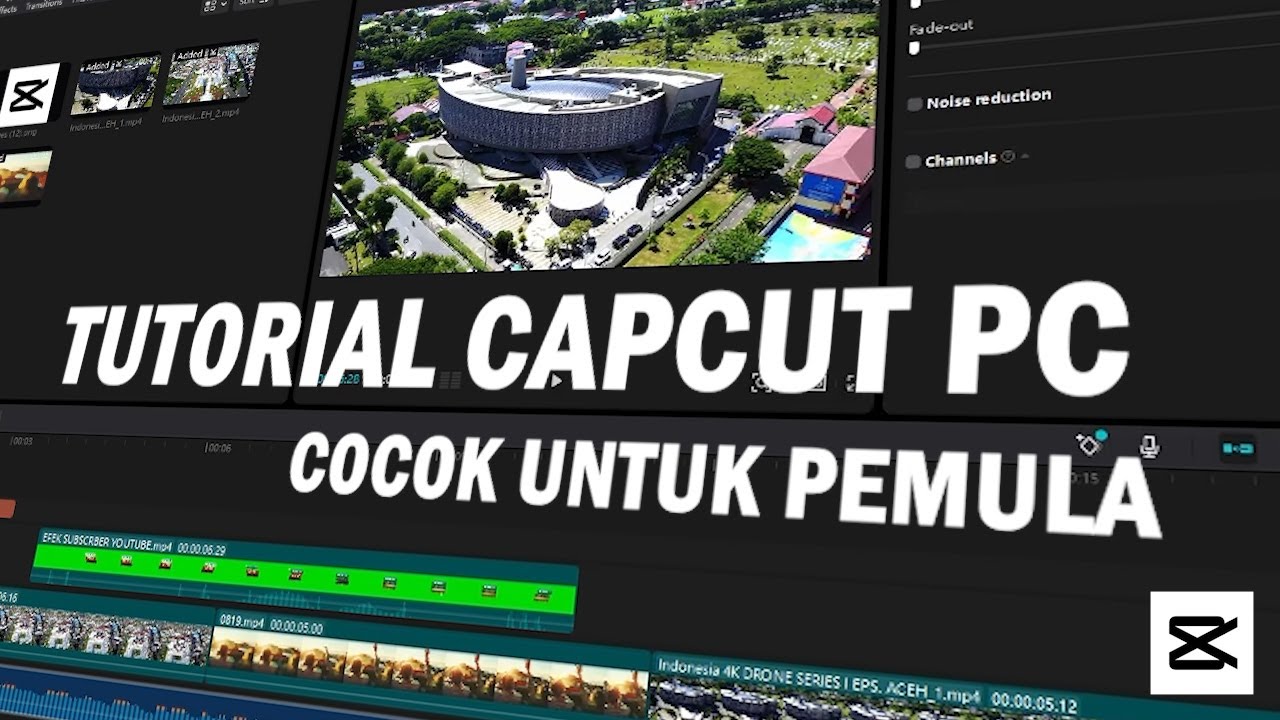
CARA EDIT VIDEO DI CAPCUT MENGGUNAKAN PC Dan LAPTOP - BELAJAR CAPCUT DI PC
LEARN CAPCUT IN 15 MINUTES // COMPLETE MOBILE VIDEO EDITING TUTORIAL FOR BEGINNERS!

Introduction to Mobile Video Editing (using Capcut)
5.0 / 5 (0 votes)