Smaltatura ceramica ad immersione, come smaltare la terracotta e la ceramica
Summary
TLDRThis video is a comprehensive guide on dip glazing ceramics. The instructor meticulously explains the process, from preparing the glaze solution to immersing and cleaning the pieces. He highlights the benefits of dip glazing, such as minimal waste and ease of execution without specialized equipment. The video delves into the importance of adjusting glaze density based on the porosity of different clay bodies, ensuring uniform absorption. The instructor also demonstrates techniques for handling pieces during immersion, using tongs and hand-dipping methods. Additionally, he provides insights on ensuring proper coverage and cleaning excess glaze, making this video an invaluable resource for both novice and experienced ceramic artists.
Takeaways
- 🧯 Immersion glazing is a practical technique as it produces minimal glaze wastage and pollution compared to other glazing methods.
- 🏡 Immersion glazing can be done at home without specialized equipment like spray booths or respirators. Only a bucket, water, and powdered glaze are needed.
- ⚖️ The density of the glaze mixture is important and should be adjusted based on the porosity and material of the ceramic pieces being glazed.
- 🥣 For pieces with different porosities, separate glaze containers with different densities may be needed, or immersion times can be varied.
- 🦷 Pieces with thinner sections will saturate and absorb less glaze compared to thicker sections.
- 🥽 Proper cleaning of bisque pieces before glazing is crucial to ensure good glaze absorption and avoid defects.
- 🤏 Tongs or grips are essential tools for safely handling and immersing pieces in the glaze.
- 🛀 When immersing, the last part to enter the glaze should be the first to exit to ensure even glaze absorption.
- 💧 After immersion, excess glaze should be allowed to drip off and any remaining drips or uneven spots should be smoothed out.
- ♻️ Excess glaze can be recovered, strained, and reused to minimize waste.
Q & A
What is the main topic of this video?
-The main topic of this video is dip glazing, which is a type of glazing technique used in ceramics. The video provides a detailed explanation of the dip glazing process, including the preparation of the glaze mixture, tools needed, and step-by-step instructions for dipping various ceramic pieces.
What are the advantages of dip glazing mentioned in the video?
-Two main advantages of dip glazing are mentioned: 1) It is a practical technique with minimal glaze wastage, reducing environmental pollution and costs. 2) It can be done at home without specialized equipment like spray guns or booths.
How is the glaze mixture prepared for dip glazing?
-The glaze powder is mixed with water in a bucket the night before, as per the supplier's instructions. The next morning, it is thoroughly stirred with a wooden tool and then sieved through a fine mesh into another container to remove any lumps or crystals that might cause defects.
What is the importance of measuring the glaze density?
-Measuring the glaze density with a densimeter is crucial because different ceramics have varying levels of porosity. The ideal density for most ceramic glazes is around 45, while for cristalline glazes, it is around 40. The density needs to be adjusted based on the porosity of the pieces being glazed.
How does the porosity of the ceramic pieces affect the glazing process?
-The porosity of the ceramic pieces affects how much glaze they absorb. More porous pieces, like terra cotta, will absorb more glaze and require a longer dipping time or a denser glaze mixture. Less porous pieces, like stoneware, will absorb less glaze and may require a thinner glaze mixture or shorter dipping time.
What tools are used for dipping the ceramic pieces in the glaze?
-Various types of tongs or pliers are used for dipping ceramic pieces in the glaze. The video demonstrates the use of a common type of tongs, as well as a custom-made plier tool made by the narrator's father, which allows for adjusting the grip.
Why is it important to clean the ceramic pieces before glazing?
-It is crucial to clean the ceramic pieces before glazing to remove any dust, cobwebs, or residue that might interfere with the glaze's absorption into the pores of the piece. The video suggests using compressed air, damp sponges, or even re-firing the pieces if they are excessively dirty.
What is the proper technique for dipping ceramic pieces in the glaze?
-The proper technique involves immersing the piece into the glaze from one side and lifting it out from the opposite side. This ensures that the last part to enter the glaze is the first part to exit, minimizing uneven glaze absorption. For pieces with narrow openings, the glaze can be poured into the piece before dipping.
How should the excess glaze be handled after dipping?
-After dipping, the excess glaze should be allowed to drip off, and any remaining drips can be gently spread out with a finger or a tool like a rib. The bottom of the piece should be cleaned with a paper towel or damp sponge to remove any excess glaze.
What is the final step mentioned in the video after dip glazing?
-The final step mentioned in the video is firing the glazed ceramic pieces in a kiln. The narrator mentions checking the results once the pieces come out of the kiln the next day or the day after.
Outlines

This section is available to paid users only. Please upgrade to access this part.
Upgrade NowMindmap

This section is available to paid users only. Please upgrade to access this part.
Upgrade NowKeywords

This section is available to paid users only. Please upgrade to access this part.
Upgrade NowHighlights

This section is available to paid users only. Please upgrade to access this part.
Upgrade NowTranscripts

This section is available to paid users only. Please upgrade to access this part.
Upgrade NowBrowse More Related Video
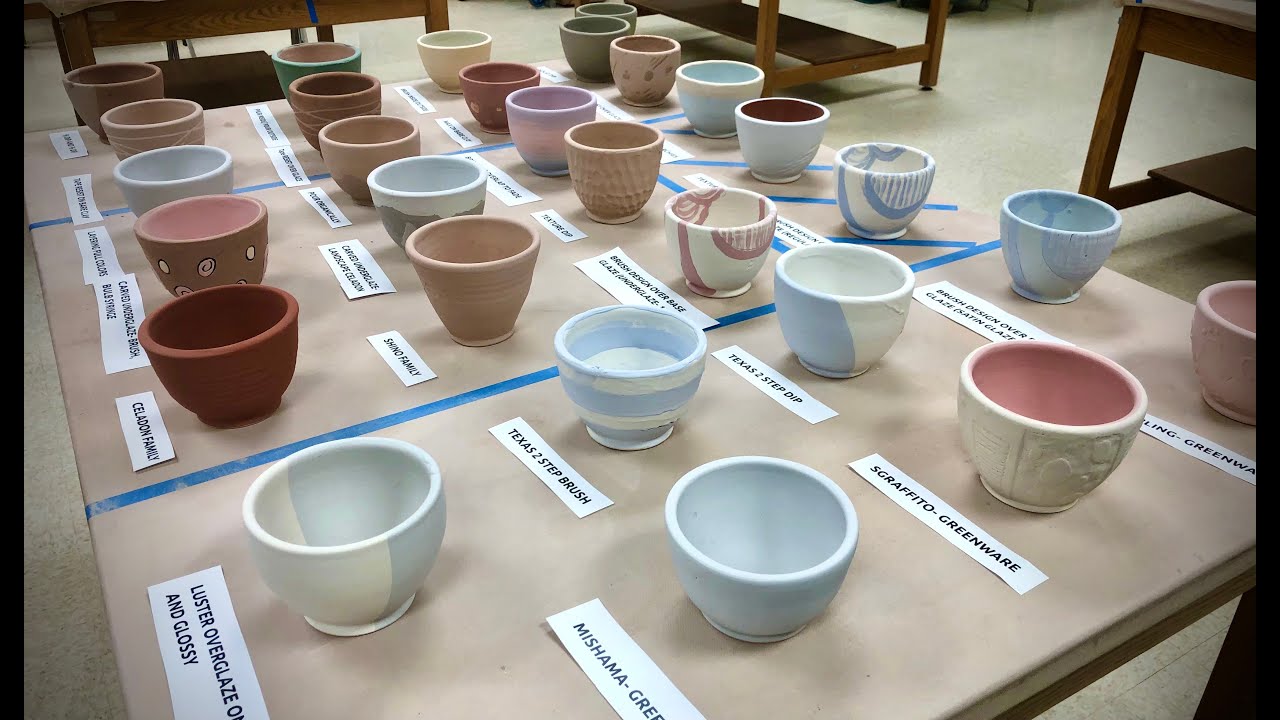
Glazing Possibilities- 28 Different Approaches to Glazing Pottery!

Ceramics Manufacturing Facility
Why Porcelain Is So Expensive | So Expensive | Business Insider

全英Vlog和我一起练听力!美国大学生的一天

Quante Argille Esistono? 4 Argille per Ceramica per Bassa Temperatura + TEST SMALTO.
Como é feita uma privada #Boravê 🔵Manual do Mundo
5.0 / 5 (0 votes)