Easy Samsung Galaxy S22 Root Tutorial with Magisk
Summary
TLDRThis video tutorial guides viewers through the process of rooting the Samsung Galaxy S22 series, including the base model, S22 Plus, S22 Ultra, and the upcoming S22 FE, using Magisk. It emphasizes the prerequisite of having an unlocked bootloader, a step detailed in a previously released video linked in the description. The tutorial covers downloading and installing Magisk via GitHub, using Odin and the necessary firmware files from samfw.com, and the step-by-step process of patching the firmware file with Magisk. The video concludes with testing root access using a root checker app, ensuring viewers can successfully root their Galaxy S22 devices.
Takeaways
- 📱 The tutorial demonstrates rooting the Samsung Galaxy S22 series, including the base model, S22 Plus, S22 Ultra, and S22 FE, using Magisk.
- 🔒 Before rooting, the bootloader must be unlocked, and a separate tutorial for unlocking the bootloader is mentioned.
- 🕹️ Magisk is required to be downloaded from GitHub for the rooting process.
- 💻 Odin software is necessary on the PC to proceed with the rooting process.
- 📄 Downloading and extracting the phone's firmware to the PC is a crucial step, with samfw.com recommended for downloading the firmware.
- 📂 The extracted firmware includes five key files: AP, BL, CP, CSC, and HOME_CSC.
- 📥 The AP file needs to be copied to the Galaxy S22 and then patched using the Magisk app to create a 'magisk_patched' file.
- 🛠️ The phone must be booted into download mode to flash the modified firmware using Odin.
- 💾 Specific firmware files (BL, CP, CSC, and the Magisk patched file) are loaded into Odin for the rooting process.
- 🔧 After the flashing process, the phone automatically reboots, requiring a final setup to fully install and activate Magisk.
- ✔️ Root access is verified using a root checker app, confirming the success of the rooting process.
Q & A
What is the primary goal of the video tutorial mentioned in the transcript?
-The primary goal is to show how to root the Samsung Galaxy S22 series smartphones using Magisk.
What is the first requirement before proceeding with the rooting process in the video?
-The bootloader of the smartphone must be unlocked before proceeding with the rooting process.
What models of the Galaxy S22 series are covered in the rooting tutorial?
-The tutorial covers the base model of the Galaxy S22, Galaxy S22 Plus, Galaxy S22 Ultra, and the upcoming Galaxy S22 FE.
Where can Magisk be downloaded according to the video?
-Magisk can be downloaded from its GitHub page.
What software is required on the PC to proceed with the rooting process?
-Odin software is required to be installed on the PC for the rooting process.
Where does the video suggest to download the firmware needed for the Galaxy S22?
-The firmware can be downloaded from the website samfw.com.
What files are obtained after extracting the downloaded firmware?
-After extracting, you get five files: AP, BL, CP, CSC, and Home CSC.
What is the next step after patching the AP file with Magisk?
-After patching, the modified AP file (now a Magisk_patched tar file) should be copied back to the PC.
How can you confirm that Odin has detected the connected Galaxy S22 in download mode?
-Odin confirms the connection by filling one of its boxes with blue and indicating the COM port number.
What indicates the completion of the rooting process in Odin?
-The completion is indicated by a green 'PASS' message in Odin and the Galaxy S22 automatically rebooting.
Outlines

This section is available to paid users only. Please upgrade to access this part.
Upgrade NowMindmap

This section is available to paid users only. Please upgrade to access this part.
Upgrade NowKeywords

This section is available to paid users only. Please upgrade to access this part.
Upgrade NowHighlights

This section is available to paid users only. Please upgrade to access this part.
Upgrade NowTranscripts

This section is available to paid users only. Please upgrade to access this part.
Upgrade NowBrowse More Related Video
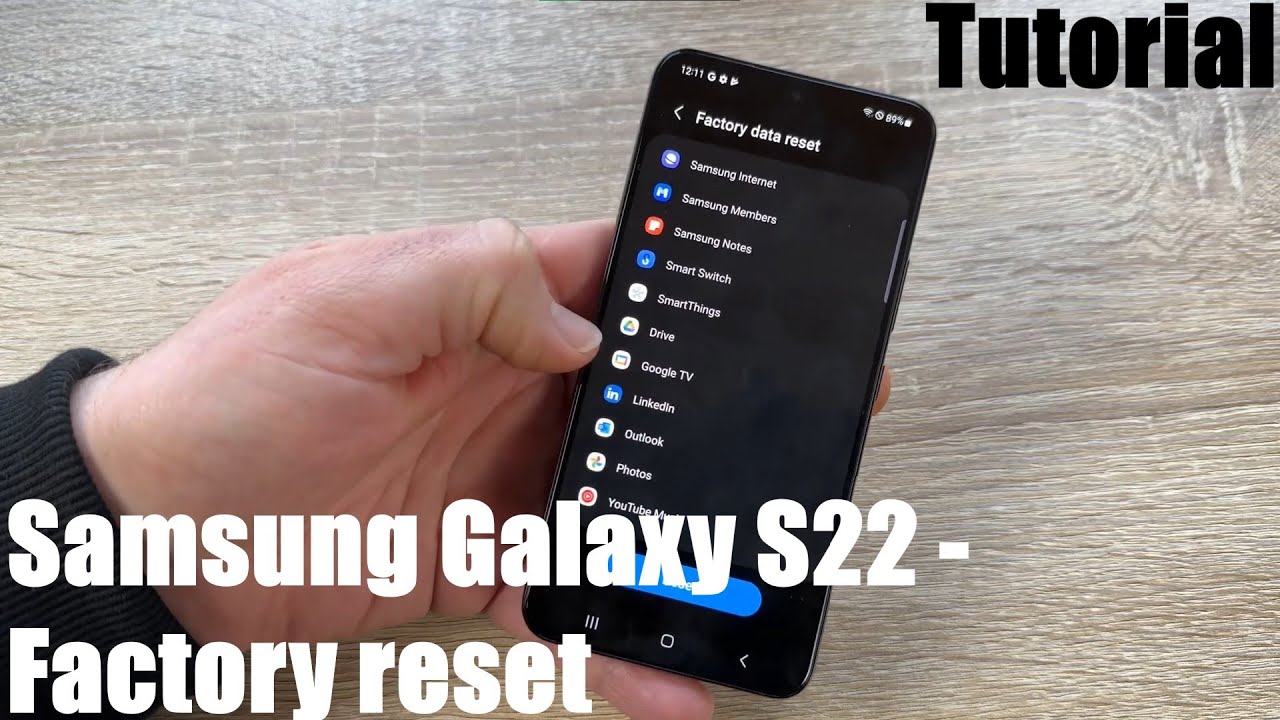
What to do before you sell or trade in your Samsung Galaxy S22 - How to factory reset Android 13 DIY

Samsung Galaxy S24 Ultra - 1 Week REVIEW!
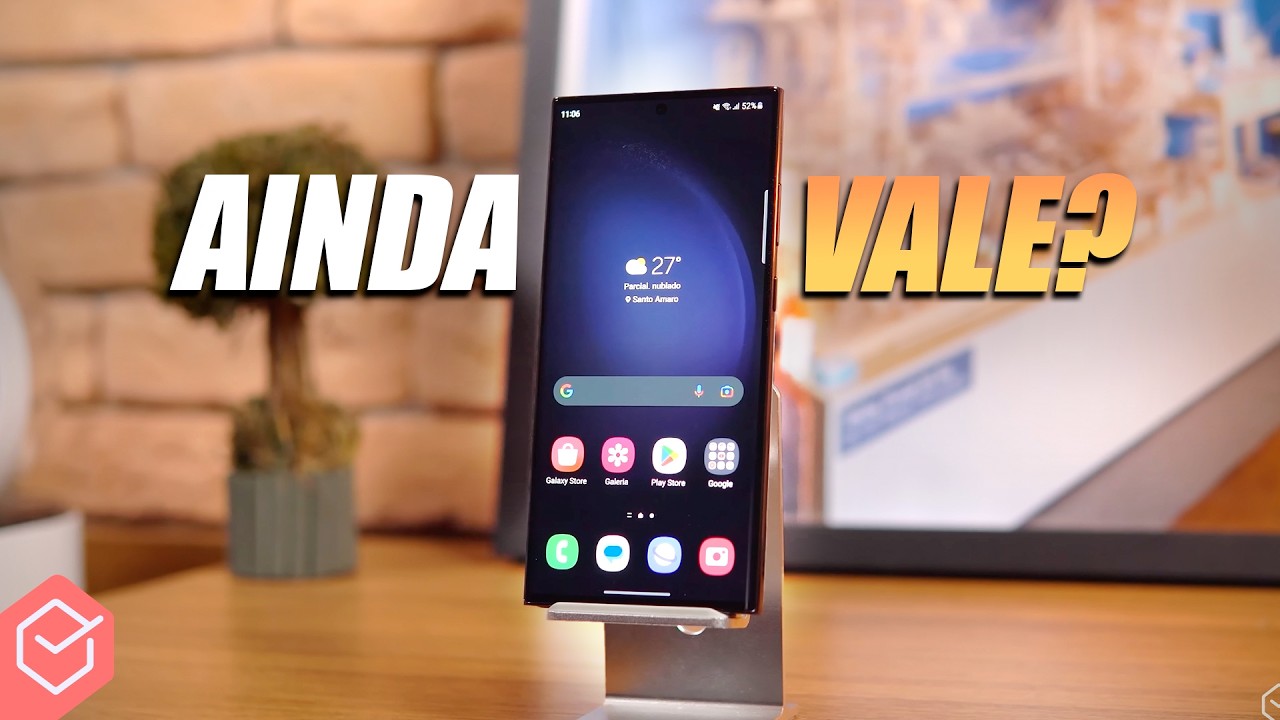
GALAXY S23 ULTRA 2 ANOS DEPOIS! // chegou a hora de FICAR DE OLHO PRA BLACKFRIDAY? Minha EXPERIÊNCIA
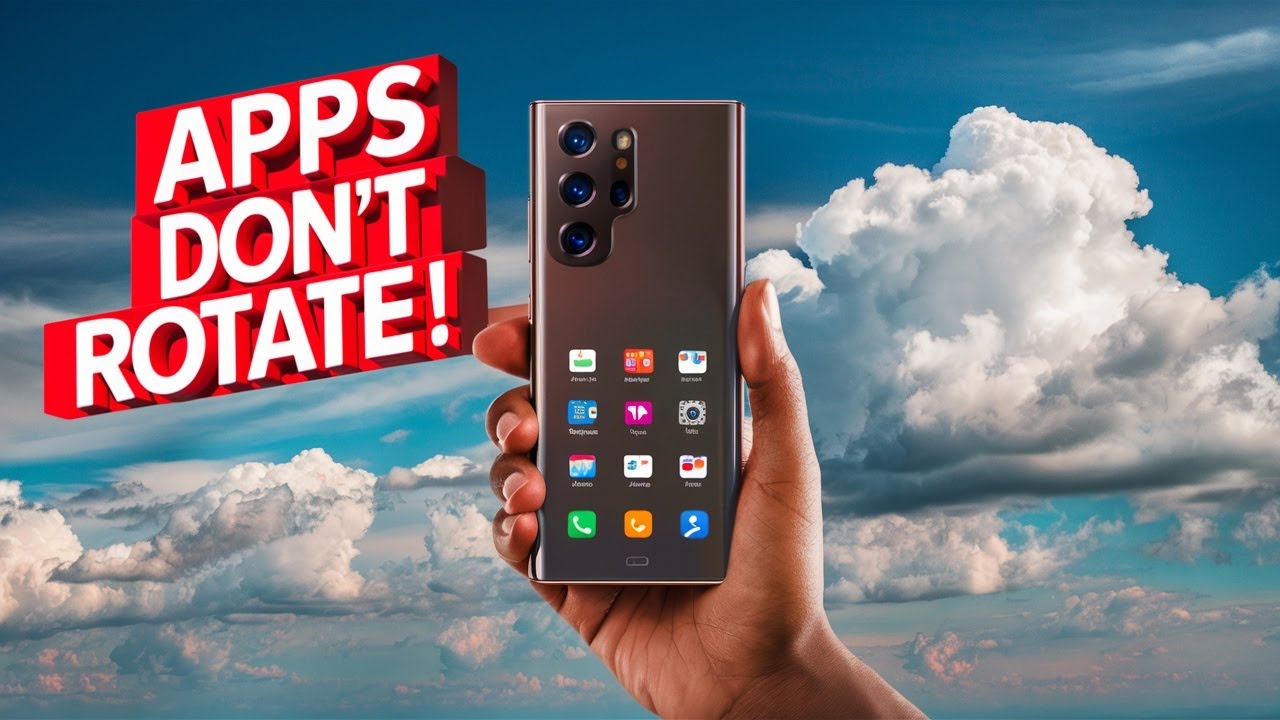
Do you know the Non-Rotating Apps on Samsung S22 Ultra

Samsung Galaxy S24 Ultra набагато кращий, ніж я думав! Повний огляд
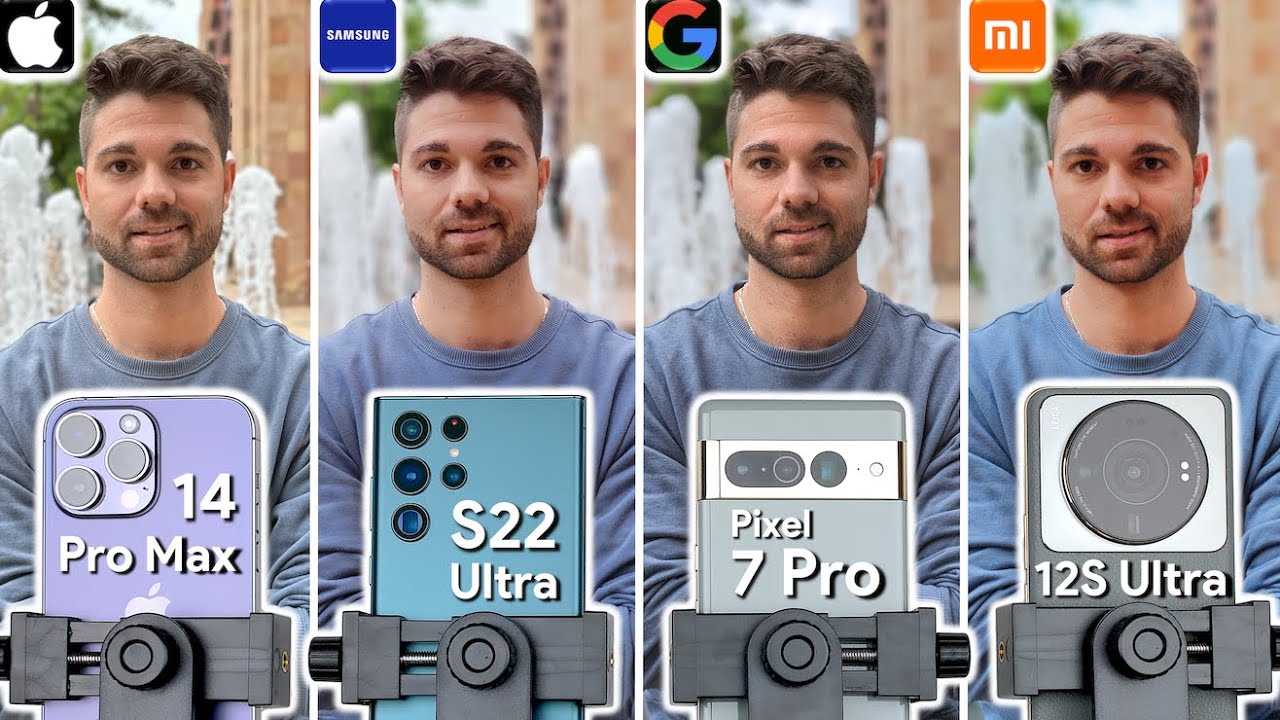
iPhone 14 Pro Max vs Samsung S22 Ultra vs Pixel 7 Pro vs Xiaomi 12S Ultra Camera Test Comparison
5.0 / 5 (0 votes)