Belajar Semua Tool Vektor di Affinity: Full Guide 20 Menit untuk Pemula!
Summary
TLDRIn this detailed Affinity tutorial, the video covers a wide range of vector tools, including the Move Tool for shifting and rotating objects, the Artboard Tool for adding and resizing canvases, and the Node Tool for editing curves and shapes. It also explores tools for creating and adjusting curves (e.g., Contour Tool), designing with the Pen Tool, and using the Pencil Tool for hand-drawn effects. The tutorial highlights various features like transparency, shape creation, and text manipulation, offering a comprehensive guide to mastering Affinity's vector editing capabilities.
Takeaways
- 😀 Move Tool: Allows you to move and rotate objects. You can also adjust line thickness, line style (solid, dashed, brush), and corner shapes.
- 😀 Artboard Tool: Enables easy addition of new canvases (artboards) and customization of sizes based on your design needs.
- 😀 Node Tool: Helps you manipulate curves and shapes by editing individual nodes for precise adjustments.
- 😀 Corner Tool: Simplifies the process of rounding or adjusting corners of shapes without manually creating curves.
- 😀 Contour Tool: Lets you create contour effects inward or outward, with various shape options like circular, square, and beveled.
- 😀 Pen Tool: Essential for drawing lines and curves, offering flexibility for straight or smooth paths depending on settings.
- 😀 Pencil Tool: Simulates hand-drawn lines, making it ideal for organic, sketch-like strokes in your designs.
- 😀 Brush Tool: Provides a way to paint with editable brush strokes, useful for more artistic or detailed effects.
- 😀 Knife Tool: Allows you to cut shapes or curves into fragments, making it easier to break down designs.
- 😀 Width Tool: Gives you the ability to adjust stroke thickness directly on the canvas for more customized designs.
- 😀 Fill Tool: Used to fill areas of a shape with solid color or gradients, giving you control over the fill appearance.
- 😀 Transparency Tool: Creates various transparency effects, including linear, elliptical, radial, and more, for advanced blending.
- 😀 Shape Tools: Useful for creating and manipulating geometric shapes within your design, offering flexibility for customization.
- 😀 Text Tool: Easily add and customize text in your design, with control over font, size, and alignment.
- 😀 Image Import Tool: A simple method for importing images into your Affinity project to integrate with your designs.
Q & A
What is the main function of the Move Tool in Affinity?
-The Move Tool is primarily used for moving and rotating shapes on the canvas. It allows you to adjust the position and orientation of objects with ease.
Can the Move Tool be used to adjust line thickness and style?
-Yes, the Move Tool provides options to adjust the thickness of lines and change their style, such as solid, dashed, or dotted. It also allows for modifications to the corner shapes of lines.
How does the Artboard Tool function in Affinity?
-The Artboard Tool allows you to add new canvases (artboards) within a document. You can customize their size, add more, and arrange them easily to work on multiple design projects in a single document.
What are the capabilities of the Node Tool in Affinity?
-The Node Tool is used to manipulate the nodes and paths of shapes and curves. You can move individual nodes, adjust curves, and edit the overall structure of paths to create precise vector artwork.
How do you use the Angle Tool to round corners in Affinity?
-The Angle Tool is used to round the corners of shapes like rectangles or polygons. Simply click on the corner node and drag to create a rounded effect on the edges.
What is the purpose of the Contour Tool, and how does it work?
-The Contour Tool allows you to create contours around a shape. You can expand or contract the contour by dragging it, and it offers different shape styles like rounded, angular, or beveled contours.
How does the Pen Tool differ from the Pencil Tool in Affinity?
-The Pen Tool is used for precise path creation with anchor points, allowing you to create sharp curves or straight lines. The Pencil Tool, on the other hand, is for freehand drawing, creating more organic and sketch-like lines.
What is the use of the Knife Tool in Affinity?
-The Knife Tool is used to cut paths or shapes into smaller sections. This is helpful for creating more complex designs by dividing existing elements into distinct parts.
How do you adjust the width of a line in Affinity?
-The Width Tool allows you to adjust the thickness of lines directly on the canvas. You can manipulate specific points on the line to create varied widths along its path.
What functionality does the Text Tool offer in Affinity?
-The Text Tool allows you to add and format text in your design. You can change the font, size, and style, and place text either as a block or in a custom shape to suit your design needs.
Outlines

Этот раздел доступен только подписчикам платных тарифов. Пожалуйста, перейдите на платный тариф для доступа.
Перейти на платный тарифMindmap

Этот раздел доступен только подписчикам платных тарифов. Пожалуйста, перейдите на платный тариф для доступа.
Перейти на платный тарифKeywords

Этот раздел доступен только подписчикам платных тарифов. Пожалуйста, перейдите на платный тариф для доступа.
Перейти на платный тарифHighlights

Этот раздел доступен только подписчикам платных тарифов. Пожалуйста, перейдите на платный тариф для доступа.
Перейти на платный тарифTranscripts

Этот раздел доступен только подписчикам платных тарифов. Пожалуйста, перейдите на платный тариф для доступа.
Перейти на платный тарифПосмотреть больше похожих видео
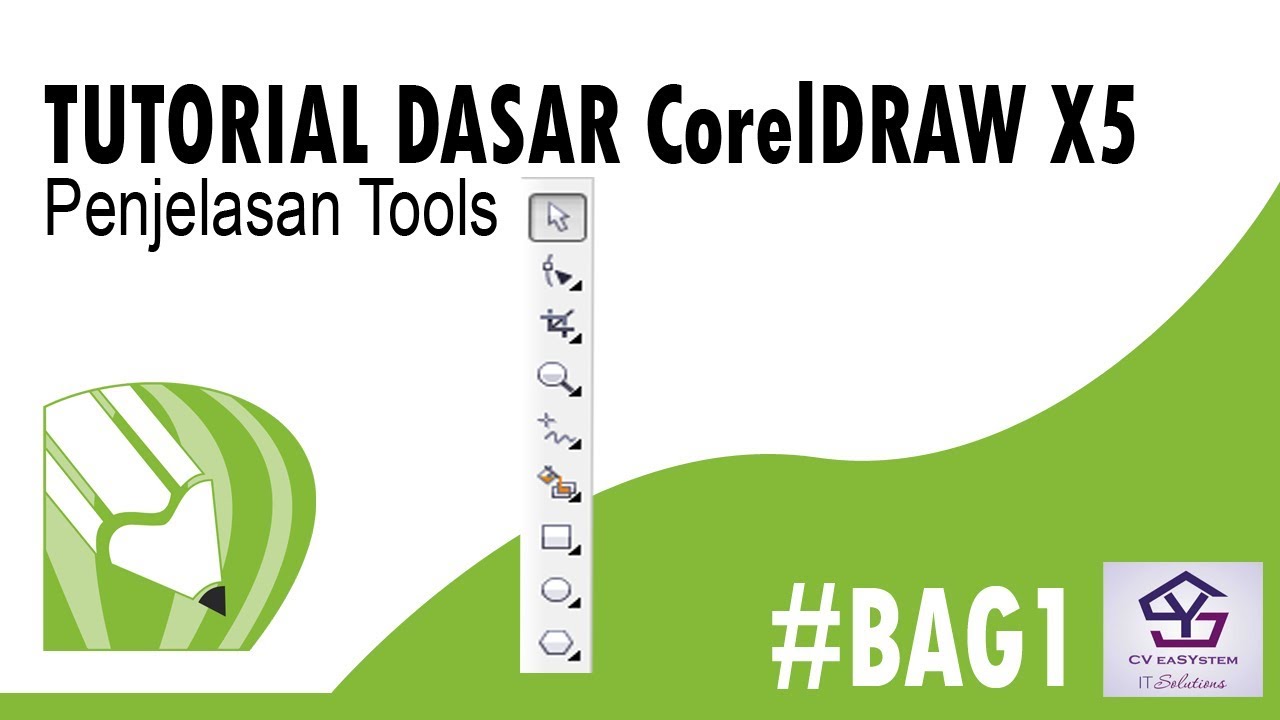
TUTORIAL DASAR CorelDRAW X5 PENJELASAN TOOLS #BAG1
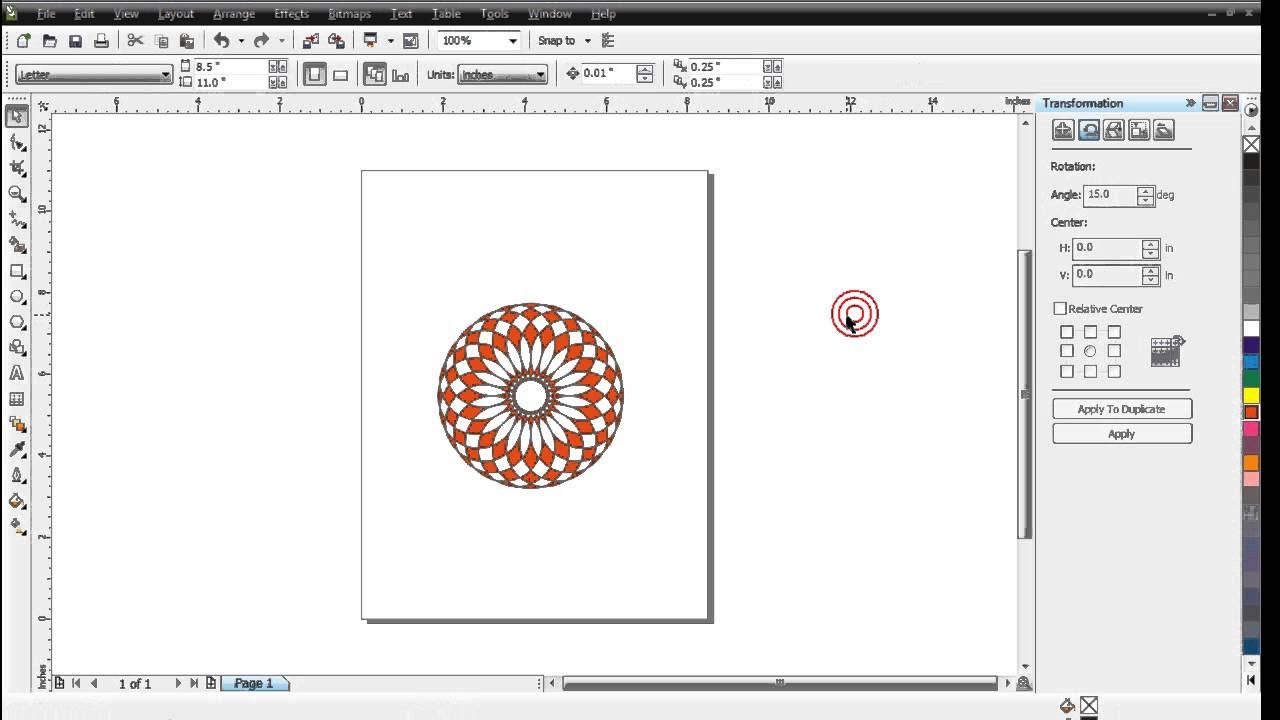
Belajar Corel Draw : Penggunaan Transformation
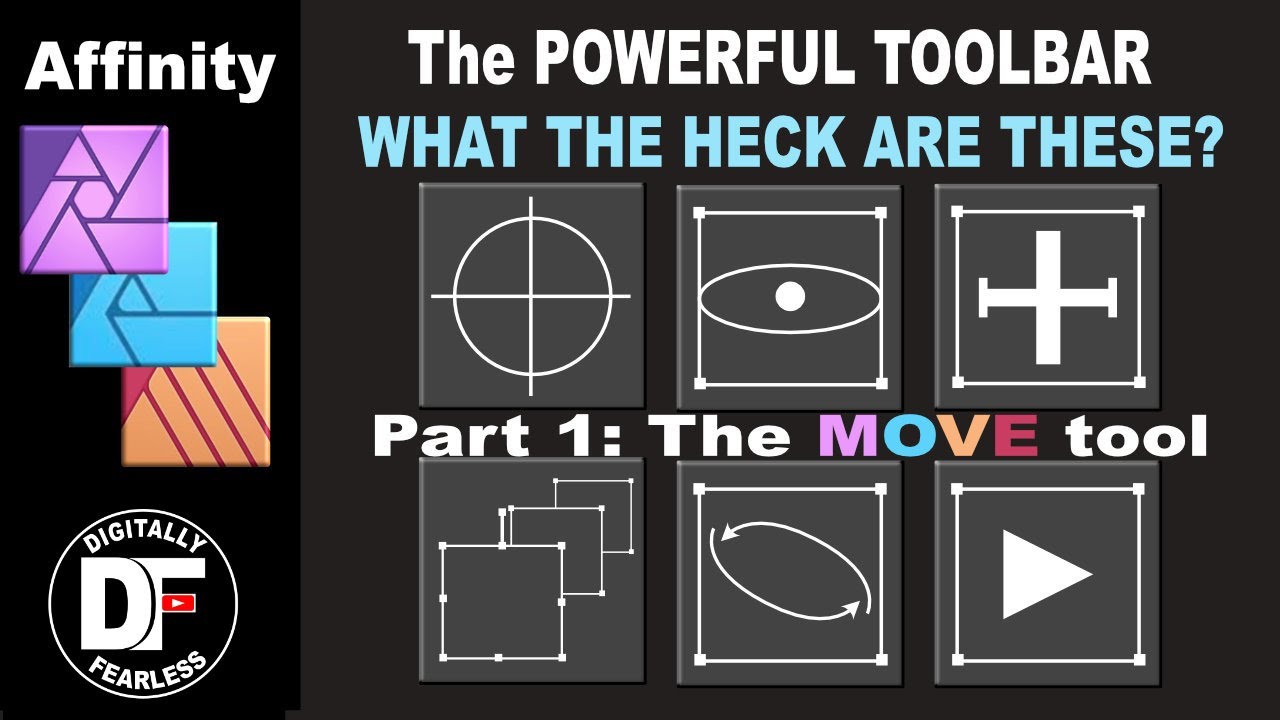
The toolbar series Part 1: the move tool Affinity Photo tutorial
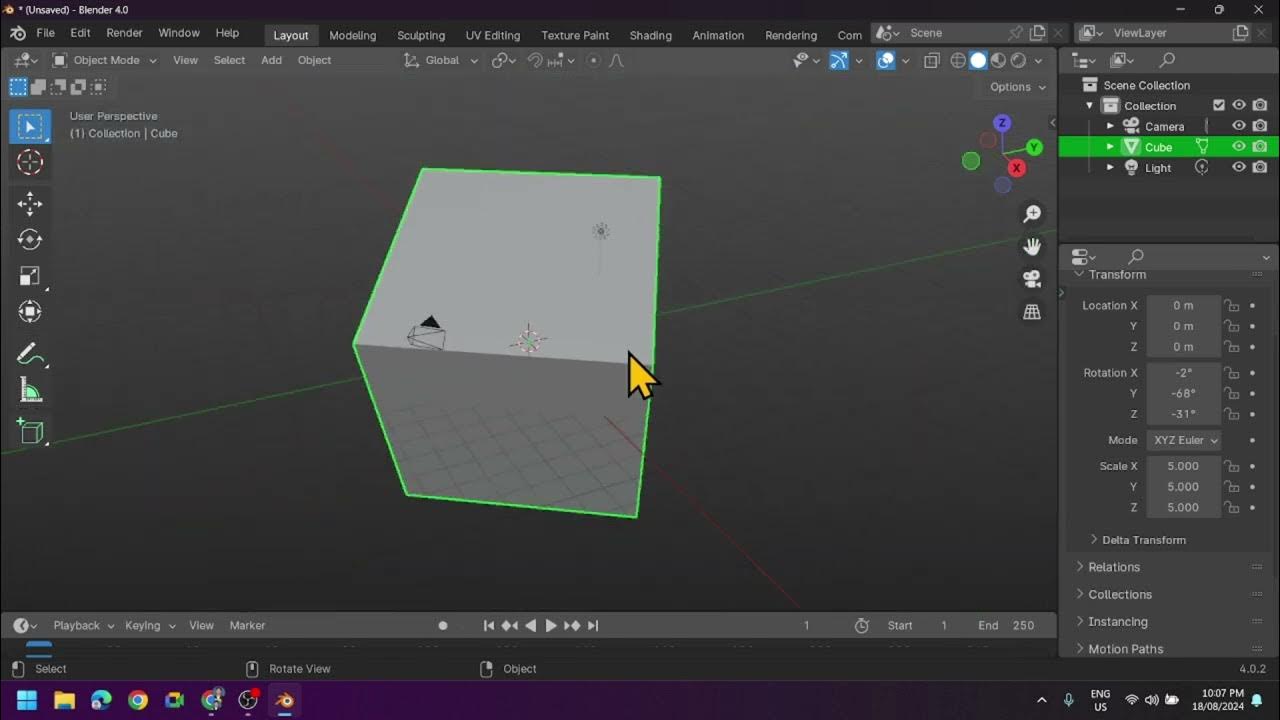
Introduction to Blender 3D: Getting Started with the Interface & Essential Tools in Blender
Adobe Illustrator for Beginners: Get Started in 10 Minutes

Create a Sprite with the Scratch Paint Editor | Tutorial
5.0 / 5 (0 votes)
