Cara Crimping Kabel LAN/UTP RJ45 Cat 6 ‼️ (Straight)
Summary
TLDRThis video provides a step-by-step guide on how to crimp a Cat 6 network cable. It covers all the necessary tools and materials, including a cable stripper, crimping pliers, and network connectors. The tutorial explains how to strip, sort, and arrange the cables in the correct order, and how to properly insert and crimp the connectors. The final steps include securing the boot plug and ensuring the cable is neatly finished. The video emphasizes the importance of proper cable arrangement and offers tips to ensure a successful crimp without needing a cable tester.
Takeaways
- 😀 Ensure you have the correct tools and materials: Cat Six SPC Network Cable, Network Connector Cat Six, Plugbooth Network Cable, Crimping Pliers, Cable Stripper, and a screwdriver.
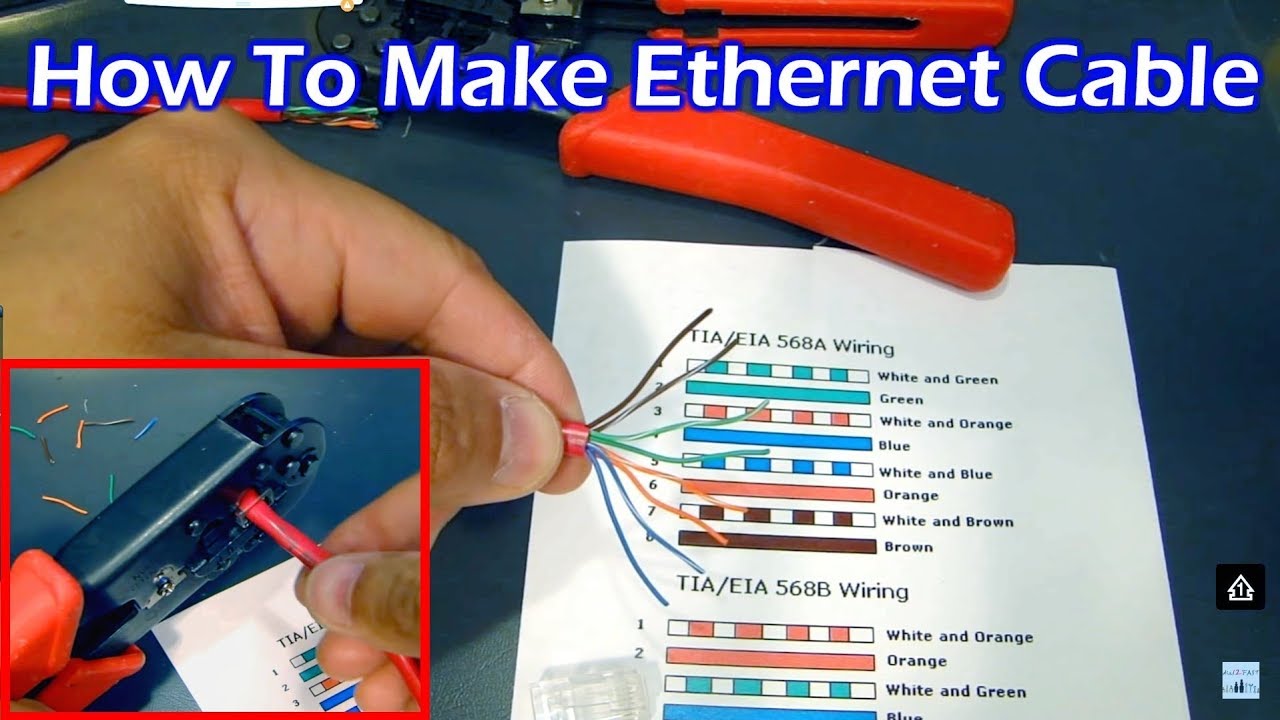
- 😀 Always strip the network cable to the appropriate length before starting the crimping process. In this tutorial, the size is 5 cm.
- 😀 After stripping the cable, insert the Plugbooth on the network cable and sort the cables by color according to the specified sequence.
- 😀 Unroll the cable and remove the plastic insulation inside. Use a cable stripper or a screwdriver to straighten the cables.
- 😀 Sort the cable wires in the following order: White Orange, Orange, Green White, Blue, White Blue, Green, White Chocolate, and Chocolate.
- 😀 Keep the cables in neat order to ensure the color sequence is maintained throughout the crimping process.
- 😀 Insert the prepared cables into the connector and ensure they reach the end of the connector.
- 😀 When crimping, make sure the cable skin is also inserted into the connector to maintain cable strength and neatness.
- 😀 Use the crimping pliers to clamp the connector until it clicks, ensuring a secure connection.
- 😀 Once the crimping is done, insert the boot plug to make the cable look neat and secure the connector.
- 😀 Repeat the crimping process on the other end of the cable, ensuring both ends are done correctly and securely for proper functionality.
Q & A
What is the first step in preparing a Cat 6 network cable?
-The first step is to strip the network cable to a size of approximately 5 cm, ensuring that the cable is ready for further processing.
What tools are required for crimping a Cat 6 network cable?
-The tools required include network crimping pliers, a cable stripper, and optionally a screwdriver for straightening the cables.
How do you sort the wires inside the Cat 6 cable?
-The wires should be sorted in the following color sequence: White Orange, Orange, Green White, Blue, White Blue, Green, White Chocolate, and Chocolate.
Why is it important to use a cable stripper when preparing the cable?
-A cable stripper ensures that the network cable's outer jacket is cleanly removed without damaging the inner wires or their insulation, which is critical for proper functionality.
What is the role of the plastic insulation inside a Cat 6 cable?
-The plastic insulation inside a Cat 6 cable separates the individual pairs of wires and prevents them from short-circuiting, maintaining signal integrity.
What does the crimping process entail?
-Crimping involves inserting the sorted and prepared cables into the network connector and then using the crimping pliers to firmly secure the cables inside the connector, ensuring a stable connection.
How do you ensure that the cable is properly inserted into the connector?
-You should insert the cable into the connector until the end of the cable is fully inside the connector and the cable skin is also inside to maintain neatness and strength during crimping.
What does the term 'click' refer to during the crimping process?
-The 'click' refers to the sound that the crimping pliers make when they have securely pressed the connector onto the cable, ensuring a strong connection.
Why is it important to insert the boot plug into the connector?
-The boot plug is inserted to keep the cable neat and to help protect the connector from physical damage, especially during handling or installation.
Can a network cable function without a cable tester after proper crimping?
-Yes, if the cable's color sequence is correct and the cables are properly inserted into the connector, the cable will function even without a cable tester.
Outlines

Этот раздел доступен только подписчикам платных тарифов. Пожалуйста, перейдите на платный тариф для доступа.
Перейти на платный тарифMindmap

Этот раздел доступен только подписчикам платных тарифов. Пожалуйста, перейдите на платный тариф для доступа.
Перейти на платный тарифKeywords

Этот раздел доступен только подписчикам платных тарифов. Пожалуйста, перейдите на платный тариф для доступа.
Перейти на платный тарифHighlights

Этот раздел доступен только подписчикам платных тарифов. Пожалуйста, перейдите на платный тариф для доступа.
Перейти на платный тарифTranscripts

Этот раздел доступен только подписчикам платных тарифов. Пожалуйста, перейдите на платный тариф для доступа.
Перейти на платный тарифПосмотреть больше похожих видео

Cara crimping kabel LAN / Press Konektor RJ45 Anti gagal mudah dan rapih untuk pemula 100% bisa
How To Make Ethernet Cable RJ45 - Straight Through & Crossover
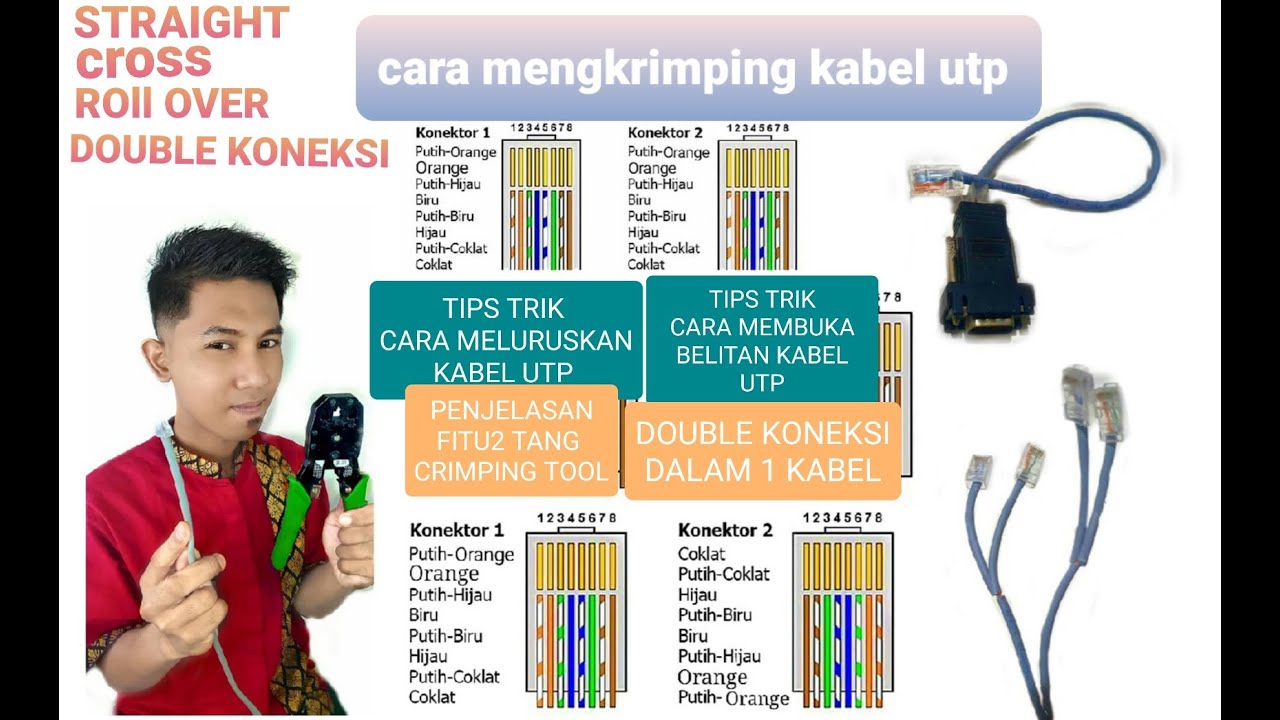
Cara mengkrimping kabel UTP ( kabel Lan ) | straight , cross , rollover dan DOUBLE KONEKSI

qemu/kvm bridge and NAT networking
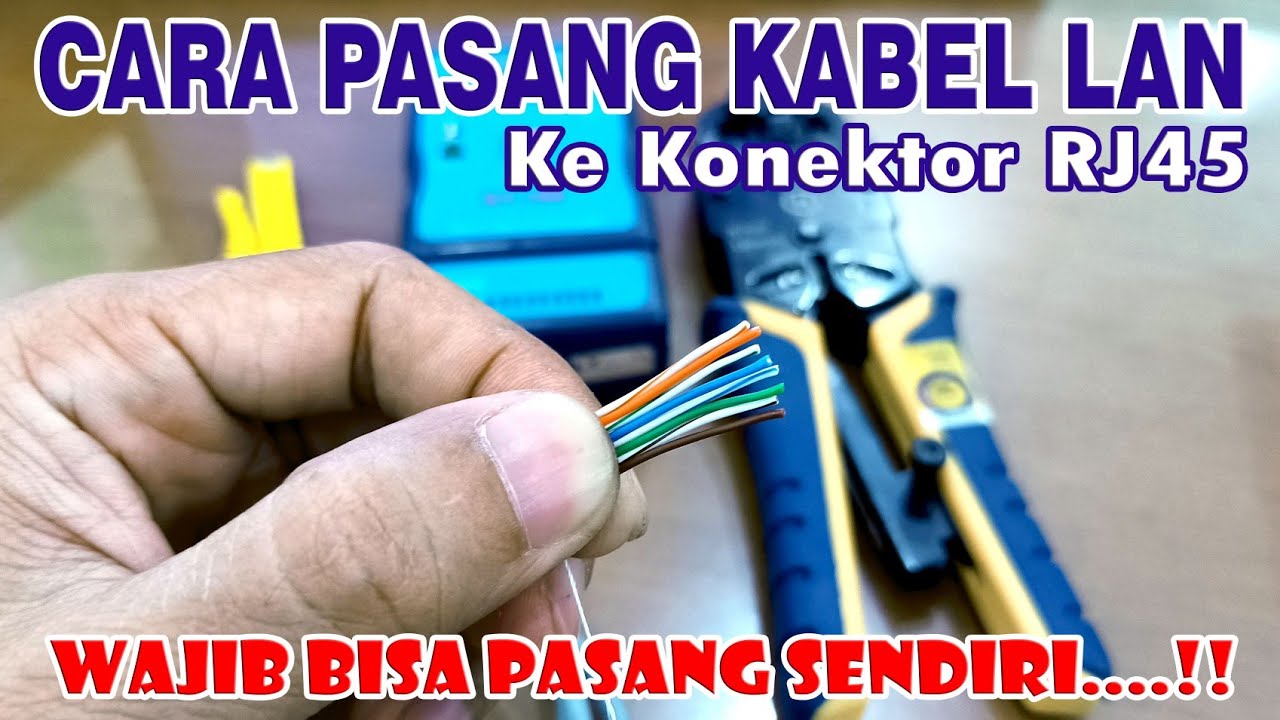
Cara Pasang Kabel Jaringan UTP Ke Konektor RJ45 || How to install network cable

Hướng dẫn dùng giấy thủ công làm chiếc đồng hồ cực ngộ nghĩnh | NGUYEN DIY
5.0 / 5 (0 votes)
