Autocad Civil 3d For Beginners | Import Point | Part 1
Summary
TLDRIn this tutorial, the presenter demonstrates how to import point data from a CSV file into AutoCAD Civil 3D, using version 2014. The step-by-step guide covers opening the software, configuring the import settings, and adjusting point labels for clarity. Key adjustments include setting label precision, changing symbol sizes, and managing point groups for efficient visualization. The tutorial is ideal for users of various Civil 3D versions, providing essential tips for managing point data effectively in surveying and civil engineering projects.
Takeaways
- 😀 Open Civil 3D and confirm the software version; tools are similar across different versions.
- 😀 Import point data into Civil 3D by using the 'Point Import' option in the Toolspace.
- 😀 CSV file containing the point data (e.g., point number, elevation, description) should be mapped correctly during import.
- 😀 Create a new point group and assign the imported points to it for better organization.
- 😀 If the points are not visible after import, use the 'Z' key to zoom in and view the points.
- 😀 Adjust point labels to prevent overlapping by changing the label style, size, and text spacing.
- 😀 Set the label precision to three decimal places for better elevation accuracy in project work.
- 😀 Modify the point marker size and style to improve visibility and avoid cluttering the drawing.
- 😀 Use the 'Properties' menu to tweak the appearance and formatting of the imported points for clarity.
- 😀 Ensure that all imported points are grouped correctly, named properly, and formatted for easy access.
- 😀 Follow this tutorial to improve your workflow with Civil 3D, especially when dealing with large datasets.
Q & A
What is the main focus of the tutorial in the video?
-The tutorial focuses on teaching viewers how to import point data into Autodesk Civil 3D software, specifically using a CSV file format.
Which version of Autodesk Civil 3D is being used in the tutorial?
-The tutorial uses Autodesk Civil 3D 2014, although the steps should be similar in other versions of the software.
Where can viewers find the CSV data file mentioned in the tutorial?
-The CSV data file, required for practice, can be downloaded from a Google Drive link provided in the video description.
What is the first step in importing point data into Civil 3D?
-The first step is to open the Civil 3D software and access the 'Toolspace' on the left side of the screen. Then, right-click on 'Points' and select 'Create'.
What is the purpose of the 'Create Points' option in the tutorial?
-The 'Create Points' option allows users to import point data from a CSV file into the Civil 3D project, which is essential for accurate site modeling and analysis.
How does the user import the CSV file for points into Civil 3D?
-After selecting 'Create', the user clicks on the '+' button to add a file, navigates to the CSV file, and opens it. The data fields like point ID, elevation, and description are mapped accordingly.
What settings are adjusted during the import process?
-During the import process, the user adjusts the mapping settings for fields such as Point, Elevation, and Description, ensuring that the correct data is assigned to each field.
What happens if the imported points overlap or collide in the project?
-If the points overlap or collide, the user adjusts the point label settings to reduce clutter, such as resizing text and adjusting the spacing between labels.
How can users adjust the label style for the points to display only the elevation?
-Users can modify the label style by right-clicking on the point group, selecting 'Properties', and then choosing the 'Elevation Only' label style. They can also adjust the text size and color for better visibility.
How does the user change the number of decimal places in the elevation labels?
-To change the decimal places, the user accesses the label style settings, clicks on the ellipsis button, and adjusts the 'Precision' setting to display three decimal places for better accuracy.
What is the significance of adjusting the 'Jet' setting for point labels?
-The 'Jet' setting controls the distance between the point label and the point itself. A smaller 'Jet' value brings the label closer to the point, reducing label overlap and improving readability.
What final adjustments are made after importing and labeling the points?
-After importing and labeling the points, the user adjusts the point style, such as reducing the size of the point symbol for clarity, and finalizes the settings to ensure the points are clearly visible and properly labeled.
Outlines

Этот раздел доступен только подписчикам платных тарифов. Пожалуйста, перейдите на платный тариф для доступа.
Перейти на платный тарифMindmap

Этот раздел доступен только подписчикам платных тарифов. Пожалуйста, перейдите на платный тариф для доступа.
Перейти на платный тарифKeywords

Этот раздел доступен только подписчикам платных тарифов. Пожалуйста, перейдите на платный тариф для доступа.
Перейти на платный тарифHighlights

Этот раздел доступен только подписчикам платных тарифов. Пожалуйста, перейдите на платный тариф для доступа.
Перейти на платный тарифTranscripts

Этот раздел доступен только подписчикам платных тарифов. Пожалуйста, перейдите на платный тариф для доступа.
Перейти на платный тарифПосмотреть больше похожих видео

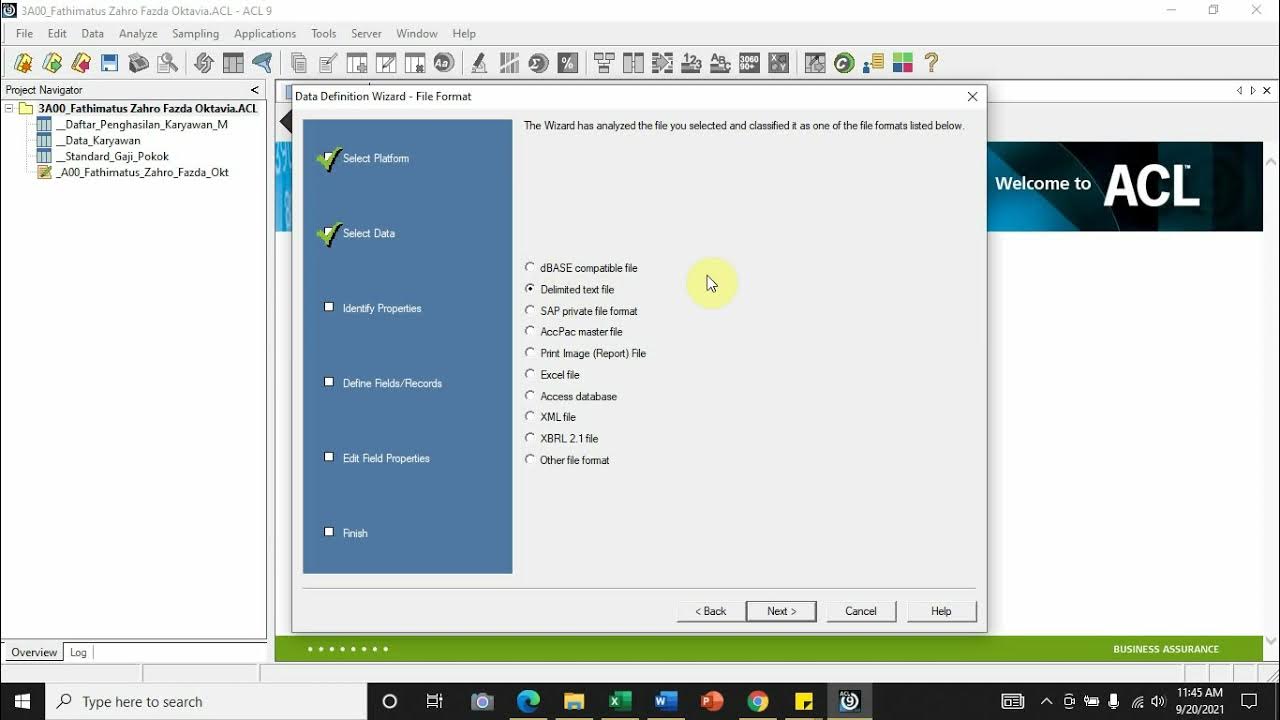
[Import File] - Comma Separated Values (.csv) ke Dalam Aplikasi Audit Command Language (ACL)

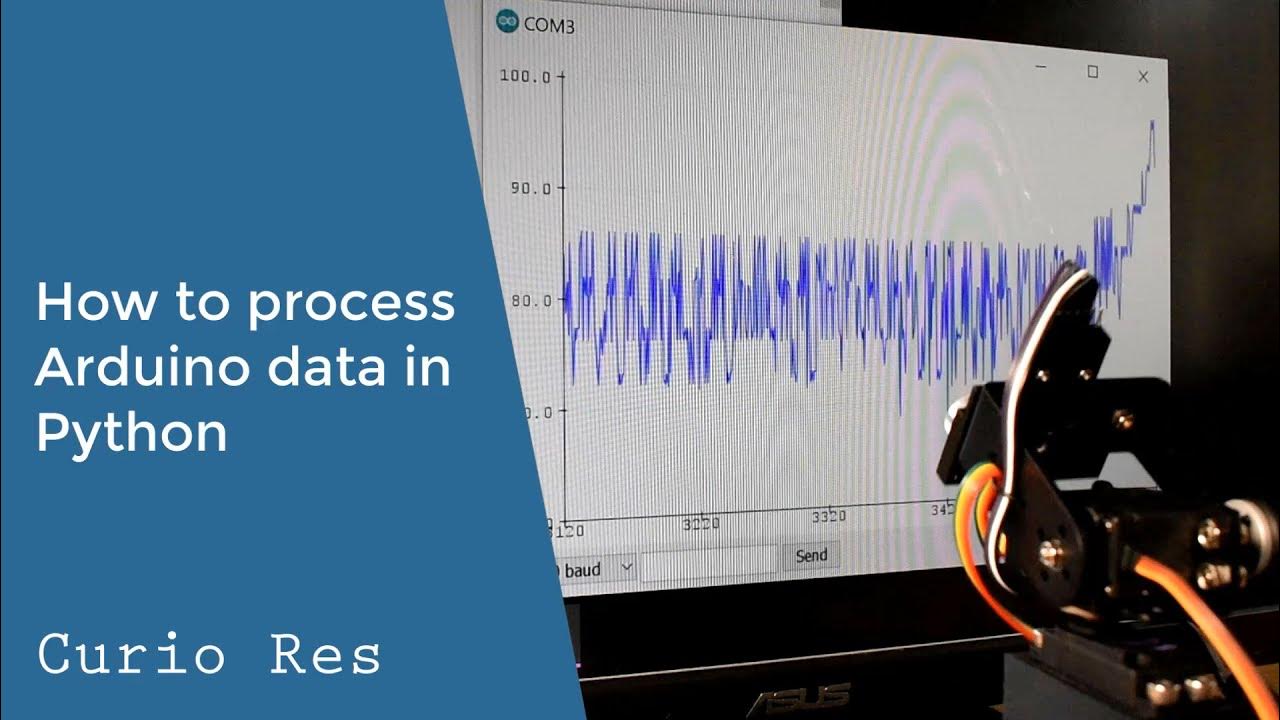
How to process Arduino data in Python

AutoCAD Tutorial for Beginners - 4

Python for Beginners with Examples - 022 Converting CSV data to a KML file

SQL tutorial 44: How to import data from Microsoft Excel to Oracle Database using SQL Developer

Oracle Database Tutorial 56:Data Pump impdp table and Duplicate (Remap_table ) table
5.0 / 5 (0 votes)
