GSM Based Smart Dustbin | कचरा भरते ही मोबाइल पर मेसेज आ जाता है
Summary
TLDRIn this tutorial, the host guides viewers through the process of creating a smart dustbin using a GSM module and an Arduino board. The dustbin is designed to send an alert message to a mobile phone when it's full. Key components include an infrared sensor, a 12V power supply, and a dustbin of choice. The video demonstrates setting up the GSM module, connecting it with the Arduino, and programming it to send alerts. The project is suitable for science exhibitions and school projects, showcasing the integration of technology with everyday objects.
Takeaways
- 😀 The video is a tutorial on creating a GSM-based smart dustbin that sends an alert message to a mobile when it's full.
- 🛠️ The project requires a GSM module that operates on a 2G network, a breadboard, and an infrared sensor.
- 🔗 The video mentions that the quality and color of the infrared sensor are important and can be checked on the 25W power supply.
- 📱 A 12V, 2A power supply is necessary, and the video suggests ensuring a minimum of 2A power supply for the project.
- 🔗 Links to purchase all the required components online are provided in the video description.
- 💡 The tutorial includes a step-by-step guide on how to connect the components, including the sensor and the GSM module to the Arduino board.
- 📲 The video demonstrates how to program the GSM module to send a specific message when the dustbin is full.
- 🔧 The project involves physical assembly, including drilling a hole in the dustbin to place the infrared sensor.
- 💻 A Java program is provided for the Arduino, which is claimed to be 100% working and is included as a zip file with a password.
- 📨 The video concludes with a demonstration of the dustbin sending an alert message to a mobile phone when it's full.
Q & A
What is the main purpose of the project described in the script?
-The main purpose of the project is to create a GSM-based smart dustbin that sends an alert message to a mobile when it is full.
Which GSM module is used in the project?
-The project uses a GSM driver module that operates on a 2G network.
What is the role of the infrared sensor in this project?
-The infrared sensor is used to detect when the dustbin is full, and it sends a signal to the microcontroller to trigger the alert message.
What is the minimum power supply requirement for the project?
-The project requires a minimum power supply of 12 volts, preferably from a 12V 2A power supply.
How is the SIM card configured for the GSM module?
-The SIM card is configured by inserting it into the GSM module first and then saving a contact number on the mobile phone that the module will use to send alert messages.
What is the significance of the jumper connections in the project?
-The jumper connections are used to establish the necessary electrical connections between the GSM module, the microcontroller, and the infrared sensor.
What is the function of the buzzer in the project?
-The buzzer is used to provide an audible alert when the dustbin is full, in addition to the SMS alert sent to the mobile.
How is the dustbin sensor adjusted for optimal performance?
-The range of the infrared sensor can be adjusted using a screwdriver to ensure it accurately detects when the dustbin is full.
What programming language is used for the microcontroller in this project?
-The microcontroller is programmed using Java, and the script provided is a 100% working program that can be used to control the dustbin's alert system.
What is the process to receive an alert message when the dustbin is full?
-Once the dustbin is full and the infrared sensor detects it, the GSM module sends an alert message to the predefined mobile number that was saved during the setup.
How long does it take for the system to start and connect to the network after power supply is given?
-The system requires a startup time of about 60 seconds, or 1 minute, to establish a good network connection and proper configuration.
Outlines

Этот раздел доступен только подписчикам платных тарифов. Пожалуйста, перейдите на платный тариф для доступа.
Перейти на платный тарифMindmap

Этот раздел доступен только подписчикам платных тарифов. Пожалуйста, перейдите на платный тариф для доступа.
Перейти на платный тарифKeywords

Этот раздел доступен только подписчикам платных тарифов. Пожалуйста, перейдите на платный тариф для доступа.
Перейти на платный тарифHighlights

Этот раздел доступен только подписчикам платных тарифов. Пожалуйста, перейдите на платный тариф для доступа.
Перейти на платный тарифTranscripts

Этот раздел доступен только подписчикам платных тарифов. Пожалуйста, перейдите на платный тариф для доступа.
Перейти на платный тарифПосмотреть больше похожих видео
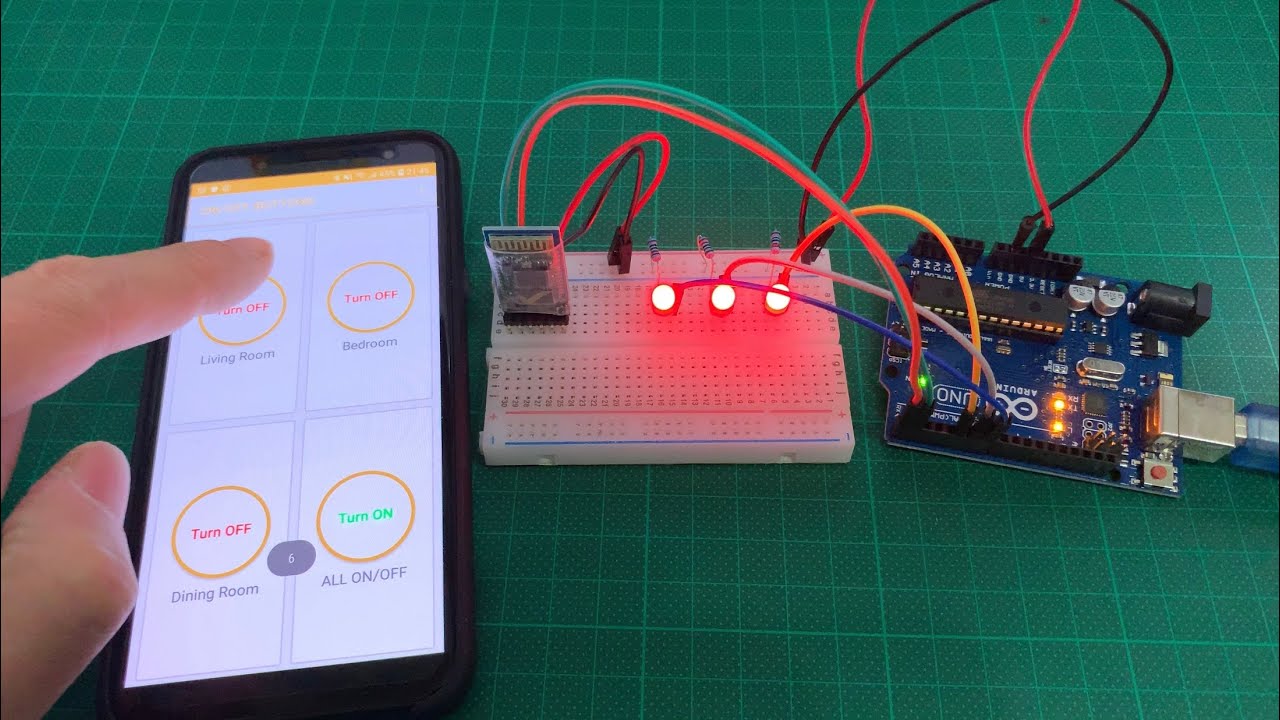
Arduino UNO Smart Home Lighting Simulation w/LEDs, HC-05 Bluetooth Module + mBlock 3 [Tutorial]

Belajar Arduino #5 - Kalo Ngoding Gunakan Pseudocode
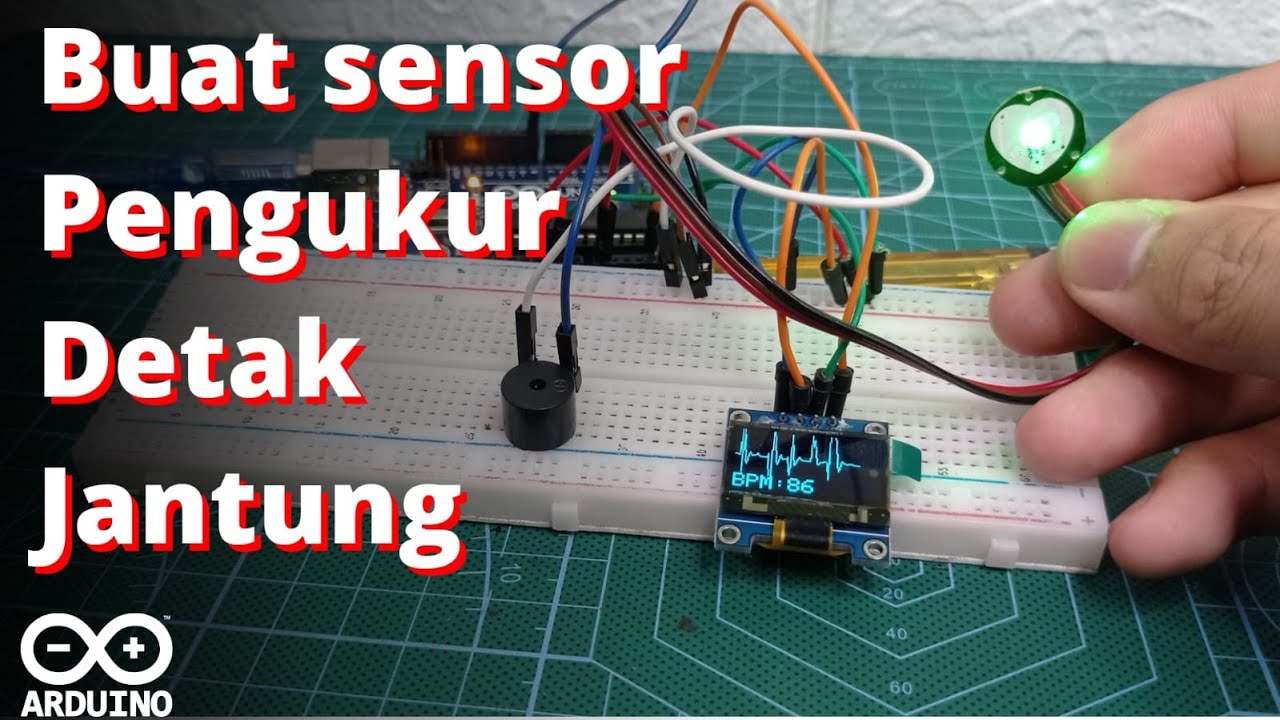
Buat Sensor Pengukur detak Jantung || Heart Rate Sensor Arduino || Pulse sensor [#Tutorial12]
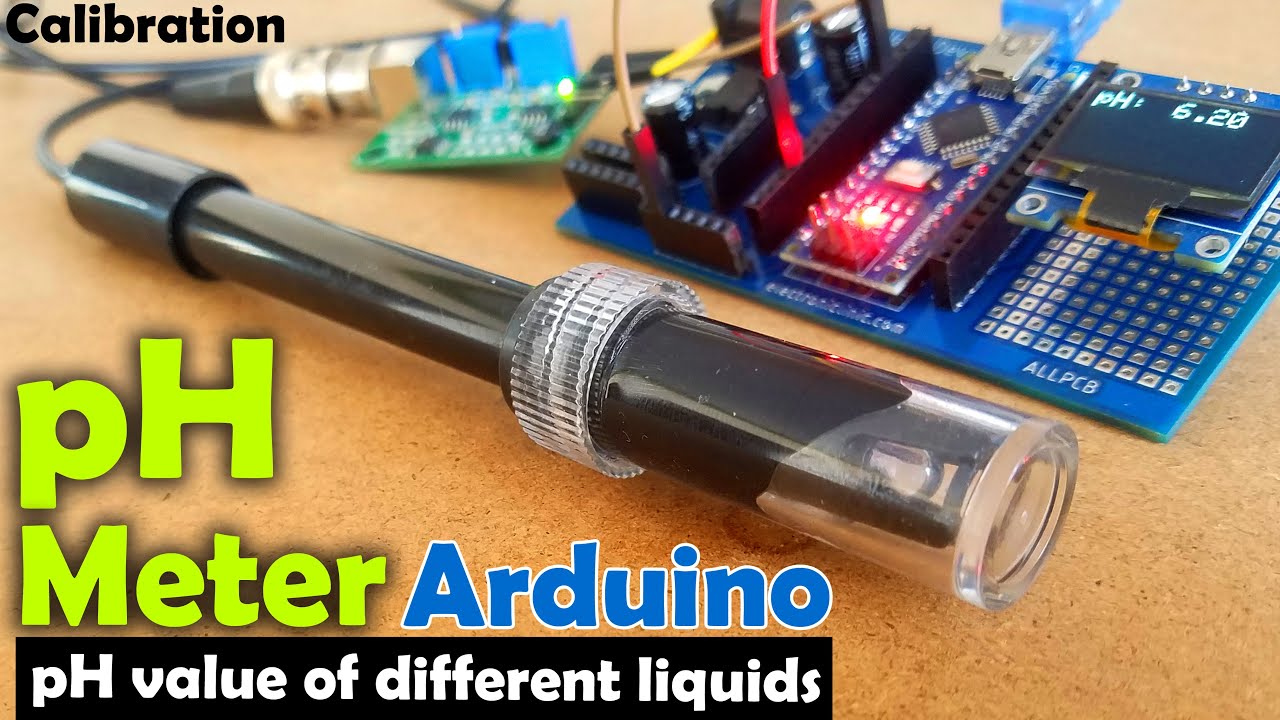
pH meter Arduino, pH Meter Calibration, DIYMORE pH Sensor, pH Sensor Arduino Code, pH of liquids

Indoor Air Quality Monitor System using Arduino #airqualityindex #arduinoproject #arduinonano #diy

Membuat Alat Kontrol Peralatan Listrik Jarak Jauh - ARDUINO PROJECT INDONESIA
5.0 / 5 (0 votes)
