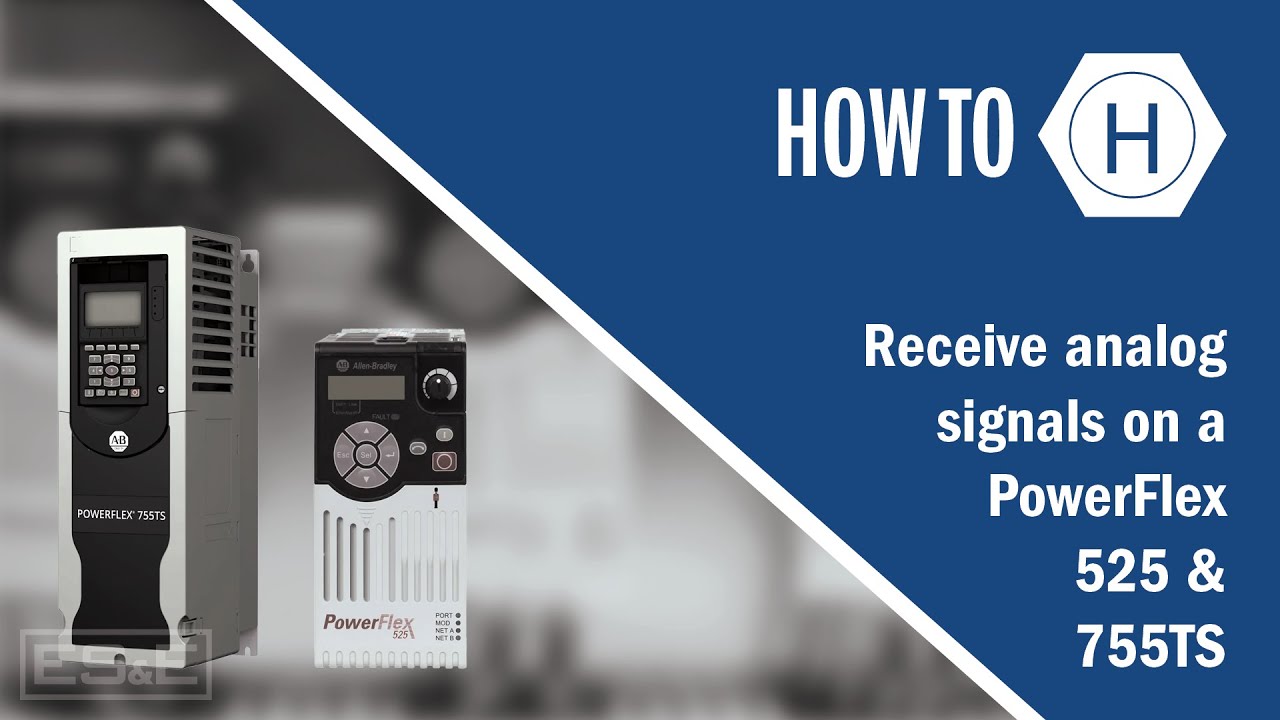
PowerFlex 750 Series HIM Startup
Summary
TLDRThis instructional video guides viewers through starting up the PowerFlex 755 Drive using the H panel. It covers initial setup, motor control data entry, and configuration of parameters like motor type, power, and speed. The script also demonstrates feedback setup, limit setting, motor direction testing, and autotuning. Finally, it explains how to configure I/O for start, stop, and direction control, concluding with the startup wizard completion and basic operation using a potentiometer.
Takeaways
- 🔧 The video demonstrates starting up a Power Flex 755 Drive using the HMI (Human Machine Interface).
- 📺 Press the folder key and use the right arrow key to navigate to the 'Start Up' option on the display.
- 🔑 Initiate the startup process by pressing the '5' or 'Enter' key.
- 🔄 Enter control data for the motor, including motor type and control mode, with 'Cus Vector' being the default.
- 🏷️ Input motor data such as voltage, horsepower, nameplate amps, frequency, and RPM from the motor's nameplate.
- ⚙️ Set up feedback, with the drive operating in open-loop mode if no encoder card is present.
- ⛔️ Define speed limits for the application, including max forward and reverse speeds, without using a minus sign.
- 🔄 Perform a direction test to verify the motor's rotation direction and confirm if it's correct for the application.
- 🔧 Conduct an autotune process, choosing between rotate or static tune based on whether the motor is coupled to the load.
- 🔄 Set the reference ramp stop, speed reference, and analog input parameters according to the application's requirements.
- ⏱️ Configure the stop mode, bus regulator mode, acceleration and deceleration times, and whether to add an S-curve for applications like conveyors.
- 🔲 Program the I/O settings for start, stop, and direction using digital inputs, and confirm the configuration with 'Done'.
Q & A
What is the purpose of the video?
-The video is a tutorial on how to start up the Power Flex 755 Drive using the H keypad.
Which drives are similar in startup process to the Power Flex 755?
-The Power Flex 753 series can be started up in a similar manner to the 755 series.
What key should be pressed to initiate the startup process on the Power Flex 755 Drive?
-Press the '5' or 'Enter' key to begin the startup process.
What is the motor control mode used in the video?
-The motor control mode used in the video is 'Cus Vector'.
How can you change the motor control mode if needed?
-Use the arrow keys or '2' and '8' to navigate up and down to select a different mode.
What information is required to enter in the motor data section?
-The required information includes motor type, power units, motor power, name plate amps, motor frequency, name plate RPM, overload factor, and motor poles.
What is the default feedback setup if no encoder card is present?
-The drive itself is used as open loop feedback when no encoder card is present.
What are the max and min speeds set during the limit setup?
-The max speed is set to 1740 RPM and the min speed is set to 0 RPM for both forward and reverse directions.
What is the purpose of the autotune function in the startup process?
-The autotune function is used to optimize the motor performance by automatically adjusting the drive settings.
What are the two types of autotune mentioned in the video?
-The two types of autotune mentioned are 'rotate' and 'static'.
What is the difference between a rotate tune and a static tune?
-A rotate tune requires the motor to be uncoupled from the load, while a static tune can be performed with the motor either uncoupled or coupled to a load.
How is the speed reference set up in the video?
-The speed reference is set up using an analog input, specifically Port 4 IO module, with a range from 0 to 10 volts DC.
What is the stop mode set in the video?
-The stop mode set in the video is 'ramp'.
What is the bus regulator mode kept at in the video?
-The bus regulator mode is kept at 'adjust frequency'.
How are the I/O settings configured for start, stop, and direction in the video?
-The I/O settings are configured using digital inputs, with digital input one for start and digital input zero for stop, both controlled by a three-wire setup.
What is the final step after completing the startup wizard?
-The final step is to exit the startup wizard and return to the main screen, where the motor can be controlled using the potentiometer or other inputs.
Outlines

このセクションは有料ユーザー限定です。 アクセスするには、アップグレードをお願いします。
今すぐアップグレードMindmap

このセクションは有料ユーザー限定です。 アクセスするには、アップグレードをお願いします。
今すぐアップグレードKeywords

このセクションは有料ユーザー限定です。 アクセスするには、アップグレードをお願いします。
今すぐアップグレードHighlights

このセクションは有料ユーザー限定です。 アクセスするには、アップグレードをお願いします。
今すぐアップグレードTranscripts

このセクションは有料ユーザー限定です。 アクセスするには、アップグレードをお願いします。
今すぐアップグレード5.0 / 5 (0 votes)


