Testing and Tuning the NEW BETAFPV Air65
Summary
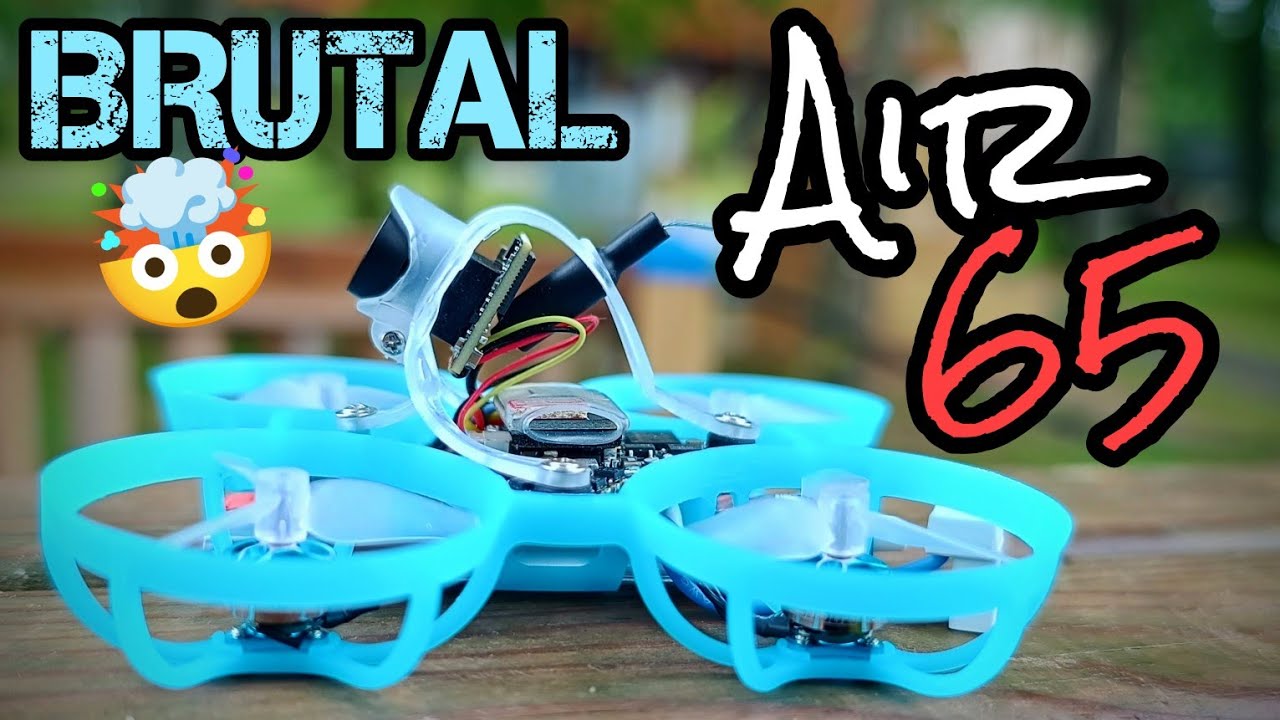
TLDR本视频介绍了Beta FPV最新推出的A65微型无人机。主播详细展示了A65的主要特性和组件,包括其轻巧的塑料框架、全合一飞行控制器、高性能的0702电机和C3微型相机。在飞行测试中,A65表现出色,无论是在角度模式还是自稳模式下都能提供稳定流畅的飞行体验。此外,视频还提供了Betaflight配置建议,帮助用户优化飞行体验。
Takeaways
- 😀 视频介绍了一款名为Beta FPV A65的新型迷你无人机,它非常小巧可爱。
- 🛠️ A65无人机采用了与Meteor 65相同的注塑成型塑料框架和螺旋桨保护罩,但配备了更轻巧的新型顶篷。
- 🔧 A65配备了Beta FPV全新的Air G4 4合1飞行控制器,具备G4处理器、双向DShot ESC和内置400m视频发射器。
- 🔗 无人机使用Beta FPV BT 2.0连接器供电,兼容BT 2.0和G&B A30连接器。
- 🔌 无人机底部有JST插头,附带USB适配器,方便连接飞行控制器进行USB通信。
- 📶 无人机内置16兆字节的黑匣子芯片,用于记录飞行数据,方便调校和分析。
- 🚀 A65使用的是0702 23000KV的微型电机,虽然体积小,但性能足够,还有27000KV版本供选择。
- 📷 无人机配备了Beta FPV C3微型摄像机,具有1200电视线和4:3的宽高比,可切换PAL和NTSC模式。
- 🔋 无人机重量轻,仅17.2克,搭载260mAh电池飞行时间约4分钟,300mAh电池则为5分钟。
- 🛰️ 视频还提供了Betaflight配置建议,包括调整PID参数和动态怠速设置,以改善飞行体验。
- 📡 VTX输出功率测试显示,不同Raceband设置下输出功率有显著差异,Raceband 1下最大输出功率超过600mW。
Q & A
视频中介绍的无人机是什么型号?
-视频中介绍的无人机是Beta FPV A65型号。
Beta FPV A65无人机的框架材质是什么?
-Beta FPV A65无人机的框架使用了注塑成型的塑料材质。
A65无人机的飞行控制器有哪些特点?
-A65无人机的飞行控制器是全新的Air G4 4合1飞行控制器,具备G4处理器、双向DShot ESC,并内置400m视频发射器。
Beta FPV A65无人机的电池接口是什么类型?
-Beta FPV A65无人机使用的是Beta FPV BT 2.0连接器,也兼容G&B A30连接器。
A65无人机的摄像头有哪些特性?
-A65无人机的摄像头是Beta FPV C3微型摄像头,具有1200电视线、4:3的宽高比,并可切换PAL和NTSC制式。
Beta FPV A65无人机的重量是多少?
-Beta FPV A65无人机仅机身的重量是17.2克,加上260mAh电池后重量为24.3克,使用300mAh电池则为25.5克。
视频中提到的Betaflight配置有哪些特点?
-Betaflight配置包括G4处理器、8K和4K的PIT Loop频率、永久启用的Air Mode、OSD启用以及180°的启动角度。
视频作者对A65无人机的飞行体验有何评价?
-视频作者认为A65无人机的飞行体验非常好,无论是在角度模式还是Acro模式下,都表现出良好的响应性和控制性。
Beta FPV A65无人机的VTX输出功率如何?
-Beta FPV A65无人机的VTX在不同设置下有不同输出功率,例如25M设置在Raceband 1下实际输出约200mW,在Raceband 8下则降低。
视频作者对A65无人机的哪些方面提出了改进建议?
-视频作者建议将Express LRS接收器集成到飞行控制器板上,以减少重量并使无人机更加紧凑。
A65无人机适合哪些用户群体?
-A65无人机适合作为初学者的首架无人机,因为它小巧、轻便、易于飞行;同时也适合经验丰富的飞行员作为即开即用的微型无人机。
Outlines

このセクションは有料ユーザー限定です。 アクセスするには、アップグレードをお願いします。
今すぐアップグレードMindmap

このセクションは有料ユーザー限定です。 アクセスするには、アップグレードをお願いします。
今すぐアップグレードKeywords

このセクションは有料ユーザー限定です。 アクセスするには、アップグレードをお願いします。
今すぐアップグレードHighlights

このセクションは有料ユーザー限定です。 アクセスするには、アップグレードをお願いします。
今すぐアップグレードTranscripts

このセクションは有料ユーザー限定です。 アクセスするには、アップグレードをお願いします。
今すぐアップグレード関連動画をさらに表示
BETAFPV AIR65: BRUTAL - TINYWHOOP SUPER LIGERO Y ÁGIL

NEW / BetaFpv AIR65 Freestyle & Racing Tiny Whoops.
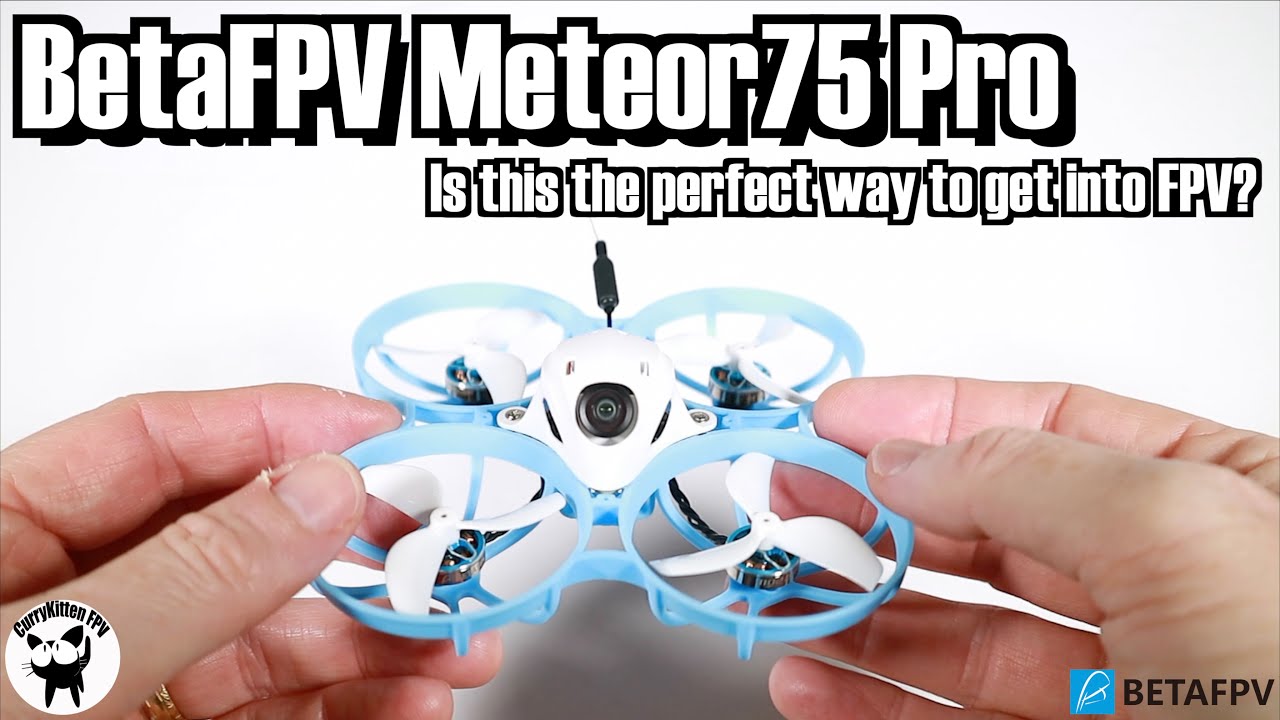
BetaFPV Meteor75 Whoop - is this the perfect way to get into FPV?

BETAFPV Meteor 75 PRO - Micro WHOOP REVIEW & TEST VOLO
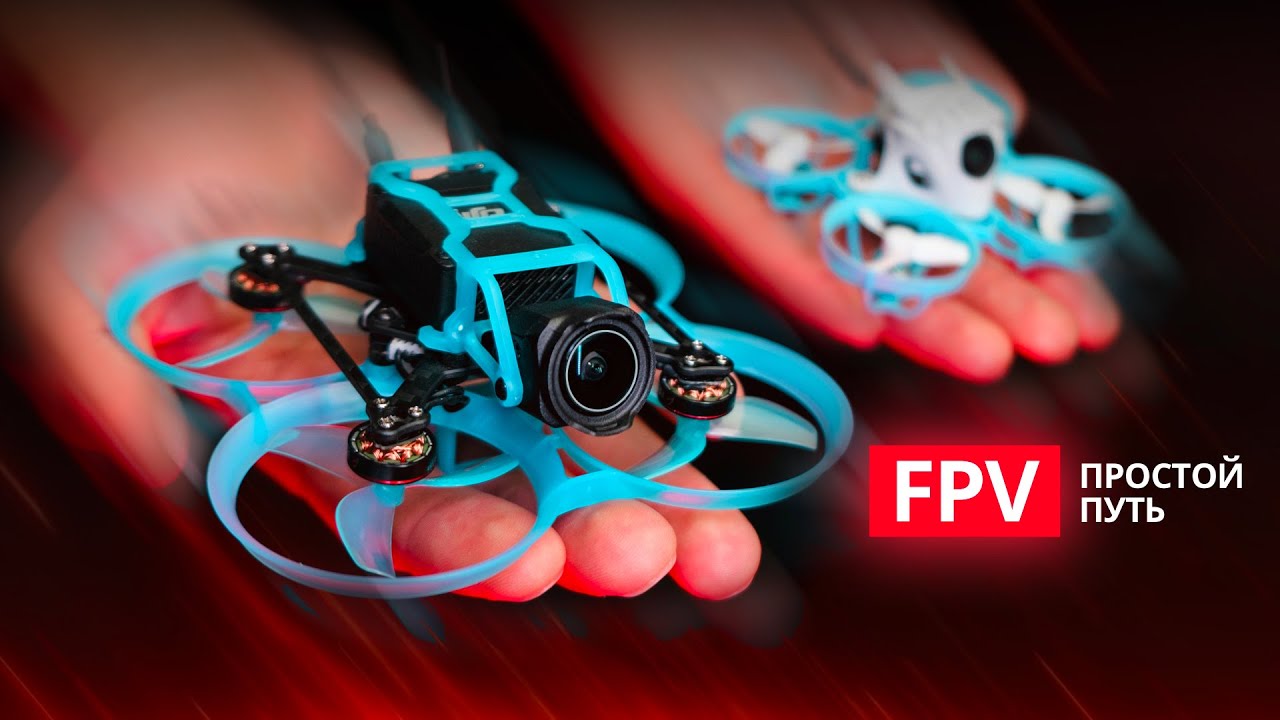
Микро FPV дроны – самый простой способ начать летать
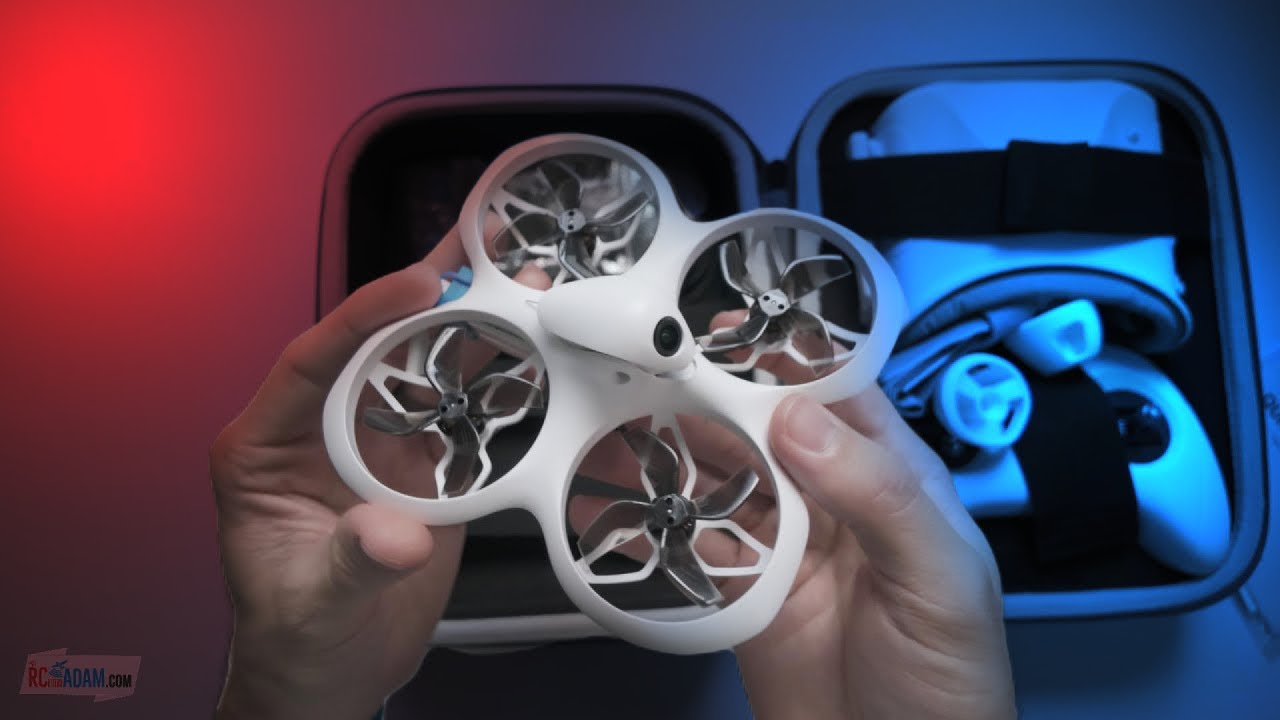
Cetus X Unbox + Setup + Flights // BetaFPV 2" Brushless 2S FPV Drone ELRS Ready-To-Fly Kit

betafpv PAVO25 V2 #betafpv #cinewhoops #o3airunit
5.0 / 5 (0 votes)
