ULTIMATE FREE LORA Training In Stable Diffusion! Less Than 7GB VRAM!
Summary
TLDRThis video tutorial introduces 'Laura,' an efficient method for training AI models using personal images, optimized for devices with limited GPU resources. It combines elements of Dreambooth and textual inversion, enabling the creation of lightweight embeddings for various models. The guide walks viewers through the process using Koya SS GUI, from setting up the software to training a model with detailed steps and configurations. The result is a personalized AI model that can be mixed and matched for unique image generation, all achievable with minimal hardware requirements.
Takeaways
- 😀 Laura is a method for training AI models using personal images, optimized for small graphics cards with only 6-7 GB of VRAM.
- 🤖 Laura combines elements of Dreambooth and Textual Inversion, creating small files that can be used with any model, unlike larger Dream Booth models.
- 🚀 The video demonstrates using Koya SS GUI, a user-friendly software for training models like Dreambooth, Textual Inversion embeddings, and fine-tuning models.
- 🔧 The Koya SS GUI installation process requires Python, git, and specific Visual Studio redistributables, with detailed steps provided in the video.
- 📁 A specific folder structure is necessary for Laura training, including image, model, and log folders, with the image folder containing subfolders named after training step counts.
- 🖼️ Image preparation for Laura involves high-quality, varied images, resizing to 512x512 resolution, and using tools like blip for image captioning.
- ✍️ Captioning images for Laura requires adding the character's name to the beginning of the caption for more precise training results.
- 🔢 The number of training steps is determined by the formula of at least 100 steps per image, with a total minimum of 1500 steps, influencing the subfolder naming.
- 📝 Two configuration files are provided for training: one basic and one for systems with less than 8 GB of VRAM, simplifying the setup process.
- 🔧 Training parameters like batch size, learning rate, and resolution can be adjusted, with suggestions given for weak GPUs to use memory-efficient options.
- 🎨 The final Laura model can be used in Stable Diffusion with an extension, allowing the weight of the model to be adjusted in prompts for varied image results.
Q & A
What is Laura in the context of this video?
-Laura is a method for training a subject using your own images, optimized for small graphics cards, requiring only 6 to 7 gigabytes of VRAM, making it accessible for users with limited GPU resources.
How does Laura compare to Dreambooth and Textual Inversion in terms of resource requirements?
-Laura is more resource-friendly compared to Dreambooth and Textual Inversion, as it allows for training a subject with significantly less VRAM, making it suitable for users with less powerful GPUs.
What is the file size of the embeddings created by Laura?
-The embeddings created by Laura are small, typically ranging between 300 megabytes and 100 megabytes, which is considerably less than the size of a Dream Booth model.
Can Laura embeddings be used with any model?
-Yes, Laura embeddings can be applied to any model in the same way as Textual Inversion embeddings, making them versatile for various applications.
Why is the Dreambooth extension not used for training Laura in this video?
-The Dreambooth extension is not used because it often does not work well with the automatic 11 due to new updates that can break the training process, which the presenter finds annoying and prefers to avoid.
What is the Koya SS GUI and how is it used in the video?
-The Koya SS GUI is a software that simplifies the training process for a Dreambooth model, a checkpoint, and a texture inversion embedding, or even fine-tuning your own model. It is used in the video to train Laura efficiently and easily.
What are the system requirements for installing the Koya SS GUI?
-To install the Koya SS GUI, one needs to have Python and git installed, as well as Visual Studio 2015, 2017, 2019, or 2022 with the distributable libraries. If not already installed, an Excel file is provided to assist with the installation.
How does one set up the Koya SS GUI for training?
-The setup involves installing the necessary software, creating a new folder for the Koya installation, copying and pasting command lines into Windows Powershell, and following the prompts to complete the installation process.
What is the recommended image resolution for training with Laura?
-The recommended image resolution for training with Laura is 512 by 512 pixels. However, for higher quality results with a powerful GPU, training at 768 by 768 pixels is suggested.
What is the minimum number of images recommended for training with Laura?
-It is recommended to have at least 10 high-quality images for training with Laura. The number of training steps should be at least 100 steps per image, with a total of at least 1500 steps.
How can one use the trained Laura model in Stable Diffusion?
-After training, the Laura model can be used in Stable Diffusion by copying the saved tensor file and pasting it into the Stable Diffusion UI folder's models/Laura directory. An extension called 'Koya SS Additional Networks' needs to be installed to utilize the model within the UI.
How does one mix different Laura models in a prompt for Stable Diffusion?
-Multiple Laura models can be used together in a prompt by selecting them and adjusting their respective weights to control the emphasis on each model's influence on the final image, ensuring the total weight does not exceed one.
What is the impact of using a lower batch size during training?
-Using a lower batch size, such as one, can improve the quality of training, especially when the number of images is limited. However, it may increase the training time and use less VRAM compared to higher batch sizes.
What are the benefits of training at a higher resolution like 768x768?
-Training at a higher resolution such as 768x768 can result in better-looking models, especially when high-quality images are available. However, it requires a more powerful GPU due to increased VRAM usage.
How can one ensure the proper naming of folders for training steps in Laura?
-The folder name should include the number of training steps per image followed by an underscore and the name of the character, ensuring the total training steps are at least 1500 and each image has at least 100 steps.
What are the configuration files provided in the description for?
-The configuration files provided are used to automatically set optimal training parameters for Laura, including one for general use and another for systems with less than 8 gigabytes of VRAM.
What is the role of the 'enable buckets' option during training?
-The 'enable buckets' option is used when training with images of different dimensions, ratios, and resolutions. It allows the training process to accommodate images that are not uniformly cropped or sized.
How can one modify the weight of a Laura model in a prompt?
-The weight of a Laura model in a prompt can be modified by adjusting the number associated with the model's call-out text in the prompt. A value of 1 corresponds to 100% influence, 0.9 to 90%, and so on.
Outlines

このセクションは有料ユーザー限定です。 アクセスするには、アップグレードをお願いします。
今すぐアップグレードMindmap

このセクションは有料ユーザー限定です。 アクセスするには、アップグレードをお願いします。
今すぐアップグレードKeywords

このセクションは有料ユーザー限定です。 アクセスするには、アップグレードをお願いします。
今すぐアップグレードHighlights

このセクションは有料ユーザー限定です。 アクセスするには、アップグレードをお願いします。
今すぐアップグレードTranscripts

このセクションは有料ユーザー限定です。 アクセスするには、アップグレードをお願いします。
今すぐアップグレード関連動画をさらに表示
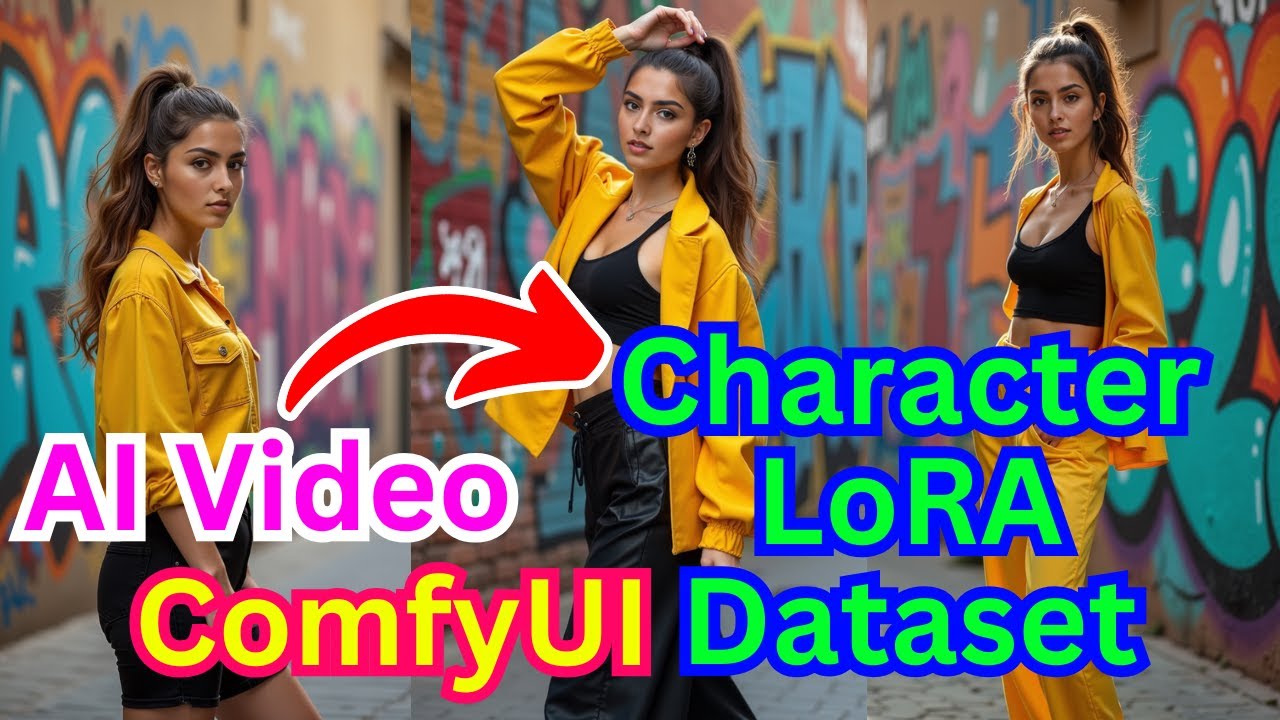
Wan 2.1 In ComfyUI - Create Character LoRA Dataset Using AI Video
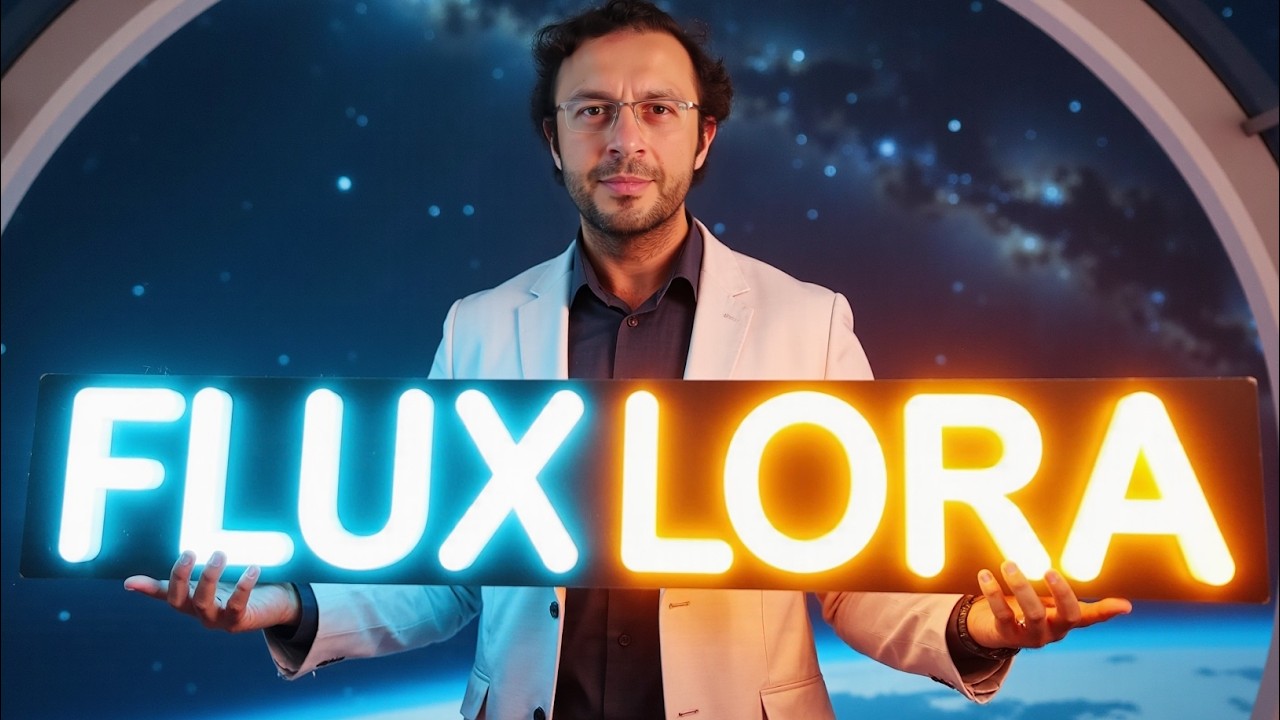
FLUX LoRA Training Simplified: From Zero to Hero with Kohya SS GUI (8GB GPU, Windows) Tutorial Guide
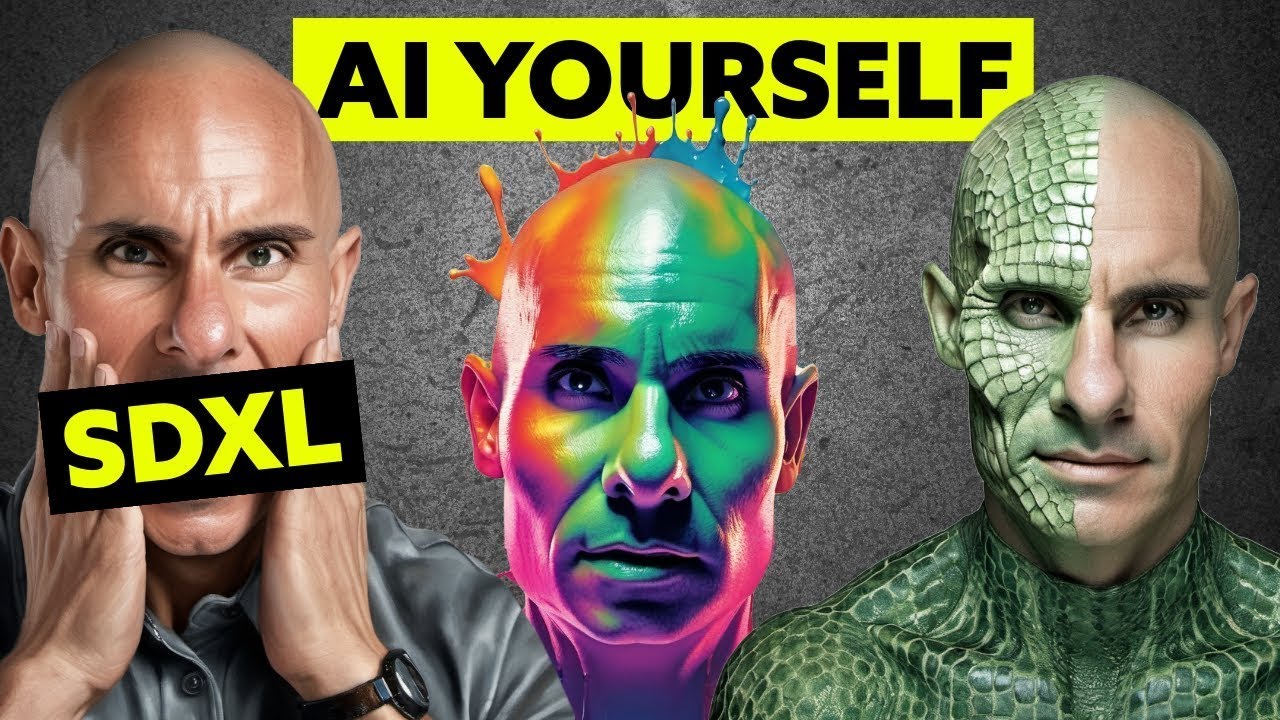
SDXL Local LORA Training Guide: Unlimited AI Images of Yourself

ICCV 2023 - Sigmoid Loss for Language Image Pre-Training

Streamlined AI Development with NVIDIA DGX Cloud
FLUX + LORA and Kling AI (Consistent Characters & AI Videos with Your Face)
5.0 / 5 (0 votes)
