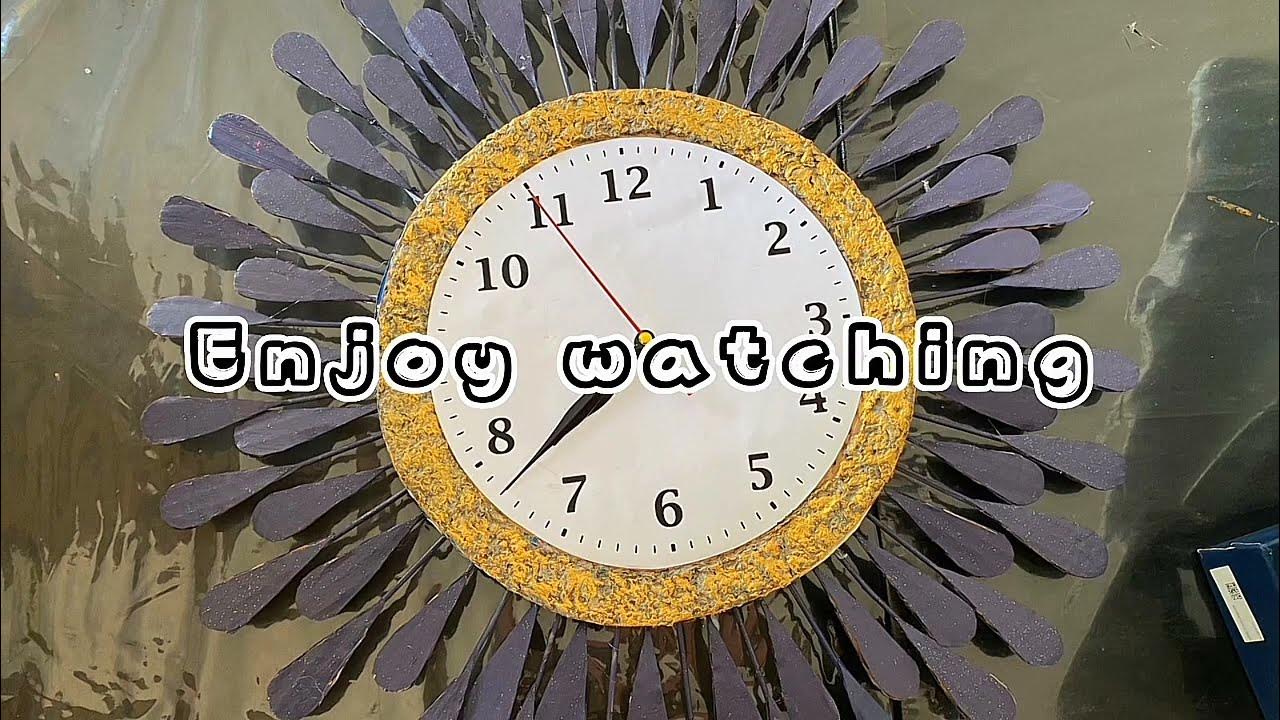
Hướng dẫn dùng giấy thủ công làm chiếc đồng hồ cực ngộ nghĩnh | NGUYEN DIY
Summary
TLDRThis is a tutorial video demonstrating how to make a cute cat clock. It provides step-by-step instructions on drawing and cutting out circles to form the clock face and body, attaching the eyes and nose, marking the clock numbers, cutting out the clock hands, and customizing the time displayed. The video aims to guide viewers through the creative process of making this paper craft clock featuring a cat design.
Takeaways
- 😀 The video is a DIY tutorial for making a cute cat clock
- 🐱 Cutting circular cardboard pieces to make the cat's face and body
- 👀 Gluing on googly eyes for the cat's eyes
- 😺 Cutting and attaching a red triangle for the cat's mouth
- 🖌️ Drawing numbers and lines to make the clock face
- ⌚ Cutting long and short hands for the clock
- 🕰️ Attaching the clock hands to show the desired time
- 📏 Customizing clock hand lengths based on personal preference
- 🖋️ Using a black marker to add pupils to the cat's eyes
- 🎉 The end result is a cute handmade cat clock!
Q & A
What is the video about?
-The video is a tutorial on how to make a cute cat clock.
What materials are needed to make the cat clock?
-The materials needed are paper, scissors, glue and markers.
What is the first step in making the cat clock?
-The first step is to draw two circles of different sizes that will be used for the cat's body.
How is the cat's body formed?
-The cat's body is formed by cutting out the larger circle and gluing a smaller circle in the middle to create the cat's belly.
How are the cat's eyes made?
-The eyes are made by gluing two small black circles onto the cat's face.
How is the cat's mouth created?
-The mouth is made by cutting out a small red triangle and gluing it onto the cat's face.
How are the clock numbers added?
-The numbers can be handwritten either in Roman numerals or regular numbers around the clock face.
What are the clock hands made of?
-The clock hands are cut out from paper, with one longer hand for the hour and one shorter hand for the minutes.
How are the clock hands positioned?
-The hands can be positioned to any time by gluing them in place on the clock face.
What is the final step to complete the cat clock?
-The final step is to use a black marker to add pupils to the cat's eyes.
Outlines

このセクションは有料ユーザー限定です。 アクセスするには、アップグレードをお願いします。
今すぐアップグレードMindmap

このセクションは有料ユーザー限定です。 アクセスするには、アップグレードをお願いします。
今すぐアップグレードKeywords

このセクションは有料ユーザー限定です。 アクセスするには、アップグレードをお願いします。
今すぐアップグレードHighlights

このセクションは有料ユーザー限定です。 アクセスするには、アップグレードをお願いします。
今すぐアップグレードTranscripts

このセクションは有料ユーザー限定です。 アクセスするには、アップグレードをお願いします。
今すぐアップグレード関連動画をさらに表示
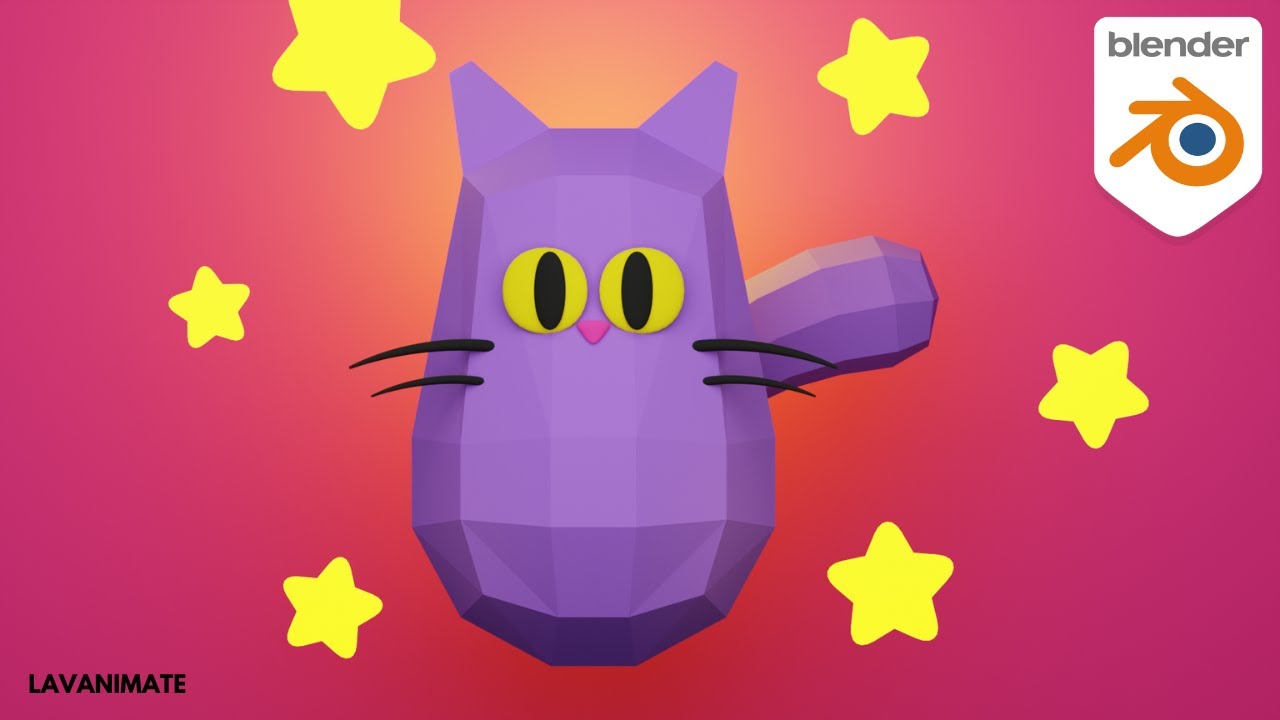
TUTORIAL MODELING KUCING LOWPOLY DI BLENDER | TUTORIAL PEMULA BLENDER 3D
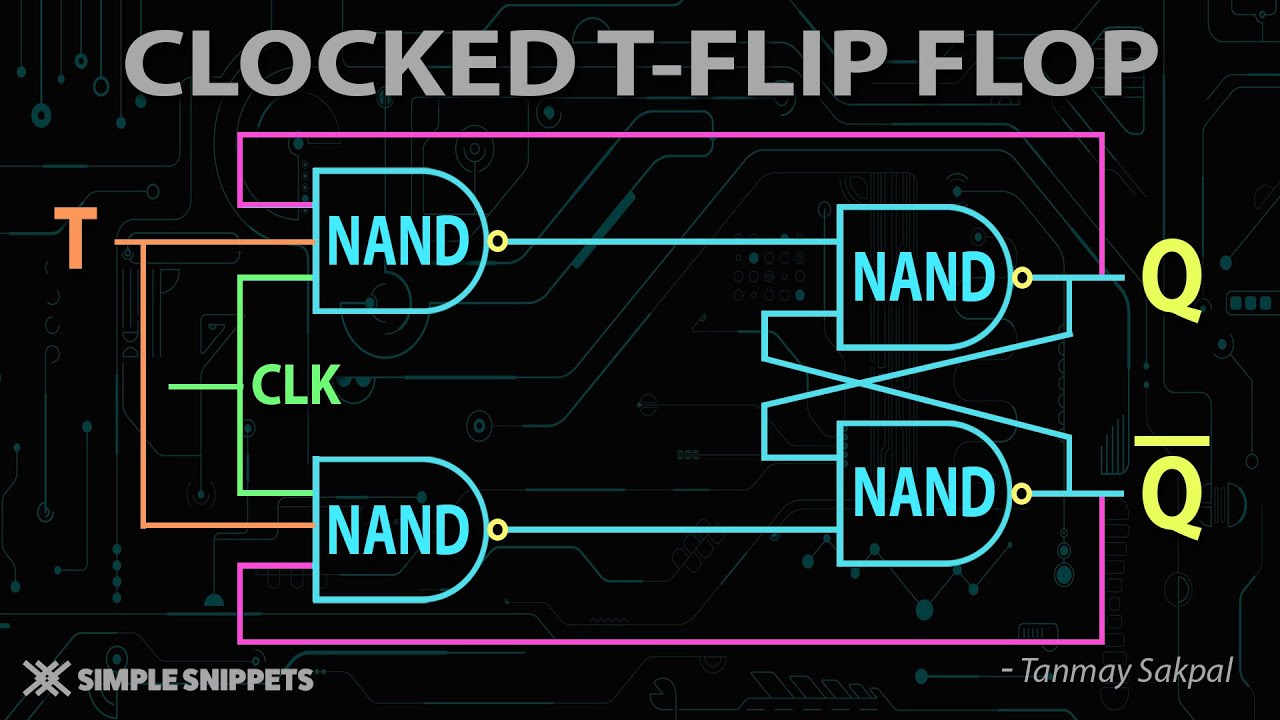
Clocked T Flip Flop using NAND Gates with Truth Table and Circuit Diagram

💗Easy No-Sew Crochet Pencil Case | Back-to-School Crochet | *Beginner-friendly Tutorial
Vidio tutorial pembuatan jam dinding merak dari limbah sampah oleh (kelompok 2 ,Kelas X1)

Relógio AM/PM/24H no Logisim: Circuito de 12 a 12 - Aula 04

How to Make a Table Decoration Flower Vase - Craft from Ice Cream Sticks
5.0 / 5 (0 votes)
