Dental Photography Basics - Example Shoot
Summary
TLDRThis video provides a comprehensive guide on internal dental photography, showcasing techniques using a Nikon camera with dual flash setup or ring flash. It covers essential tips for capturing high-quality dental images, including proper stabilization techniques, lighting adjustments, and patient positioning. Key methods for taking specific shots like anterior, buccal, and occlusal views are demonstrated, with an emphasis on maintaining consistency in photo techniques. The video also highlights the benefits of using dual-point flash for more flattering images and tips for patient cooperation in dental photography. This detailed approach ensures clear and professional dental images for diagnostics.
Takeaways
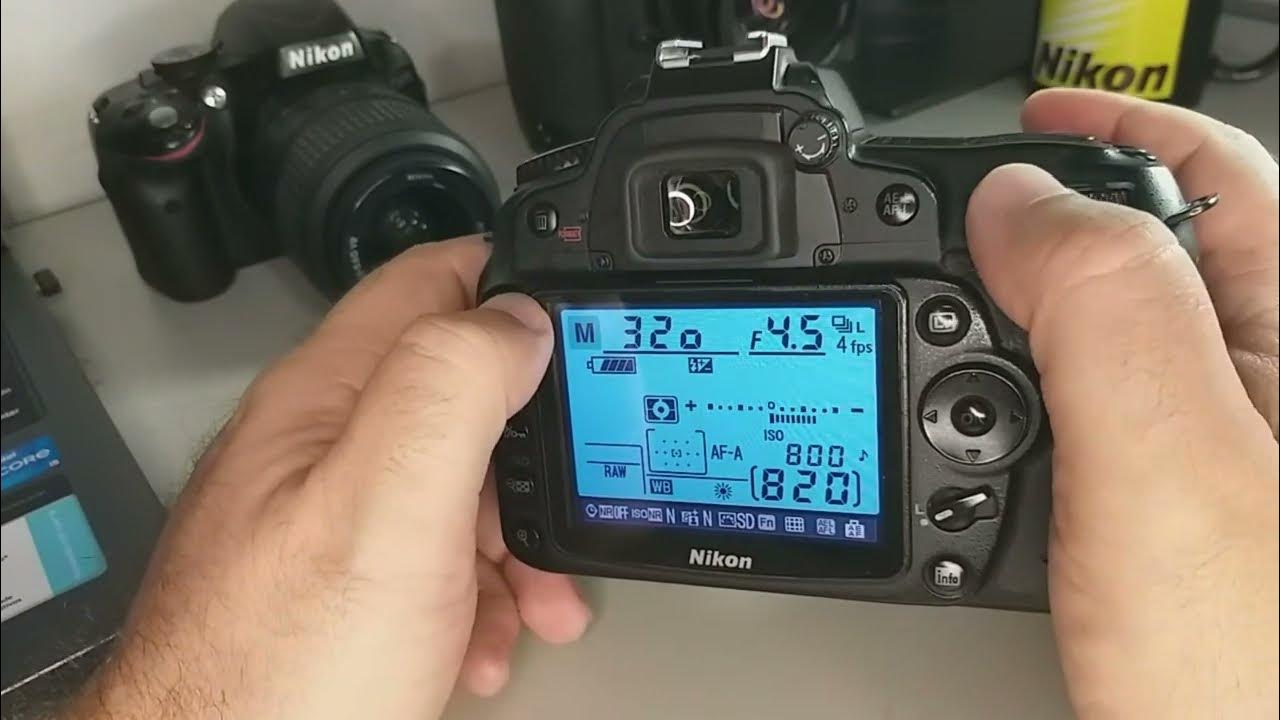
- 😀 Use a Nikon camera with a dual camera flash or a ring flash for internal dental photography.
- 😀 When using a tripod, consider using your body for additional support (e.g., elbow on knee or leaning on your thigh) to reduce camera shake.
- 😀 Ensure that the lighting in the room is bright to help with autofocus and photo quality.
- 😀 For dental photography, positioning the camera at the right angle is crucial to avoid misrepresentation of tooth relationships (e.g., molar positions).
- 😀 Consistency is key when taking occlusal mirror shots, either always reversing or never reversing the mirror shot to maintain uniformity.
- 😀 To prevent fogging on mirrors, use warm water or a triplex to clear the lens.
- 😀 Use retractors (like a horseshoe retractor) to hold the patient’s lips and ensure proper exposure of the teeth for clear photos.
- 😀 You can instruct the patient to hold certain tools like retractors in their mouth to help with self-retraction during the shoot.
- 😀 Consider using a dual flash system for more flattering lighting, which provides more detailed and balanced images compared to a ring flash.
- 😀 When shooting external photos, adjust the flash to bounce off the ceiling and floor for softer, more flattering light.
Q & A
What is the main purpose of this dental photography session?
-The main purpose is to provide a quick briefing on how to take internal dental photography, specifically focusing on different types of shots like close-ups, buccal retractions, and occlusal shots using proper techniques and equipment.
What kind of camera and lighting system are used in this dental photography setup?
-The setup uses a Nikon camera paired with a dual-camera flash system, though a ring flash can also be used. The dual-camera flash helps provide better lighting for more flattering images.
Why is stabilizing the camera important in dental photography?
-Stabilizing the camera is crucial because shaky hands can affect the autofocus, making it harder to capture a sharp image. The use of stabilizing techniques, such as leaning on a knee or using elbows, helps improve image clarity and autofocus performance.
What should be done to prevent the camera lens from fogging up during dental photography?
-To prevent fogging, warm water can be used to heat the mirrors, or alternatively, a trip-like device can be used. It's also recommended to avoid making patients hold their breath for too long to reduce fogging.
How should the camera be positioned when taking a close-up anterior photo?
-When taking the anterior close-up photo, the camera should be positioned slightly forward towards the patient’s nose, and the patient should open their mouth slightly to capture the right angle.
What is the significance of getting a good buccal retraction shot in dental photography?
-A good buccal retraction shot is important for accurately assessing the molar relationship. The positioning of the camera and retraction must ensure that the buccal side is clearly visible, as incorrect angles can distort the molar relationship, such as making a class 2 molar relationship appear incorrectly.
What is the philosophy behind reversing mirror shots during dental photography?
-The philosophy is that consistency is key. If you choose to reverse the mirror shots, you should do so for every shot, but if you choose not to reverse them, that's fine as long as you maintain consistency throughout the session.
What are the benefits of using a dual point flash over a ring flash in dental photography?
-The dual point flash system provides more flattering light by bouncing light off the ceiling and floor, creating softer and more balanced lighting. This allows for better detail and less harsh shadows compared to the ring flash, which provides direct frontal lighting.
How can a patient assist during dental photography without using retractors?
-Without retractors, the patient can help by holding devices such as a snorkel-like tool between their teeth to stretch their mouth and provide better access for photography. This method requires clear instructions to ensure the patient understands how to position the tool for the best photo results.
Why is it important to maintain clear communication with the nurse or assistant during dental photography?
-Clear communication with the nurse or assistant is essential for ensuring the patient is comfortable, the proper equipment is used, and the photography process runs smoothly. This is especially important when using tools like lip retractors or mirrors, and when ensuring the patient is positioned correctly.
Outlines

このセクションは有料ユーザー限定です。 アクセスするには、アップグレードをお願いします。
今すぐアップグレードMindmap

このセクションは有料ユーザー限定です。 アクセスするには、アップグレードをお願いします。
今すぐアップグレードKeywords

このセクションは有料ユーザー限定です。 アクセスするには、アップグレードをお願いします。
今すぐアップグレードHighlights

このセクションは有料ユーザー限定です。 アクセスするには、アップグレードをお願いします。
今すぐアップグレードTranscripts

このセクションは有料ユーザー限定です。 アクセスするには、アップグレードをお願いします。
今すぐアップグレード


5.0 / 5 (0 votes)
