EcoFlow DELTA Pro 3 • Worth Upgrading? Full Review
Summary
TLDRIn this detailed review, a technician evaluates the EcoFlow Delta Pro 3 portable power station, highlighting its improved power output, quieter operation, and expanded features over previous models. With 4,000W continuous output, 240V capability, and LiFePO4 battery longevity, it’s positioned as a strong alternative to traditional generators—especially when paired with the Smart Home Panel 2 for seamless backup power. The reviewer tests real-world performance, including load handling, UPS switchover speed, noise levels, and overload protection. He also demonstrates multiple setup options, from full-home integration to basic generator hookups, concluding that the Delta Pro 3 delivers reliable, high-capacity power for both home backup and off-grid use.
Takeaways
- 😀 The EcoFlow Delta Pro 3 is a compact, more powerful version of the Delta Pro Ultra, offering 240V split-phase power and enhanced features.
- 😀 With a focus on quieter operation, the Delta Pro 3 generates noise as low as 30 dB, thanks to improved fan placement and airflow design.
- 😀 The unit delivers a continuous 4,000 watts of pure sine wave power, ensuring it's safe for sensitive electronics like medical devices.
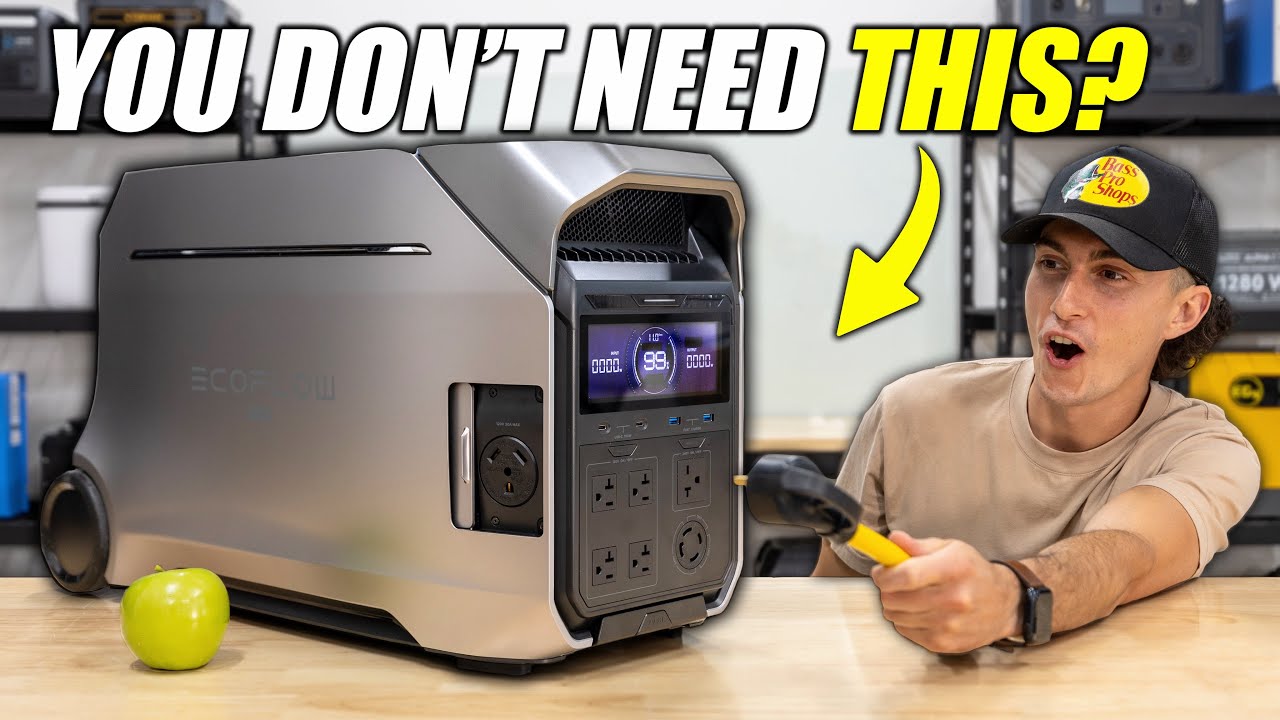
- 😀 It comes equipped with a variety of ports, including two USB-C, two USB-A, and four 120V 20-amp outlets, alongside a 230V outlet and 240V generator-style plug.
- 😀 The Delta Pro 3 utilizes a lithium iron phosphate (LiFePO4) battery, providing up to 4,000 charge cycles, translating to about 11 years of use with 80% capacity retention.
- 😀 It's designed with flexibility in mind, allowing users to add expansion batteries for greater capacity and enabling both solar and EV charging inputs.
- 😀 The system is UL-rated, making it safe for indoor use, which is ideal for apartment dwellers or those seeking a noise-free, clean energy solution.
- 😀 Users can remotely monitor and control the unit via the EcoFlow app, with features like UPS backup, customizable power distribution, and efficient charging management.
- 😀 The Delta Pro 3 includes protective features like over-voltage, under-voltage, and temperature control, which prevent damage to the device and connected appliances.
- 😀 Despite its large capacity, the Delta Pro 3 weighs around 186 lbs (with the battery), but it has handles and wheels for easy transport and mobility.
- 😀 It also includes a smart home panel for easy installation and remote power control, providing users with the ability to manage their entire home energy system from the app.
Q & A
What is the EcoFlow Delta Pro 3 and how does it differ from previous models?
-The EcoFlow Delta Pro 3 is a portable power station that improves upon earlier models by offering more power, quieter operation, higher charge cycles, increased voltage output, and enhanced features inspired by the Delta Pro Ultra but in a smaller form.
What is the continuous power output of the Delta Pro 3?
-The Delta Pro 3 provides 4,000 watts of continuous pure sine wave power, making it safe for sensitive electronics and capable of running heavy appliances.
What type of battery does the Delta Pro 3 use and what are its benefits?
-It uses a LiFePO4 (lithium iron phosphate) battery, which is safer, longer-lasting, and offers up to 4,000 charge cycles, equating to roughly 11 years of use with 80% capacity remaining.
Can the Delta Pro 3 provide 240V power, and why is that important?
-Yes, it supports 240V split-phase power, which is important for running high-demand appliances like well pumps, HVAC systems, and other household equipment.
What is the Smart Home Panel 2 and how does it work with the Delta Pro 3?
-The Smart Home Panel 2 allows seamless automatic switching between grid power and battery backup, functioning like a standby generator system and enabling remote control and monitoring via an app.
How efficient is the Delta Pro 3 when idle?
-During testing, it lost about 10–11% battery over 20 hours while idle, indicating its standby power consumption.
What safety and protection features are included?
-The system includes over 44 protection mechanisms, such as over-voltage, under-voltage, temperature protection, and automatic shutdown if critical components like fans fail.
How does the Delta Pro 3 handle overload situations?
-Instead of shutting down entirely, it isolates and shuts off only the overloaded circuit, helping maintain power to other connected devices.
What is X-Boost and how does it function?
-X-Boost allows the unit to handle loads exceeding 4,000W by lowering voltage while maintaining frequency, enabling operation of high-demand devices without tripping the system.
What are the noise levels of the Delta Pro 3?
-It can operate as quietly as 30 dB under light loads, and around 40–80 dB under heavier loads, making it quieter than many traditional generators.
How can the Delta Pro 3 be expanded?
-It supports up to two additional expansion batteries, increasing total capacity and allowing flexible setup configurations.
What are the different ways to connect the Delta Pro 3 to a home?
-It can be connected via the Smart Home Panel 2, a generator inlet box with an interlock switch, or by directly powering devices with extension cords.
What are the main advantages over gas generators?
-It eliminates fuel needs, reduces noise, avoids carbon monoxide risks, can be used indoors safely, and offers smart automation features.
How portable is the Delta Pro 3?
-While heavy (114 lbs base + 72 lbs battery), it includes wheels and a telescoping handle, making it easier to transport.
Can the Delta Pro 3 run large appliances like air conditioners?
-Yes, it can run a 2.5 to 3-ton air conditioner depending on total load, especially when properly configured with load prioritization.
Outlines

このセクションは有料ユーザー限定です。 アクセスするには、アップグレードをお願いします。
今すぐアップグレードMindmap

このセクションは有料ユーザー限定です。 アクセスするには、アップグレードをお願いします。
今すぐアップグレードKeywords

このセクションは有料ユーザー限定です。 アクセスするには、アップグレードをお願いします。
今すぐアップグレードHighlights

このセクションは有料ユーザー限定です。 アクセスするには、アップグレードをお願いします。
今すぐアップグレードTranscripts

このセクションは有料ユーザー限定です。 アクセスするには、アップグレードをお願いします。
今すぐアップグレード関連動画をさらに表示

Be Prepared with the Versatile EcoFlow Delta 2 Max Power Station

It’s Not Even Close! - DJI Power 1000 vs. EcoFlow Delta 2

Anker Solix C1000 vs Ecoflow Delta 2 Portable Power Station

EcoFlow Delta Pro 3 Review + Smart Generator 4000
EcoFlow Delta Pro 3 - Gimmick or Game Changer?

DJI Power 1000 Portable Power Station vs. Ecoflow Delta 2
5.0 / 5 (0 votes)
