Sculpt - Edit a Form
Summary
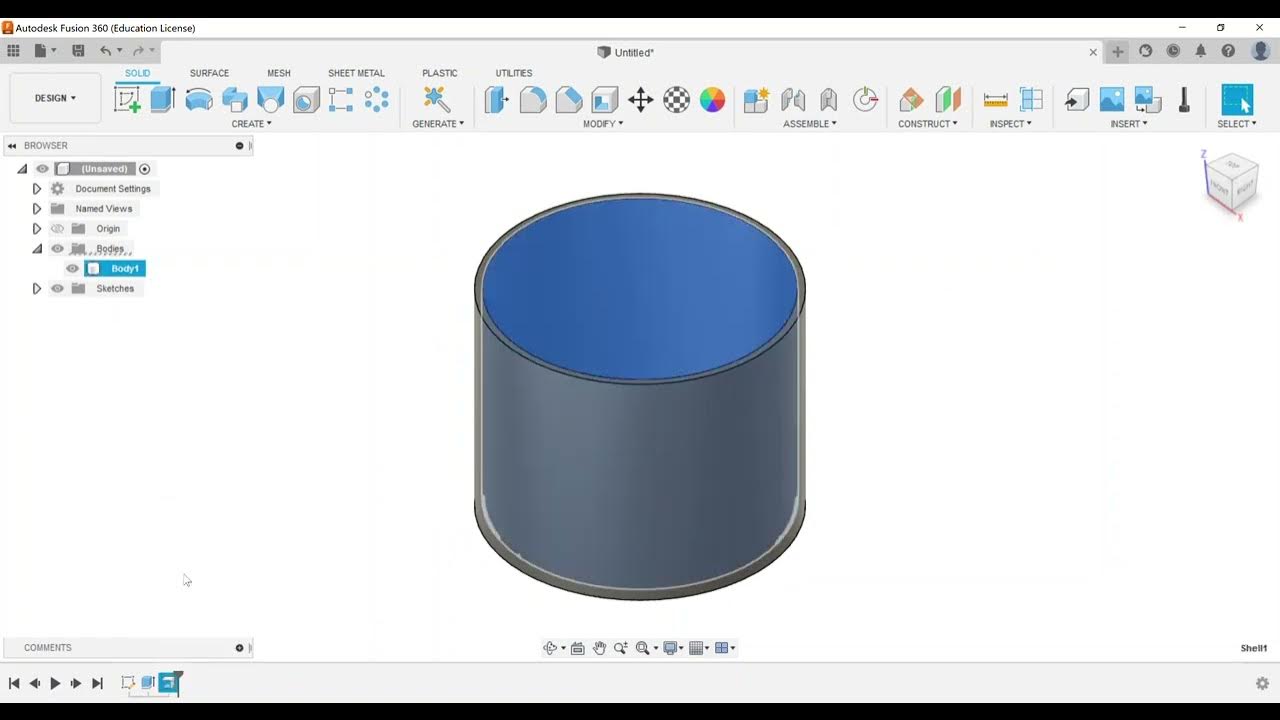
TLDRIn this video, we explore the Autodesk Certified User for Fusion 360 exam, focusing on the sculpt category and editing a form. The tutorial begins with creating a basic box and then delves into the Modify and Edit Form options, showcasing vertex, edge, and face selections for transformations. It highlights the importance of understanding coordinate spaces and the differences between transformations like translation, rotation, and scaling. The video encourages viewers to familiarize themselves with these tools and practice using tooltips for guidance, setting the stage for the next lesson on thickening forms to create solids.
Takeaways
- 🎥 The video is focused on preparing for the Autodesk Certified User exam for Fusion 360, specifically the sculpt category.
- 🛠️ The presenter demonstrates how to edit a form in Fusion 360, starting with the creation of a basic box shape.
- 🔧 Various editing options are available under the 'Modify' and 'Edit Form' functions, including vertex, edge, and face selections.
- 📏 The default setting for form editing is 'All', which allows for multi-directional transformations.
- 🔄 Transformation options include translation, rotation, and scaling, each with specific controls for the form.
- ↔️ The 'Multi' selection enables all transformation types at once, providing a wide range of editing capabilities.
- 🌐 The coordinate space can be adjusted to view space or world space, affecting how transformations are applied.
- 🔄 The presenter emphasizes the importance of understanding the difference between editing a face versus an edge or a vertex.
- 📚 Tooltips in Fusion 360 provide explanations for various commands, which can be helpful for exam preparation.
- 📈 The video suggests practicing with the editing tools and becoming familiar with their locations and functions.
- 📝 The presenter offers to answer questions and provides encouragement for viewers preparing for the certification exam.
Q & A
What is the main focus of the video?
-The main focus of the video is to explore the 'Sculpt' category in Fusion 360, specifically focusing on editing a form within the software.
What is the first step the presenter takes in Fusion 360?
-The first step the presenter takes is to go under 'Create' and create a form.
What does the presenter decide to create as an example form?
-The presenter decides to create a simple box as an example form.
What options are available under 'Edit Form' in Fusion 360?
-Under 'Edit Form', there are options for vertex selection, edge selection, and face selection, as well as coordinate spaces for transformation.
What does the presenter suggest for users to become familiar with?
-The presenter suggests that users should become familiar with the different options available for editing a form, such as translation, rotation, and scaling.
What happens when the presenter selects 'multi' for the form editing?
-When the presenter selects 'multi', it allows for all types of transformations (translational, rotational, and scaling) to be applied at once.
What is the default coordinate space for the form editing?
-The default coordinate space for the form editing is 'world space'.
What does the presenter advise for preparing for the ACU exam?
-The presenter advises to become familiar with the editing tools and their functions, possibly using tooltips in the menus for assistance.
What is the next topic the presenter will cover in the series?
-The next topic the presenter will cover is how to thicken a form to make it a solid.
How does the presenter suggest practicing for the ACU exam?
-The presenter suggests practicing by using the tooltips and menus in Fusion 360 to understand the commands and their functions.
What does the presenter imply about the complexity of the 'Edit Form' menu?
-The presenter implies that while the 'Edit Form' menu may seem complex, it is not overly complicated and users should focus on understanding how to use it effectively.
Outlines

このセクションは有料ユーザー限定です。 アクセスするには、アップグレードをお願いします。
今すぐアップグレードMindmap

このセクションは有料ユーザー限定です。 アクセスするには、アップグレードをお願いします。
今すぐアップグレードKeywords

このセクションは有料ユーザー限定です。 アクセスするには、アップグレードをお願いします。
今すぐアップグレードHighlights

このセクションは有料ユーザー限定です。 アクセスするには、アップグレードをお願いします。
今すぐアップグレードTranscripts

このセクションは有料ユーザー限定です。 アクセスするには、アップグレードをお願いします。
今すぐアップグレード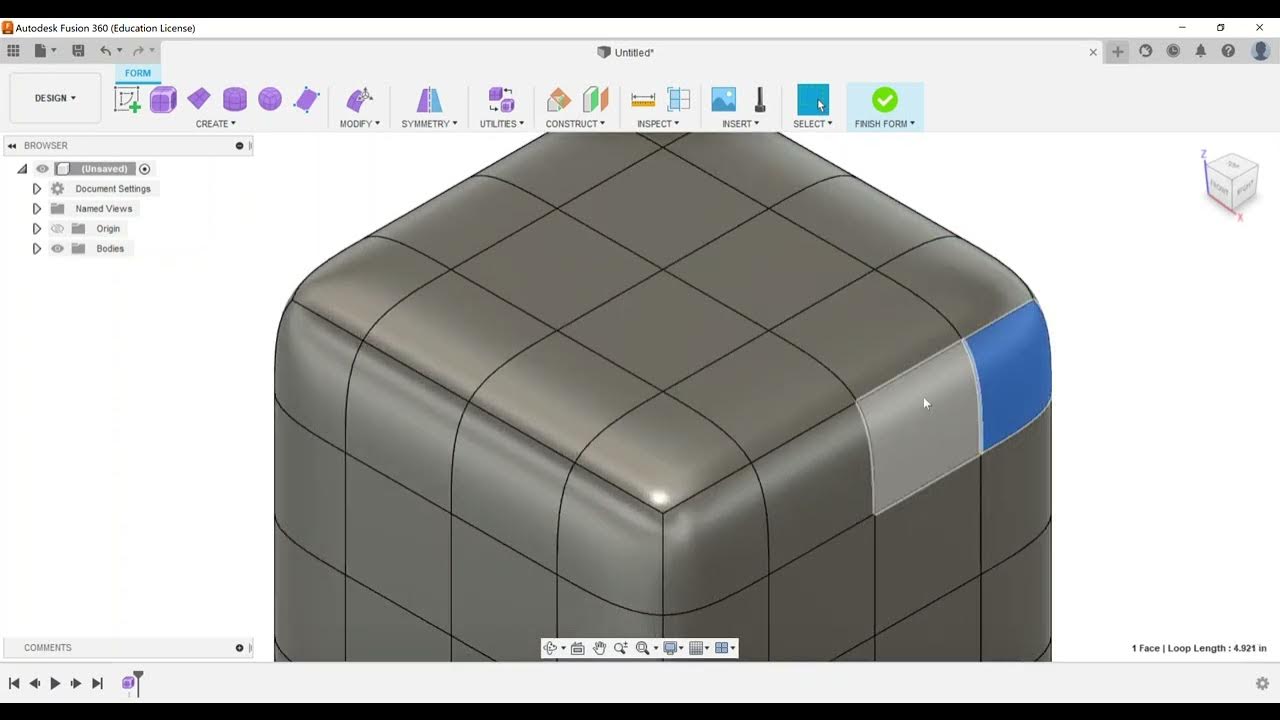

5.0 / 5 (0 votes)
