How to Mail Merge Letters - Office 365

Kevin Stratvert
26 Jan 202008:35

Summary

TLDRIn this tutorial, Kevin explains how to use the mail merge feature in Microsoft Word to create customized letters. He walks through an example where users can personalize Christmas letters or mass communication for companies by inserting specific names, addresses, and other details from an Excel spreadsheet. The guide demonstrates how to utilize templates, select recipients, and automate the process, saving time and making correspondence feel more personal. This step-by-step process simplifies mail merges, making it easy for anyone to send personalized letters efficiently.

Takeaways

  • 📝 Mail merge is a feature in Microsoft Word that allows you to create customized letters for multiple recipients.
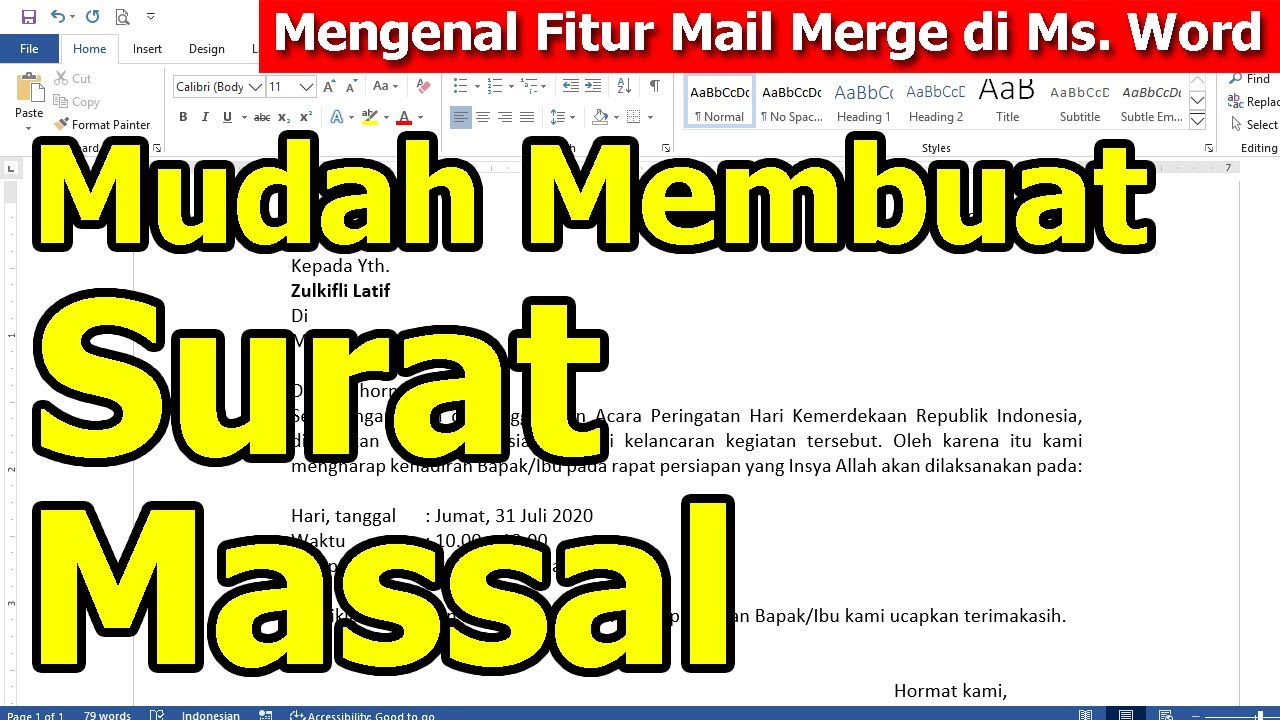
  • 🎄 A practical use case for mail merge is sending personalized Christmas letters to friends and family.
  • 💼 Mail merge is also useful for businesses, like utility companies, that need to send customized communications to customers.
  • 💻 The tutorial is given by Kevin, a Microsoft employee, using Word from the Office 365 suite, but the process is applicable to older versions as well.
  • 🔍 The Mail Merge Wizard is introduced as the easiest method to perform a mail merge.
  • 📑 The process starts by selecting 'Letter' as the document type and then choosing a template or using a current document.
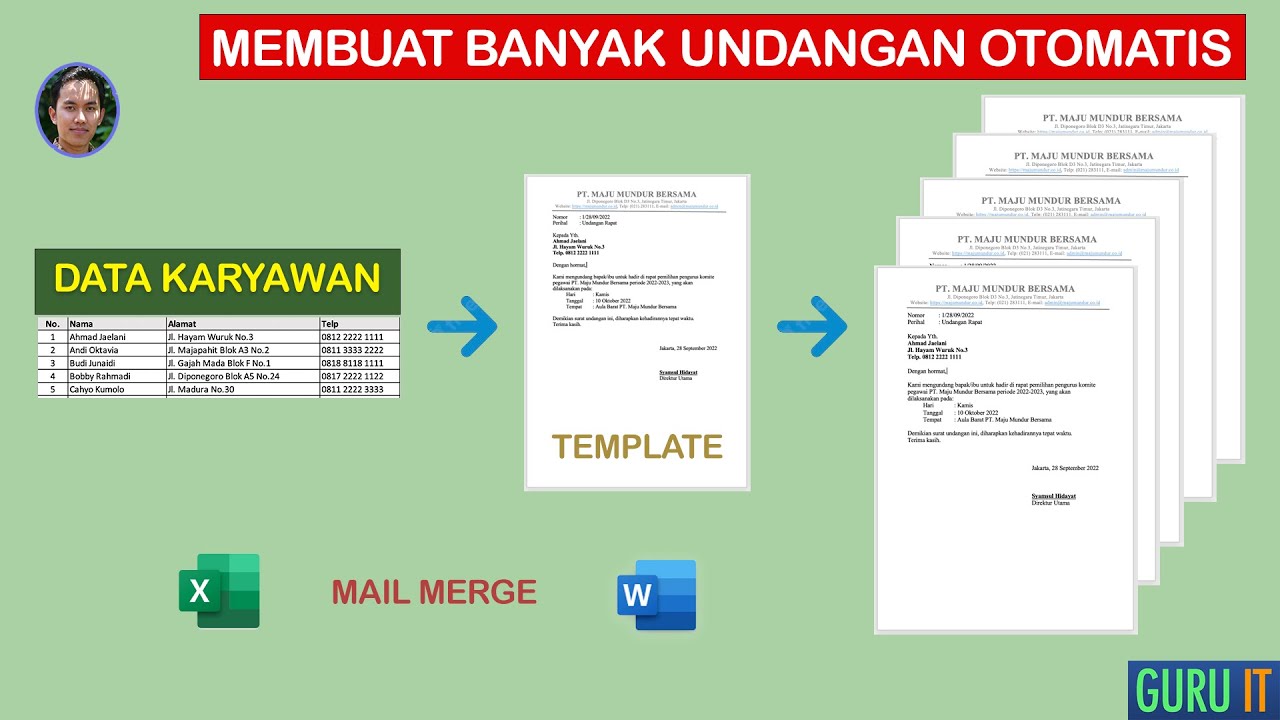
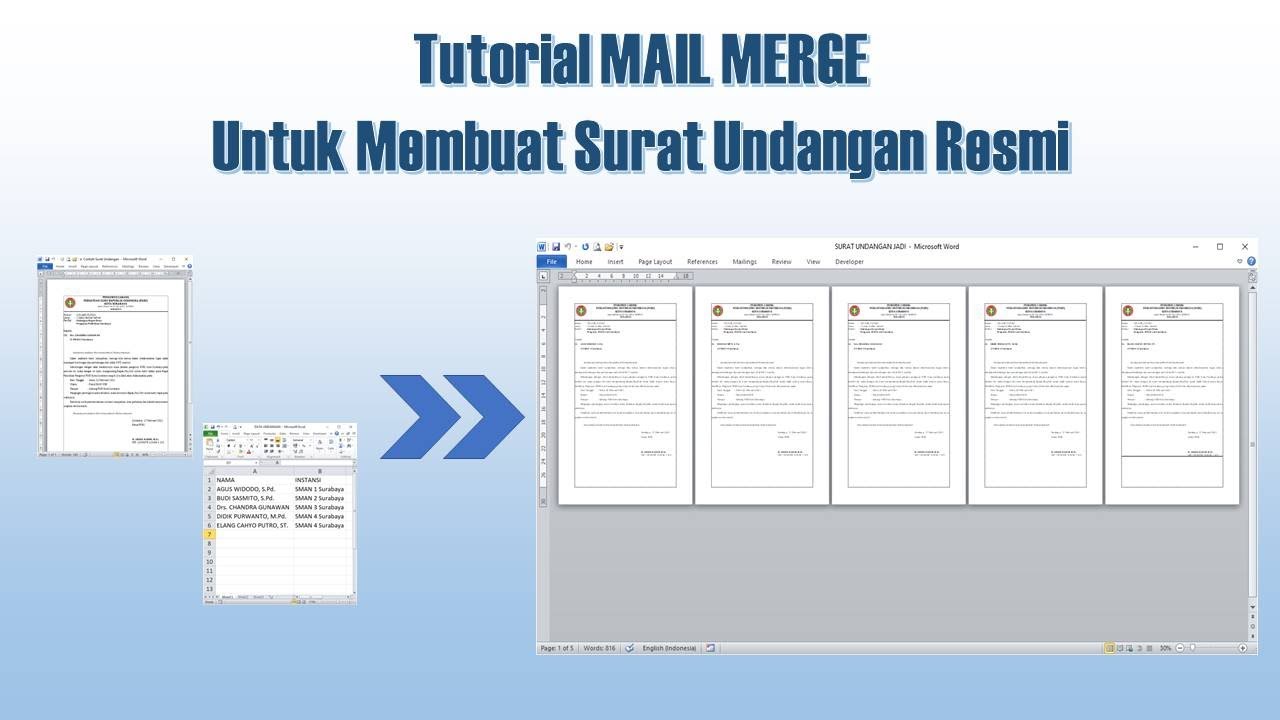
  • 📋 An Excel spreadsheet is used to source the recipient data, including names, addresses, and other personal details.
  • 📋 The spreadsheet must have column headers in the first row for the mail merge to correctly identify fields like first name, last name, and address.
  • 💌 The tutorial demonstrates how to insert placeholders for recipient names and addresses within the letter template.
  • 🔎 Mail merge offers options to sort, filter, and validate addresses, enhancing the customization and accuracy of the letters.
  • 🖨️ The final step involves previewing the customized letters and completing the merge to print or save them as individual documents.

Q & A

  • What is the purpose of using mail merge for letters?

    -The purpose of using mail merge for letters is to customize each letter with personal details such as the recipient's name and address, making it seem more personal rather than sending generic messages.

  • Who might benefit from using mail merge for customized letters?

    -People who need to send out customized letters, such as utility companies, businesses, or individuals sending holiday greetings like Christmas letters, can benefit from using mail merge.

  • What is the minimum version of Microsoft Word required to use mail merge?

    -Mail merge has been around for a while, so even older versions of Microsoft Word like 2019, 2016, 2013, or even the latest Office 365 should be able to follow along and use mail merge.

  • How does the mail merge wizard help in creating customized letters?

    -The mail merge wizard guides users through a step-by-step process, allowing them to select a document type, choose a template, select recipients from a list, and insert personalized information into the letter.

  • What kind of information can be included in a mail merge document from an Excel spreadsheet?

    -Information such as first name, last name, address, city, state, and zip code can be included in a mail merge document from an Excel spreadsheet.

  • How can users ensure that the correct data from their Excel spreadsheet is used in the mail merge?

    -Users can ensure correct data usage by selecting the appropriate list from their Excel spreadsheet, confirming that the first row contains column headers, and matching the data fields in Word with the headers in Excel.

  • What is the advantage of using the 'Address Block' feature in mail merge?

    -The 'Address Block' feature automatically formats and inserts the recipient's address into the letter, including the name, which saves time and ensures consistency.

  • How can users preview their mail merge letters before finalizing them?

    -Users can preview their mail merge letters by clicking on 'Preview your letter' in the mail merge wizard, which shows how the letter will look with the current record's data.

  • What are the options available after completing the mail merge?

    -After completing the mail merge, users can either edit individual letters to create a Word document with each letter or print the letters directly.

  • Can users print a selected number of letters instead of the entire mail merge list?

    -Yes, users can choose to print a selected number of letters by specifying the number of records they want to print before clicking the print button.

  • What is the benefit of using mail merge for sending holiday letters?

    -Using mail merge for holiday letters allows individuals to include personalized details and greetings for each recipient, making the letters feel more thoughtful and tailored.

Outlines

00:00

📝 Introduction to Mail Merge

Kevin introduces the concept of mail merge, explaining its utility for personalizing letters, particularly for occasions like Christmas. He shares his professional affiliation with Microsoft and proceeds to demonstrate how to use mail merge in Word with Office 365. The process starts with opening a blank document and navigating to the Mailings tab to initiate the mail merge wizard. Kevin opts for a step-by-step approach, selecting the letter option and starting the process. He then chooses a template for the letter from the available options.

05:00

📋 Setting Up Mail Merge with Recipients

Kevin details the next steps in setting up mail merge, which involve selecting recipients from an Excel spreadsheet containing names, addresses, and other relevant information. He emphasizes the efficiency of using a list to avoid manually typing each recipient's details. The video then shows how to link the spreadsheet to the mail merge document, ensuring that the first row contains column headers for proper data mapping. Kevin also mentions the ability to sort, filter, and validate addresses within the mail merge tool.

💌 Customizing the Letter

The tutorial continues with Kevin writing the letter, starting with inserting the date and his address. He then demonstrates how to insert the recipient's name and address into the letter using placeholders from the spreadsheet. Kevin shows how to add a personalized salutation by inserting the recipient's first name and provides a walkthrough of customizing the entire letter template with dynamic content from the spreadsheet.

🔎 Previewing and Completing the Merge

Kevin previews the customized letter, showing how the mail merge feature updates the recipient's name and address automatically. He explains the option to preview each letter individually and how the tool makes it easy to ensure each letter is personalized correctly. The video concludes with Kevin completing the merge process, demonstrating the option to either edit individual letters or print them all at once. He chooses to print a PDF as an example, showing the final customized letters for two recipients.

Mindmap

Keywords

💡Mail Merge

Mail Merge is a feature in word processing applications that allows users to create a standardized letter or document with personalized elements for a list of recipients. In the video, Kevin uses Mail Merge to customize letters for friends and family, making each letter feel more personal by addressing them by their first name. This is a key concept as it demonstrates how to automate the process of sending customized messages to a large number of people.

💡Personalization

Personalization refers to the process of tailoring content to an individual's preferences or characteristics. In the context of the video, personalization is achieved by inserting the recipient's name into the letter, making it seem more intimate and less generic. This is crucial for the video's theme as it shows how Mail Merge can be used to add a personal touch to mass communications.

💡Excel Spreadsheet

An Excel spreadsheet is a digital document used for organizing, analyzing, and storing data in a grid of horizontal rows and vertical columns. In the video, Kevin mentions using an Excel spreadsheet to store the names and addresses of recipients, which is then used for Mail Merge. This illustrates how spreadsheets can be integrated with word processing for automated tasks.

💡Template

A template in word processing is a pre-designed document that serves as a starting point for creating new documents, saving time and ensuring consistency. In the video, Kevin selects a letter template to use for the Mail Merge, which provides a base layout for the customized letters. This highlights the efficiency of using templates in document creation.

💡Recipients

Recipients are the individuals who will receive the final documents after a Mail Merge process. The video script mentions selecting recipients from an Excel list, emphasizing the importance of having a clear list of intended recipients for effective mass communication.

💡Column Headers

Column headers in a spreadsheet refer to the labels at the top of each column, indicating the type of information contained in that column. Kevin mentions that the first row of data in his Excel sheet contains column headers, which are crucial for Mail Merge as they define the fields that can be merged into the document, such as 'First Name' and 'Last Name'.

💡Merge Wizard

The Merge Wizard is a guided tool within Microsoft Word that assists users through the Mail Merge process step by step. The video script describes Kevin using the 'step-by-step Mail Merge Wizard' to simplify the process of creating customized letters, highlighting the user-friendly nature of this feature.

💡Salutation

A salutation is a formal greeting at the beginning of a letter or message. In the video, Kevin types 'Dear' followed by the recipient's first name as the salutation in the Mail Merge document. This is an example of personalization and sets the tone for the personalized communication.

💡Preview

Preview in the context of Mail Merge allows users to see how the final document will look before printing or finalizing it. Kevin clicks on 'Preview your letter' to check how the personalized letters will appear with the recipient's name and address, ensuring accuracy before proceeding.

💡Complete the Merge

Completing the merge is the final step in the Mail Merge process where the document is finalized with all personalized elements. In the script, Kevin clicks on 'Complete the Merge' and then chooses to print or save the letters as PDFs, demonstrating the last step in generating customized communications.

Highlights

Kevin introduces the concept of using mail merge for customized letters.

Explains the personalization benefits of mail merge for holiday greetings.

Mentions the utility of mail merge for businesses like utility companies.

Kevin discloses his employment at Microsoft.

Demonstrates starting a mail merge in Word using the Mailings tab.

Guides through selecting the 'Start Mail Merge' option.

Chooses the 'Letter' document type for the mail merge.

Selects a template for the mail merge letter.

Shows how to link an Excel spreadsheet as the mail merge data source.

Details the process of selecting recipients from an Excel list.

Discusses the ability to sort and filter the mail merge recipient list.

Inserts the current date into the letter template.

Enters the sender's address into the letter.

Inserts recipient names from the Excel spreadsheet into the letter.

Uses the 'Address Block' feature to insert recipient addresses.

Customizes the salutation with the recipient's name.

Previews the mail merge letter to see how it looks with personalized data.

Completes the mail merge process by printing or saving as a PDF.

Demonstrates saving the merged letters as a PDF.

Shows the final customized letters in the PDF.

Encourages viewers to like, subscribe, and comment for more content.

Transcripts

play00:00

hi everyone my name is kevin today i

play00:03

want to show you how you could use mail

play00:04

merge to customize letters

play00:07

why would you possibly want to use mail

play00:09

merge with letters and what does that

play00:11

even mean well imagine that christmas is

play00:13

coming up and you want to send all of

play00:15

your friends and family a letter well

play00:17

what you'd probably want to do is you

play00:19

want to customize the greeting you

play00:21

probably want to use their first name in

play00:22

the letter

play00:23

uh just to make it seem more personal

play00:26

otherwise your family might say hey like

play00:27

who's this person just sending me a

play00:28

generic message you can use it in many

play00:31

other examples as well christmas letters

play00:33

is just one example let's say that

play00:35

you're a utility company or let's say

play00:37

that you're anyone else who wants to

play00:38

send out customized letters mail merge

play00:41

enables you to do that

play00:43

and now as full disclosure before we

play00:45

jump into this i work at microsoft as a

play00:47

full-time employee so why don't we jump

play00:49

to it and i'll show you how you could do

play00:51

a mail merge

play00:52

here i am on my pc and i'm going to be

play00:56

using word that comes with office 365 so

play00:59

this is the latest and greatest but even

play01:00

if you have an older version let's say

play01:02

2019 2016 2013 any other version mail

play01:05

merge has been around for a while and

play01:07

you should be able to follow along what

play01:09

i did is i just clicked into a blank

play01:12

document and where we want to go

play01:14

is the mailings pivot so i'm going to go

play01:16

ahead and click on mailings up on top

play01:18

here

play01:19

and what we want to do is the one that

play01:21

sounds most promising is start mail

play01:24

merge so let's get started here and what

play01:26

i want to use is the step-by-step mail

play01:28

merge wizard that's by far the easiest

play01:30

way to do a merge so let's go ahead and

play01:32

click on that

play01:34

and today what i want to do what type of

play01:35

document are you working on well we're

play01:37

working on a letter so i'm going to go

play01:39

ahead and click on letter

play01:41

and then we're going to click on

play01:42

start let's go ahead

play01:44

and i'm going to actually select from a

play01:46

template now let's say that you were

play01:47

writing a letter you could just go ahead

play01:49

and click on this use current document

play01:51

or you could even just select from an

play01:52

existing document but in this case i

play01:54

don't have one so i'm just going to

play01:55

select a template

play01:56

and let's click on the letters tab and

play01:59

i'm just going to go with a let's go

play02:01

with let's say this one this looks like

play02:03

a good template

play02:05

and so there it is it inserted this

play02:06

template into the document and now let's

play02:09

select the recipients now what i've done

play02:11

ahead of time is i have this excel

play02:13

spreadsheet and i have all these names

play02:15

so i have first name last name i have

play02:17

their address the city the state and the

play02:20

zip code so i have all this information

play02:22

in an excel sheet and there are a lot of

play02:24

people in this excel sheet

play02:26

so i don't want to have to go through

play02:28

letter by letter and have to type in

play02:30

each name that would be a pretty big

play02:32

burden to have to do that so i'm glad i

play02:34

have this list and i can customize my

play02:36

letter based on this information in this

play02:39

sheet so i'm gonna go ahead and minimize

play02:41

excel and let me go through now and

play02:45

let's just see here it says

play02:47

so i have the option of using an

play02:49

existing list why i have an existing

play02:50

list in the excel sheet i could also

play02:52

select from outlook contacts or i could

play02:54

type in a new list but in this case i

play02:56

already have a list

play02:57

and i'm going to go just browse and

play02:59

select the list that i just showed you

play03:01

so here's my list and we're going to

play03:03

select that it says sheet1 that's what i

play03:06

have here that's sheet1

play03:08

and the other thing is it says first row

play03:10

of data contains column headers well if

play03:12

i look in my excel sheet and i go to the

play03:14

top

play03:15

of the sheet these are my column headers

play03:18

here so i have column headers that looks

play03:19

good and i'm going to go ahead and click

play03:21

on ok

play03:23

and so what it does now is it shows me

play03:25

all of the mail merge recipients so this

play03:27

matches what i had in my excel sheet and

play03:29

what's kind of nice is i could go

play03:30

through now i could sort the list i

play03:32

could even filter the list you know

play03:33

maybe i only want to send to let's say

play03:35

my family who lives in new jersey

play03:37

and then i could even say and maybe

play03:39

specifically in this city

play03:41

but i don't want to do that for now but

play03:42

you do have the ability to filter and

play03:44

you also have the ability to sort your

play03:46

list

play03:47

and you could also find individual

play03:49

recipients you can validate your

play03:50

addresses so quite a bit of rich

play03:52

functionality of what you can do here

play03:54

but in this case i want to send it to

play03:56

everyone so let's just click on ok

play03:59

so next i'm going to go ahead and write

play04:00

the letter so let's go on to step four

play04:02

of the process

play04:04

and it says now write your letter okay

play04:06

so let me insert the date here today's

play04:08

october 6th

play04:10

and then here it wants me to enter my

play04:12

company name and my company address i'm

play04:14

not going to have a company name

play04:16

but i'll just type in my address so

play04:18

12132 main street

play04:20

and we'll say i'm in redmond washington

play04:22

the home to microsoft

play04:24

and then now it says type the recipient

play04:26

name so what i want to do is the i have

play04:29

the recipient name in my spreadsheet how

play04:31

do i get it into here well here i can

play04:33

add information and so what's kind of

play04:35

neat is um if i click on more items down

play04:38

here i'll go ahead and click that now i

play04:40

could insert items from my excel

play04:42

spreadsheet and so all of these fields

play04:44

are based on my headers in excel

play04:46

remember i have first name last name

play04:47

street address so on and so forth and so

play04:50

here i'll start with maybe the first

play04:52

name

play04:52

and then i'll put in the last name okay

play04:55

so let's go ahead and close that for now

play04:57

and i want to make sure i insert a space

play04:58

between these so you'll see this is a

play05:00

placeholder for the first name and this

play05:01

is a placeholder for the last name now

play05:03

it says type the recipient address and

play05:05

i'm going to go ahead and click on

play05:07

address block

play05:08

and it actually looks like it includes a

play05:10

name in there as well so i could have

play05:11

just done this instead of inserting the

play05:13

name on my own so i'm going to go ahead

play05:15

and let's just click on ok

play05:17

and then i'll just remove the first name

play05:19

and last name so i just have my address

play05:20

block there and so it says type the

play05:22

salutation so maybe i'll say dear and

play05:25

then what i could do is i could go back

play05:27

to this more items and i can insert the

play05:28

first name

play05:30

and then i'll put in a comma after the

play05:31

first name then i have all my text body

play05:33

and then i'll have my closing and maybe

play05:35

i say regards

play05:37

and i'll just remove these two down here

play05:39

for now

play05:40

and so what i could do now is

play05:43

i've customized the letter you know i

play05:45

have the person's name in there i have

play05:47

the person's address in there and so now

play05:49

let's go ahead and click on preview your

play05:51

letter so let me go ahead and click on

play05:52

that

play05:53

and so here you know i have my you see

play05:55

my information and here's bob jones and

play05:57

i could also click on this to preview

play05:59

the results right up here

play06:01

and what i could do is if i click on

play06:03

this little arrow that'll bring me to

play06:04

the next record so basically the next

play06:07

row in my excel spreadsheet so i'll

play06:08

click on that and so you'll see how the

play06:10

address updates to the individual who

play06:12

you know the row is on and you'll see

play06:14

that it inserts their name right up in

play06:15

there and so i could go through all my

play06:17

records and let's see how it looks so

play06:19

this is great it's customized my letter

play06:21

to each individual i don't have to go

play06:23

through one by one and insert the

play06:24

address or insert the name it basically

play06:27

does it for me

play06:28

but this looks fantastic and

play06:30

now i'm going to click on complete the

play06:32

merge

play06:33

and so by completing the merge what that

play06:35

what that allows me to do is i could

play06:37

either edit individual letters so

play06:38

that'll just give me a word document

play06:40

with each individual letter or what i

play06:42

could do is i could click on print and

play06:45

by clicking on print this will simply

play06:47

print out all 50 something letters that

play06:49

i have so i'll go ahead and let's click

play06:51

on the print button

play06:53

and i could print everything or i could

play06:54

only print you know a certain number of

play06:56

records so just for this example i'm

play06:57

going to print just let's say

play06:59

two of them just just to do an example

play07:01

i'm going to click on ok and i'm just

play07:03

going to print a pdf just to demonstrate

play07:05

how this works but you could also select

play07:07

your printer on there and then print all

play07:09

the letters i'm going to go ahead and

play07:10

click on ok

play07:11

and now i have to choose what i want to

play07:13

save it as so i'm just going to say test

play07:16

and so what it did now is it it printed

play07:17

them out so let's go ahead and i'll

play07:19

click into this pdf that i just printed

play07:21

and what you'll see is here's my the

play07:23

first letter that's customized to bob

play07:25

and if i scroll down farther now i see

play07:27

my second letter customized for rosamond

play07:31

but that's that's really how easy it is

play07:33

to do a mail merge to be able to

play07:35

customize letters it's super easy if

play07:37

you're using word if you're using excel

play07:39

that has your list of contacts you can

play07:41

customize your letter and keep in mind

play07:43

it's not just limited to names or

play07:45

addresses you could put all sorts of

play07:47

other information in your excel

play07:48

spreadsheet so thinking back to the

play07:50

example of maybe a let's say a christmas

play07:52

letter that you want to send out maybe

play07:54

you include the person's kids name so

play07:56

you could ask the question how is you

play07:58

know samantha and nancy how are they

play08:00

doing and so you could make it seem like

play08:01

you really customized the letter uh

play08:03

fully for each individual who you're

play08:05

sending to it

play08:06

sending that letter to and your family

play08:08

will probably be really impressed

play08:09

they'll think wow how do you have so

play08:11

much time to write these customized

play08:12

letters

play08:13

anyway hopefully you enjoyed it if you

play08:15

found value please give this video a

play08:17

thumbs up if you want to see future

play08:18

videos like this please hit that

play08:20

subscribe button that way you'll get a

play08:21

notification anytime new content like

play08:23

this comes out and lastly if there are

play08:25

any other topics that you want me to

play08:26

cover in the future leave a comment down

play08:28

below i'll take a look and i'll add it

play08:30

to my list of videos to make all right

play08:32

well that's all i have for you today

play08:33

hope you enjoyed see you next time bye

Rate This

5.0 / 5 (0 votes)

関連タグ
Mail MergeLetter CustomizationMicrosoft WordOffice 365PersonalizationChristmas LettersUtility CompanyExcel SpreadsheetTemplate SelectionMass Communication
英語で要約が必要ですか?