Understanding GD&T
Summary
TLDRThis script offers an in-depth exploration of Geometric Dimensioning and Tolerancing (GD&T), a critical aspect of mechanical design ensuring parts fit and function correctly. It explains the shift from traditional dimensional tolerancing to GD&T, which accounts for a part's intended function by controlling 14 geometric characteristics across five categories: Form, Orientation, Location, Profile, and Runout. The video delves into the application of GD&T, including feature control frames, datums, modifiers, and inspection techniques, providing a comprehensive foundation for mechanical designers.
Takeaways
- 🔍 Tolerances are critical in mechanical design to ensure parts fit and function as intended.
- 📏 Dimensional tolerancing has limitations as it doesn't account for how parts will be used in practice.
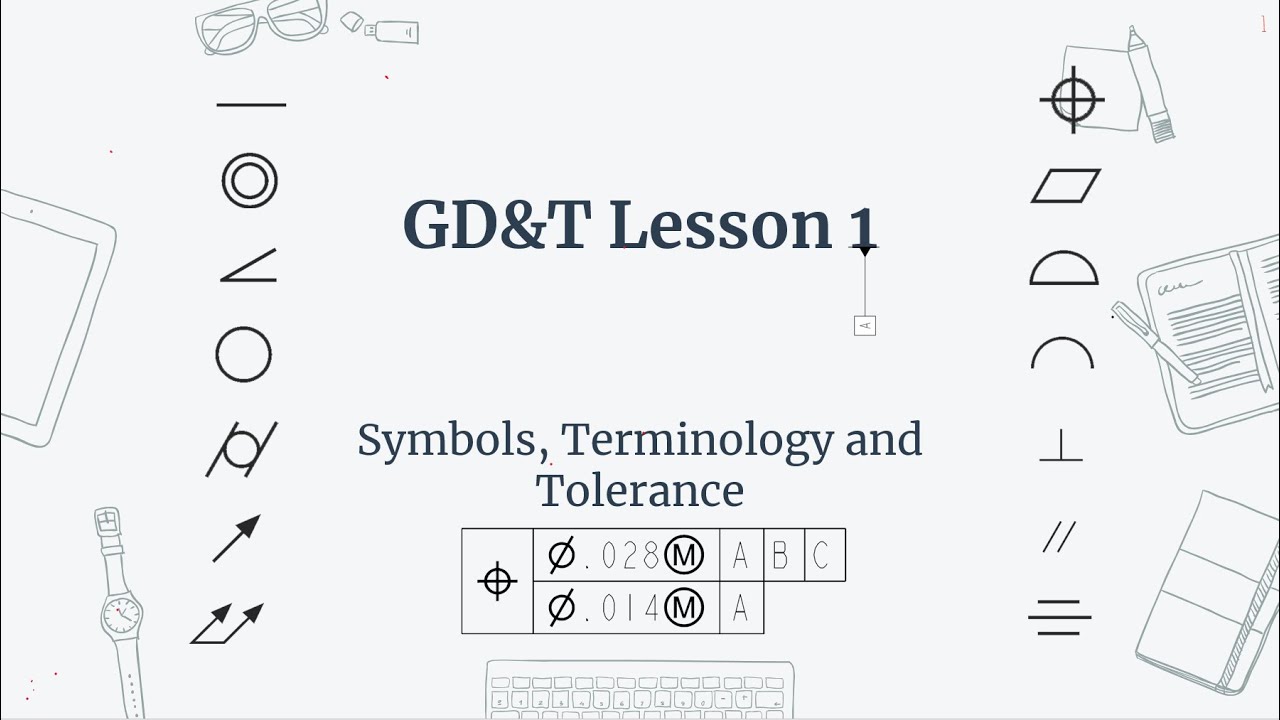
- 📐 Geometric Dimensioning and Tolerancing (GD&T) is a more functional approach, controlling 14 different geometric characteristics.
- 🔺 GD&T categorizes these characteristics into Form, Orientation, Location, Profile, and Runout.
- 📋 Features in GD&T can be surfaces, holes, or slots, and are controlled using feature control frames.
- 🔳 Surface features are individual surfaces, while features of size have defined dimensions and can be measured.
- 🔲 Geometric tolerances applied to surface features or features of size can have different implications.
- 📏 Datums are reference surfaces used during inspection and are crucial for establishing a part's position and orientation.
- 🔄 Modifiers in GD&T, like MMC and LMC, can adjust tolerance zones based on the feature's size relative to its limits.
- 🔍 The Envelope Principle in ASME ensures parts fit together by controlling both size and form, unlike ISO's Independency Principle.
Q & A
What is the primary challenge in designing and building mechanical systems?
-The primary challenge in designing and building mechanical systems is ensuring that all parts, once manufactured, will fit together and function as intended.
Why is tolerancing important in the mechanical design process?
-Tolerancing is important because it allows for variations in manufacturing while still ensuring that parts will fit together and function correctly.
How does geometric dimensioning and tolerancing (GD&T) differ from dimensional tolerancing?
-GD&T differs from dimensional tolerancing by allowing control of tolerances in a way that reflects the intended function of the part, rather than just defining how much each dimension can deviate from its nominal value.
What are the five categories of geometric characteristics controlled by GD&T?
-The five categories of geometric characteristics controlled by GD&T are Form, Orientation, Location, Profile, and Runout.
What is the difference between surface features and features of size in GD&T?
-Surface features in GD&T are individual surfaces, while features of size are features that have a defined dimension and can be measured with tools like calipers.
How are geometric tolerances applied to features in GD&T?
-Geometric tolerances in GD&T are applied to features using feature control frames, which contain all the necessary information to control a specific geometric characteristic.
What is the purpose of datums in GD&T?
-Datums in GD&T are reference surfaces that need to be considered during inspection. They are used to locate features and define how a part should be immobilized when inspecting a geometric tolerance.
How does the Envelope Principle, also known as GD&T Rule Number 1, affect the form of a feature?
-The Envelope Principle states that the surface of a regular feature of size shall not extend beyond an envelope that is a boundary of perfect form at MMC, meaning that the MMC limit of size controls both the size and form of the feature.
What is the difference between the Envelope Principle and the Independency Principle?
-The Envelope Principle states that the size limits control the form of a feature, while the Independency Principle considers the geometric form and size of a feature separately, meaning that the size limits do not control form.
What are the two types of runout tolerances and how do they differ?
-The two types of runout tolerances are circular runout and total runout. Circular runout controls the roundness of individual cross-sections relative to a datum axis, while total runout controls runout along the axial direction, using a tolerance zone defined by two concentric cylinders.
Outlines

このセクションは有料ユーザー限定です。 アクセスするには、アップグレードをお願いします。
今すぐアップグレードMindmap

このセクションは有料ユーザー限定です。 アクセスするには、アップグレードをお願いします。
今すぐアップグレードKeywords

このセクションは有料ユーザー限定です。 アクセスするには、アップグレードをお願いします。
今すぐアップグレードHighlights

このセクションは有料ユーザー限定です。 アクセスするには、アップグレードをお願いします。
今すぐアップグレードTranscripts

このセクションは有料ユーザー限定です。 アクセスするには、アップグレードをお願いします。
今すぐアップグレード関連動画をさらに表示

What is GD&T? | GD&T symbols Explained with Example | for Beginners Understanding | Subscribe Us

GD&T Lesson 1: Symbols, Terminology and Tolerance.

Understanding Engineering Drawings

Holier than Thou: Precision Holes by Drilling, Boring, and Reaming

14.1. Design for Testability

Most Important Mechanical Interview Questions - CAD Design & CNC VMC Programming | RVM CAD
5.0 / 5 (0 votes)
