Getting Started with React Native: Install Node.js, Create Your First App, and Pair with Expo Go
Summary
TLDRIn this tutorial, Sir Marbs introduces React Native, a programming language for creating iOS and Android applications. He guides viewers through downloading Node.js, setting up a React Native environment with Expo CLI, and installing Visual Studio Code for coding. The process includes enabling developer options on a physical device, connecting it for screen mirroring with a laptop, and using the Expo Go app for testing. The video concludes with a basic app setup and instructions on modifying the app's text, encouraging viewers to explore further for in-depth coding knowledge.
Takeaways
- 💻 React Native is a programming language for creating iOS and Android applications.
- 🔗 Download Node.js from nodejs.org as a prerequisite for React Native development.
- 📁 Open the command prompt and navigate to a suitable directory for creating the project.
- 🚀 Use 'npx create-expo-app' to initialize a new React Native project with a blank template.
- 📝 Name the application during the setup process, e.g., 'my first app'.
- 🔄 Enable Developer Options and USB debugging on the physical device for development.
- 🖥️ Use Visor to mirror the device screen to the laptop for real-time development feedback.
- 📱 Download the Expo Go app from the Play Store to test and debug the application.
- 🛠️ Open the project in a text editor like Visual Studio Code for coding and editing.
- 🔧 Run the application using 'npm start' and pair it with the physical device.
- 🔍 Scan the QR code displayed in the terminal to load the app on the device.
- ✍️ Edit the app's code in 'app.js' to make changes and save them to see updates in real-time.
Q & A
What is React Native?
-React Native is a framework used for building mobile applications for iOS and Android platforms using JavaScript and React.
Why is Node.js necessary for creating a React Native application?
-Node.js is required because it provides the necessary runtime environment for the JavaScript code that powers React Native applications.
What is the purpose of the 'npx create-expo-app' command?
-The 'npx create-expo-app' command is used to scaffold a new React Native project with a blank template provided by Expo, which simplifies the setup process.
What is the role of the Expo Go app?
-The Expo Go app is used to test and debug React Native applications directly on a physical device by scanning a QR code generated by the development environment.
How do you enable Developer Options on an Android device?
-To enable Developer Options, you need to go to 'Settings', then 'About phone', and tap on 'Build number' several times until the Developer Options are enabled.
What does USB debugging allow?
-USB debugging allows your computer to communicate with your Android device for development purposes, such as deploying and debugging apps.
What is Visor and how is it used in the tutorial?
-Visor is an app that mirrors the screen of your physical device to your laptop monitor, allowing you to see the changes you make in real-time as you develop your app.
Why is it necessary to install the Expo Go app from the Play Store?
-The Expo Go app is necessary to run and test the React Native application on a physical device, as it can scan the QR code generated by the development environment.
How do you start a React Native project after setting up the environment?
-After setting up the environment, you navigate to the project directory in the command prompt or terminal, and run 'npm start' to start the development server.
What is the significance of the QR code displayed after running 'npm start'?
-The QR code is used to pair your physical device with the development environment, allowing you to view and interact with the React Native app on your device.
How can you edit the text inside the React Native application?
-You can edit the text by modifying the 'app.js' file, which contains HTML-like and CSS-like code, and then saving the changes to see them reflected in the app.
Outlines
💻 Setting Up React Native Development Environment
The video begins with the host, Sir Marbs, introducing React Native, a programming language for creating iOS and Android applications. He instructs viewers to download Node.js from nodejs.org to set up the necessary tools for React Native development. The tutorial then proceeds with instructions to navigate to the command prompt, change directories to 'Documents', and use the command 'npx create-expo-app my first app' to create a new React Native application with a blank template. The host also guides viewers on how to enable Developer Options on their Android device, connect it to the computer for USB debugging, and use a tool called Visor to mirror the device's screen onto the computer. The tutorial concludes with the installation of the Expo Go app from the Play Store for testing and debugging the application.
🛠️ Running and Editing a React Native Application
In the second paragraph, the host demonstrates how to run the newly created React Native application using the command 'npm start' in the terminal. After the application starts, a QR code appears, which can be scanned using the Expo Go app to load the application on the device. The host then shows how to open the project in Visual Studio Code and navigate to the 'app.js' file to begin editing the application's code. He explains that the file contains HTML-like and CSS-like code, which will be further elaborated in future tutorials. The host guides viewers to change the text within the application as a simple demonstration of editing the code and saving the changes, which automatically refreshes the application. The video ends with a suggestion for viewers to learn more about coding and setting up React Native applications, and the host thanks the audience for watching.
Mindmap
Keywords
💡React Native
💡Node.js
💡npm
💡Expo
💡Command Prompt
💡USB Debugging
💡VS Code
💡App.js
💡QR Code
💡Expo Go
Highlights
Introduction to React Native as a programming language for creating iOS and Android applications.
Necessity to download Node.js from nodejs.org for React Native development.
Instructions to change directory to a suitable folder like Documents for project setup.
Creating a React Native application using npx create-expo-app with a blank template.
Naming the app 'my first app' during the setup process.
Downloading and using Visor to reflect the physical device screen to the laptop monitor.
Enabling Developer options and USB debugging on the physical device.
Connecting the device to the computer for screen mirroring with Visor.
Installing Expo Go from the Play Store for testing and debugging the application.
Running the project using npm start and pairing it with the physical device.
Scanning the QR code to load the application on the Expo Go app.
Editing the app.js file to work on the application's code.
Explanation of the HTML-like and CSS-like code structure in app.js.
Demonstration of how to edit the text within the application and save changes.
Observation of the application automatically refreshing after code changes.
Encouragement for viewers to learn more about coding and setting up the application.
Conclusion of the tutorial with a thank you note to the viewers.
Transcripts
hi guys it's me sir marbs so today I
will uh introduce this uh react native
um it's a programming language that can
uh help you to create an IOS and Android
application
so first thing you need to do is uh you
need to download uh the necessary tool
in order for you to create a re
native application so you need to
download this
nodejs go to this uh website nodejs.org
and then download this under the
pre-build installer and then install it
so to pass spacee this uh
tutorial um let's get started first
thing that you need to do is you go to
your command prompt go to your command
prompt and in your command prompt as you
can see here
we are now in the uh user directory so
let's change our directory by going to
different folder like documents CD
documents and then here I can now uh
create
our react native application so to
create
that let's uh put
npx
create X
Expo
app and then template
blank uh give us a fresh
start uh we
install our application to have a
template uh blank okay so let's hit
enter now the next step here is you need
to put the name of your app so we'll
call
this
my first
app
okay then
enter so while waiting you can download
visor so we will use visor in this
tutorial so that we can reflect our
physical device screen to our uh laptop
monitor to do that we will need to open
our device our physical device and go to
build number and enable the U developers
option so after doing that we will now
connect our device through the cable and
once your cell phone is um detected it
or it will prompt in your device the
allow USB debugging let's allow USB
debugging and as you can see devisor uh
uh or our application is already
connected to this visor let's now play
this so that you will see
here our screen physical screen of our
device yes as you can see you have now
already um displayed our physical device
screen so you need to install first the
Expo go so kindly go to
your uh Play Store you will download
this Expo Go app we will use this so
that we can test and debug our
application so let's go back now to our
Command promp so as you can see here
that our project is ready as you can see
it's already installed now to run our
project you need to go first to our uh
directory file so if you're still
remember uh the name of our application
is my first app so let's go to my first
app this one so let's uh hit
enter now after locating our directory
file we will open this in our text
editor so in this case I will use vs
code to do that I can state code here
space and Dot and then
enter then
automatically the vs code will load
our directory
file so as you can see here we have our
the name of our application my first
app okay now inside this um vs code we
can go to the terminal here the upper
left corner so we can click terminal and
then new
terminal inside this new terminal we can
now start our or we can now run our
application
and pair it to
our physical
device so let's do that npm
start so after loading or after starting
our application you will see
this QR
code and using this
application in our
application so we can now scan this QR
code so let's click scan
QR and then scan the QR
code and automatically our application
will load
here so
after running our application you will
see this in your this display so open up
app.js to start working on your app so
congratulation you are now uh already
installed an
application to your physical device so
in order for us to change the text
inside
this we can go to app.js as stated here
so double click the
appjs this will be our
code and inside this you can see
um an an HTML like code and a CSS like
code so later I will explain to you on
how to use this so for now let's try to
edit the text inside our
application so let's try congrats
and then contrl s to save and as you can
see
automatically your
application it's being refreshed so
congratulation you are
now have your
application I suggest if you want to
really know how to code or how to set up
this application I will end now the
video and you may try it thank you for
watching
関連動画をさらに表示
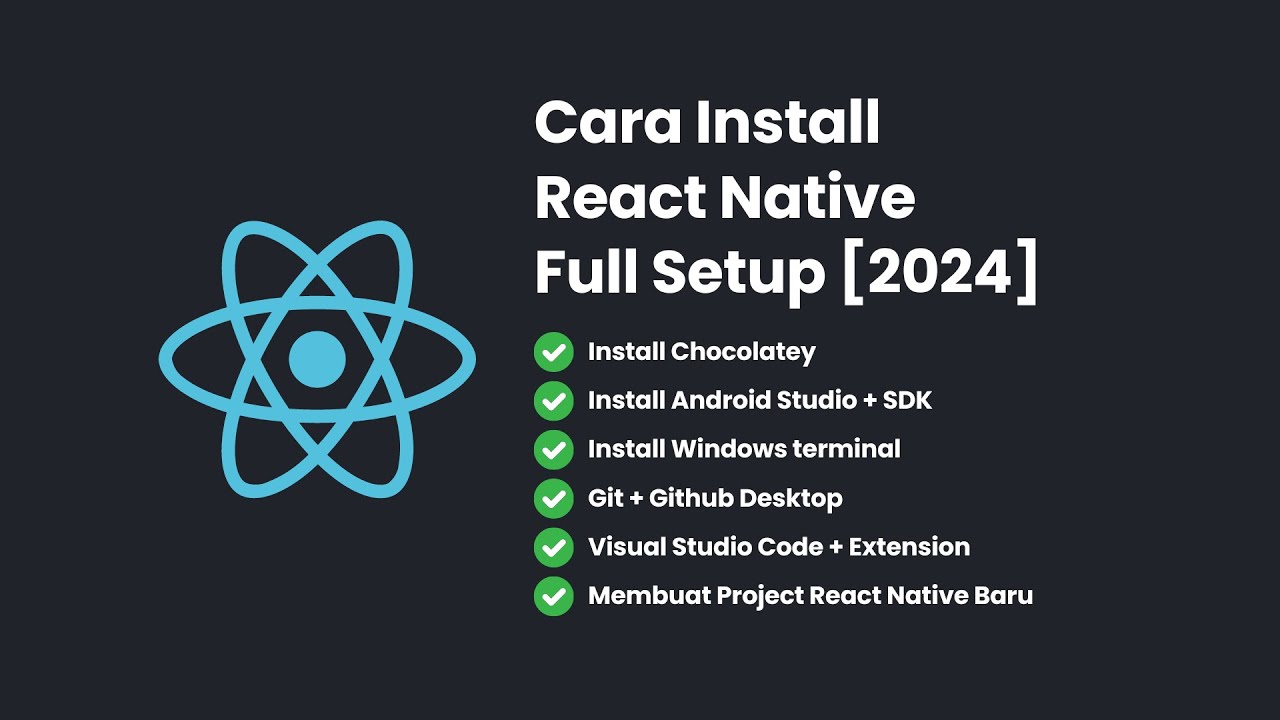
Cara Install React Native + Full Setup [2024]
Expo in 100 Seconds
Getting Started | Mastering React: An In-Depth Zero to Hero Video Series
Creating Flutter Project
Building an Object Detection App with Tensorflow.JS and React.JS in 15 Minutes | COCO SSD
How to Setup Visual Studio Code for Web Development | HTML, CSS, and JavaScript
5.0 / 5 (0 votes)