How to color and render skin
Summary
TLDRIn this informative tutorial, the artist 'Blue' shares expert tips on coloring and rendering skin tones with a focus on warmth and realism. Sponsored by Skillshare, the video explores the flexibility of skin coloring, using blush for lifelike effects, and shading techniques that consider subsurface scattering and reflective light. The artist emphasizes the importance of studying skin from references and adapting to different environments, providing practical steps for achieving depth and naturalness in digital skin rendering across various skin tones.
Takeaways
- 🎨 The artist's favorite aspect of digital painting is skin due to its softness, malleability, and the freedom it offers in rendering.
- 🌟 The video is sponsored by Skillshare, an online learning community offering a wide range of classes from various fields.
- 📚 The artist recommends two specific Skillshare classes: 'Digital Painting in Photoshop' by Melissa D. Noga and 'Digital Painting Concept Landscapes' by Jon St. O.
- 🖌️ The artist suggests doing skin studies and observing other artists' work to improve one's own digital painting skills.
- 🌈 Skin tones generally lean towards warmer colors due to the presence of blood underneath the skin, affecting the undertones of blushes.
- 💄 Blush is added to the skin to make it more lifelike, with adjustments in hue for different skin tones, even for darker skin tones.
- 🎭 When shading skin, the artist prefers shifting colors towards purple and maroon, using different saturations and hues for depth.
- ✨ Subsurface scattering is a phenomenon where light catches blood cells, making the skin appear redder, and is simulated in skin rendering.
- 🌀 Reflective light, often in contrasting colors like blues and greens, is used to enhance the depth of the skin rendering.
- 🔆 Highlights on the skin should be in the same hue as the base color but with higher saturation to stand out naturally.
- 👩🎨 The artist emphasizes the importance of rendering from reference to better understand where curves, lighter, and darker colors should be placed on the skin.
Q & A
What is the main focus of the video presented by Blue?
-The main focus of the video is to demonstrate how to color and render skin in a digital art context, emphasizing the artist's preference for the flexibility and freedom in skin rendering.
Why does Blue consider skin to be a favorite subject for coloring and rendering?
-Blue finds skin to be a favorite subject because of its softness, malleability, and the relative freedom in rendering compared to clothing or hair, which have more rules.
What online learning platform is sponsoring the video?
-The video is sponsored by Skillshare, an online learning community offering a wide range of classes.
What are some of the classes that Blue has been taking on Skillshare to improve their art skills?
-Blue has been taking 'Digital Painting in Photoshop: Create a Stylized Portrait' by Melissa D. Noga and 'Digital Painting: Concept Landscapes' by Jon St. O, focusing on value scaling, painting tips, stylization techniques, and landscape drawing advice.
What is a 'flesh cube' and how is it used in the context of the video?
-A 'flesh cube' is a tool used by artists to find suitable skin tones and shading and highlight colors. It helps in identifying colors that work well together for a realistic skin representation.
How does the presence of blood under the skin influence the color of skin tones and blushes?
-The blood under the skin gives skin tones and blushes a warmer undertone, as most skin tones lean towards warmer colors on the color wheel due to subsurface scattering.
What is subsurface scattering and how does it affect the appearance of skin in art?
-Subsurface scattering is a phenomenon where light catches the blood cells in the skin, making them appear redder. In art, adding a darker red to the shaded areas can simulate this effect, making the skin look more lifelike.
What advice does Blue give for choosing shading colors for skin?
-Blue prefers shifting the colors towards purple and maroons, using two different saturations and hues. The base shading might be a certain purple or maroon, with a lighter version created by reducing saturation.
How does the environment affect the skin tone and shading in a character's rendering?
-The environment can drastically affect skin tone and shading by introducing different color reflections, such as green hues in a forest or bluish or warmer tones near the ocean.
What is the difference between coloring lighter and darker skin tones according to the video?
-For lighter skin, the focus is more on blush and redness to create form, while for darker skin, the focus is on highlights to define facial features, as darker values can make features less distinct without good contrasting colors.
What technique does Blue use to enhance the depth and lifelike appearance of skin in their renderings?
-Blue uses a combination of blush for depth, shading based on light source, and highlights in the same hue as the base color but with higher saturation. Additionally, reflective light in contrasting colors like blues and greens can enhance depth.
Outlines

Cette section est réservée aux utilisateurs payants. Améliorez votre compte pour accéder à cette section.
Améliorer maintenantMindmap

Cette section est réservée aux utilisateurs payants. Améliorez votre compte pour accéder à cette section.
Améliorer maintenantKeywords

Cette section est réservée aux utilisateurs payants. Améliorez votre compte pour accéder à cette section.
Améliorer maintenantHighlights

Cette section est réservée aux utilisateurs payants. Améliorez votre compte pour accéder à cette section.
Améliorer maintenantTranscripts

Cette section est réservée aux utilisateurs payants. Améliorez votre compte pour accéder à cette section.
Améliorer maintenantVoir Plus de Vidéos Connexes

DRAWING SKIN TONES WITH COLORED PENCILS | Color Guide

Lighting, Coloring & Shading : The Holy Trinity Explained

PAINTING A SHOULDER MOUNT! CHEAP EQUIPMENT AND MY PAINT COLORS ***SUPER EASY*** WHITETAIL TAXIDERMY!

How to Draw Fillies Step by Step
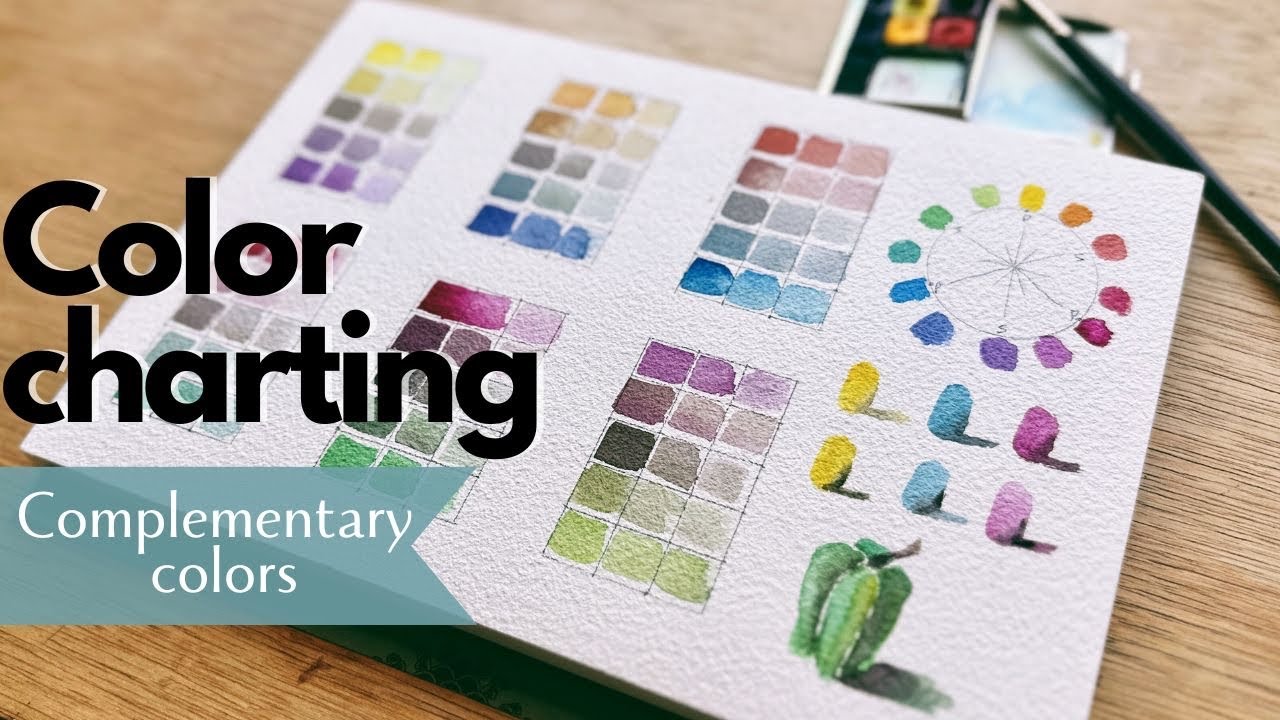
Mixing complementary colors with watercolor for perfect shadows
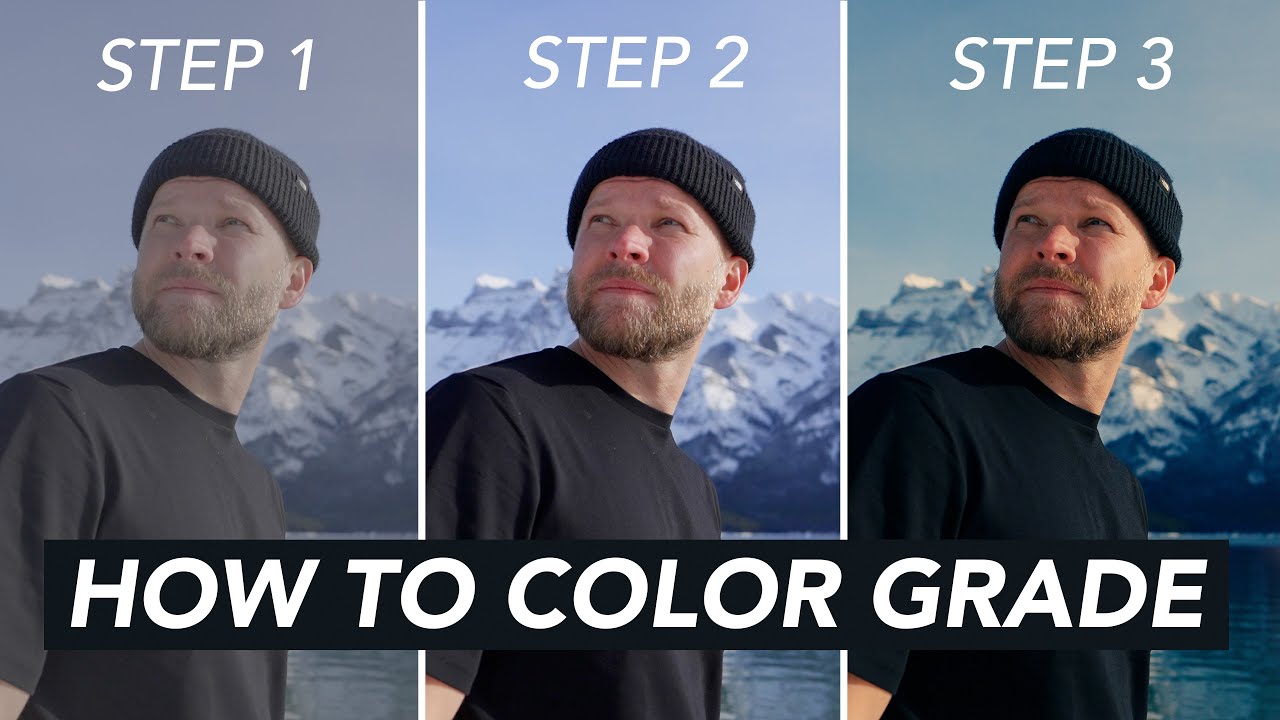
How To Color Grade // Fast, Easy & Cinematic
5.0 / 5 (0 votes)
