Build Your Own Biometric Access System with Arduino! 🚀 | Fingerprint Sensor DIY | Embedded Sphere
Summary
TLDRIn this tutorial, you'll learn how to build a biometric access control system using an Arduino Uno, a fingerprint sensor, an I2C LCD, and a passive buzzer. Perfect for creating smart locks or secure boxes, this project walks you through wiring the components, enrolling fingerprints, and uploading the necessary code. The system grants access when a registered fingerprint is detected, while denying access for unrecognized prints. Ideal for makers interested in embedded systems, this guide also offers the chance to extend the project with Wi-Fi, IoT, or keypad functionalities. All components are available at Hub 360 Circuit Limited.
Takeaways
- 😀 Introduction to building a biometric access control system using a fingerprint sensor, I2C screen, passive buzzer, and Arduino.
- 😀 Components required: Arduino Uno, Optical Fingerprint Sensor, I2C LCD Display, Passive Buzzer, Jumper Wires, and a Breadboard.
- 😀 Step-by-step instructions for wiring the optical fingerprint sensor, I2C LCD, and passive buzzer to the Arduino.
- 😀 Before uploading the code, install two necessary libraries: Adafruit Fingerprint Sensor Library and Liquid Crystal I2C.
- 😀 Fingerprint enrollment is essential before uploading the main project code, using the 'Enroll' example from the Adafruit library.
- 😀 The code begins with including necessary libraries and initializing the fingerprint sensor, LCD, and passive buzzer.
- 😀 Detailed code explanation: Initialization of components and setting up the fingerprint matching system.
- 😀 The system checks if the fingerprint template is stored, and prompts the user to enroll if not.
- 😀 If a fingerprint is matched, the system displays 'Access Granted'; otherwise, it displays 'Access Denied' with a buzzer sound.
- 😀 The system was tested live: registered fingerprints trigger 'Access Granted' on the LCD, while unknown fingerprints result in 'Access Denied' and a buzzer sound.
- 😀 All components are available for purchase at Hub 360 Circuit Limited, and further extensions (Wi-Fi, IoT, keypad) are suggested for advanced users.
Q & A
What is the main project demonstrated in the tutorial?
-The tutorial demonstrates how to build a biometric access control system using a fingerprint sensor, an I2C LCD display, a passive buzzer, and an Arduino board.
Which components are required for this biometric access control project?
-The required components are: Arduino Uno, optical fingerprint sensor, I2C LCD display, passive buzzer, jumper wires, and a breadboard.
How is the fingerprint sensor connected to the Arduino?
-The fingerprint sensor's TX pin is connected to Arduino pin 2, RX to pin 3, VCC to 5V, and GND to the Arduino ground.
What are the connections for the I2C LCD display?
-The LCD's SDA pin is connected to A4, and the SCL pin is connected to A5 on the Arduino.
How should the passive buzzer be connected?
-The buzzer's negative pin connects to ground, the positive VCC pin to 5V, and the signal pin to Arduino pin 9.
Which libraries need to be installed before uploading the code?
-The required libraries are the Adafruit Fingerprint Sensor library and the LiquidCrystal_I2C library.
What is the first step before uploading the main project code?
-You must enroll at least one fingerprint using the example code from the Adafruit Fingerprint Sensor library before uploading the main code.
What does the getFingerprintID() function do in the code?
-The getFingerprintID() function reads the fingerprint image, converts it, searches for a match, and returns whether access should be granted or denied.
What happens when a registered fingerprint is scanned?
-When a registered fingerprint is scanned, the LCD displays 'Access Granted' and a welcome message, such as 'Welcome Admin.'
What happens if an unregistered fingerprint is scanned?
-If an unregistered fingerprint is scanned, the LCD displays 'Access Denied' and the buzzer sounds briefly.
Where can all the components for this project be purchased?
-All components are available from Hub360 Circuit Limited, both online at www.hub360.com.ng and in their physical store.
What additional features does the tutorial suggest could be added to the system?
-The tutorial suggests extending the system with Wi-Fi, IoT integration, or a keypad for enhanced functionality.
Outlines

Cette section est réservée aux utilisateurs payants. Améliorez votre compte pour accéder à cette section.
Améliorer maintenantMindmap

Cette section est réservée aux utilisateurs payants. Améliorez votre compte pour accéder à cette section.
Améliorer maintenantKeywords

Cette section est réservée aux utilisateurs payants. Améliorez votre compte pour accéder à cette section.
Améliorer maintenantHighlights

Cette section est réservée aux utilisateurs payants. Améliorez votre compte pour accéder à cette section.
Améliorer maintenantTranscripts

Cette section est réservée aux utilisateurs payants. Améliorez votre compte pour accéder à cette section.
Améliorer maintenantVoir Plus de Vidéos Connexes

PROJECT ARDUINO PENYIRAM TANAMAN OTOMATIS /SMARTGARDEN BERBASIS ARDUINO NANO DAN SENSOR SOILMOISTURE

Temperature Based Fan Speed Controller Using Arduino UNO || ARDUINO PROJECTS

How to Make Simon Memory Game Using Arduino | Simon Says Game

Tutorial LCD 20 Ribuan | Arduino Untuk Pemula
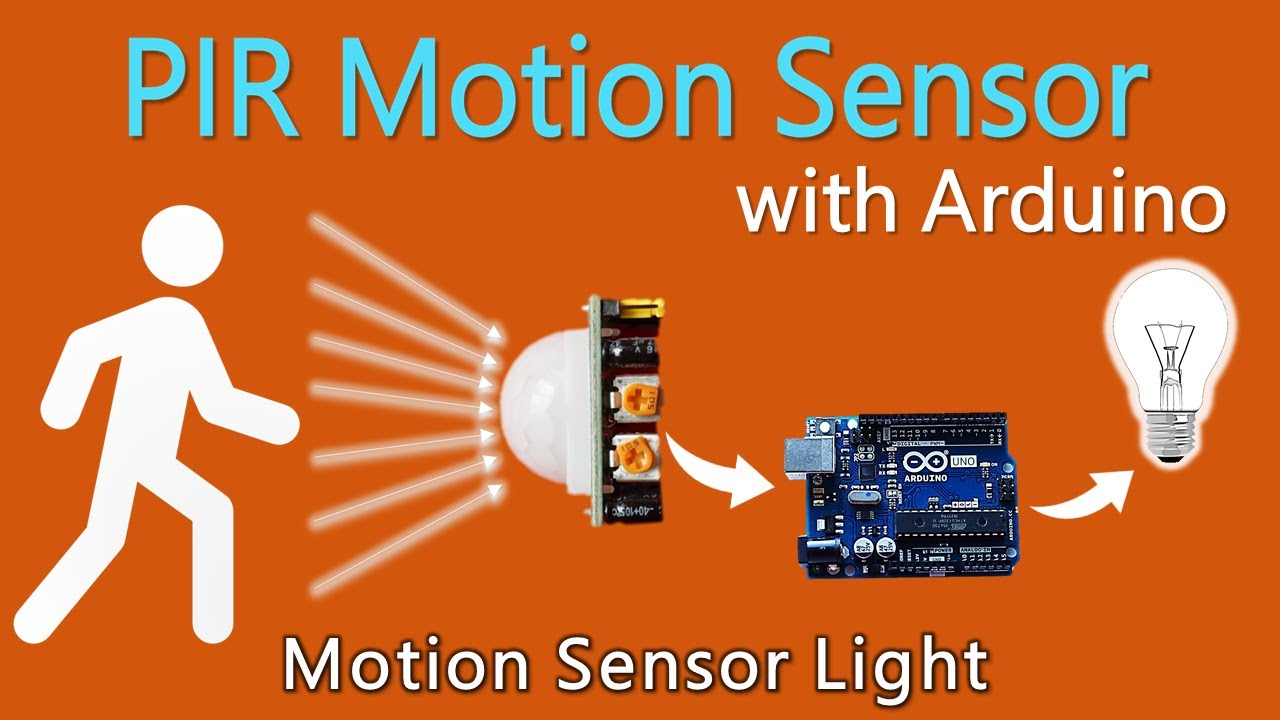
How to use PIR Motion Sensor with Arduino | Motion sensor light
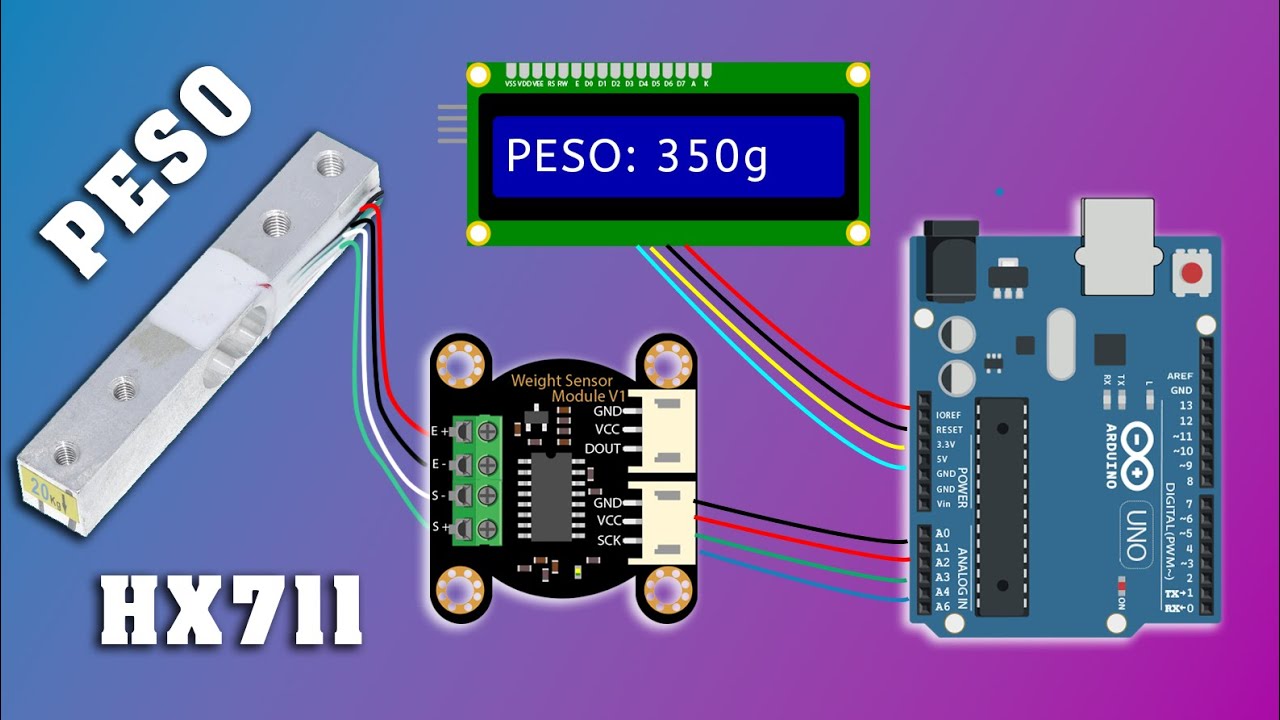
TODO sobre EL SENSOR de PESO con MODULO HX711 , Peso EXACTO con arduno || Tutorial
5.0 / 5 (0 votes)
