The Nuts and Bolts of Blender's animation system
Summary
TLDRThis video provides a beginner-friendly introduction to Blender's animation system, covering essential concepts such as transforms, keyframes, and interpolation. It explains how keyframes capture an object's position, rotation, and scale over time, and how actions store these keyframes for reuse across different objects. The tutorial also offers an overview of Blender's animation editors—the Timeline, Dope Sheet, Graph Editor, Action Editor, and Non-Linear Animation (NLA) Editor—highlighting how they interconnect to create, manage, and refine animations. By the end, viewers gain a clear understanding of Blender's animation workflow and the foundational tools needed to build smooth, complex animations.
Takeaways
- 🎯 Transforms in BlenderGenerate key takeaways represent an object's position, rotation, and scale, which can be edited in the End panel or Properties panel, or directly in the 3D viewport using G, R, and S shortcuts.
- 📌 Keyframes are snapshots of an object's properties at a specific frame and are essential for creating animation in Blender.
- ⏱️ Frame rate determines the timing of animations, e.g., 30 FPS means 30 frames equal one second of animation.
- 🟡 Yellow-highlighted values indicate that a property has been keyframed.
- 🔄 Keyframe interpolation allows smooth transitions between frames, automatically adjusting values for motion over time.
- 📦 Actions are containers for keyframes; every keyframe must be stored in an action, which can be linked to multiple objects.
- 🛡️ The 'Fake User' (shield icon) preserves actions even when they are unlinked from objects, preventing accidental deletion.
- 🖥️ The Timeline is used for previewing and playing animations, while the Dope Sheet and Graph Editor allow detailed editing of keyframes and interpolation curves.
- 🔗 The Action Editor manages actions by creating, renaming, or unlinking them, and serves as the connectionKey takeaways from script point to the NLA (Non-Linear Animation) Editor.
- 🧩 The NLA Editor allows multiple actions to be stacked, sequenced, and blended, making it powerful for complex animation workflows.
- 🔄 Actions are not object-specific; they manipulate the properties of any object with compatible data, allowing reuse of animations across different objects.
- 📝 Experienced animators typically block out timing in the Dope Sheet first and refine motion using the Graph Editor for smooth and realistic animation.
Q & A
What are transforms in Blender and how are they manipulated?
-Transforms in Blender represent an object's position (location), orientation (rotation), and size (scale) in 3D space. They can be manipulated via the Properties panel under Item → Transform or directly in the 3D Viewport using shortcut keys: G for move, R for rotate, and S for scale.
What is a keyframe and how does it affect an object's behavior?
-A keyframe is a snapshot of an object's properties at a specific frame in time. Without keyframes, objects stay in place regardless of the timeline. When keyframes are set, Blender records the values at that frame, and the object interpolates between keyframes, creating motion.
How can you insert keyframes in Blender?
-Keyframes can be inserted by pressing 'I' in the 3D Viewport and choosing the properties to key (Location, Rotation, Scale). Alternatively, you can hover over individual property values and press 'I', or click the small dots next to the property in the Object Properties panel.
What is keyframe interpolation and why is it important?
-Keyframe interpolation determines how property values transition between keyframes. It affects motion smoothness, speed, and easing. Linear interpolation creates constant motion, while curved interpolation allows ease-in and ease-out effects, which can be adjusted in the Graph Editor.
What is an action in Blender, and how is it related to keyframes?
-An action is a container that stores keyframes. Every object needs an action to store its keyframes. Actions are object-independent and can be linked to different objects. The Action Editor allows you to create, rename, protect (Fake User), or delete actions.
What is the purpose of the Timeline in Blender's animation system?
-The Timeline is used to preview and play animations. It allows scrubbing through frames and setting automatic keyframes. For simplicity, beginners can consider it primarily as a tool to see their animation in motion.
How does the Dope Sheet differ from the Graph Editor?
-The Dope Sheet shows keyframes as blocks and is useful for adjusting timing and sequencing of actions. The Graph Editor visualizes keyframe interpolation as curves, allowing fine-tuning of motion by adjusting speed, easing, and the shape of transitions.
What is the NLA (Non-Linear Animation) Editor used for?
-The NLA Editor allows you to organize, sequence, stack, and mix multiple actions. Actions can be pushed down from the Action Editor into NLA strips, which can then be rearranged, resized, or combined to create complex animations without altering the original actions.
What is the significance of the 'Fake User' (F) icon in the Action Editor?
-The 'Fake User' icon ensures that an action is saved with the Blender file even if it is not currently linked to any object. Without it, unlinked actions with a zero usage count will be deleted when the file is saved and reopened.
How can actions be reused across different objects?
-Since actions are object-independent, any action can be linked to another object with compatible properties (like transforms). For example, an animation created for a cone can also be applied to Suzanne, and the object will follow the same movement.
Why is it important to understand all the different animation editors in Blender?
-As projects become more complex, understanding the Timeline, Dope Sheet, Graph Editor, Action Editor, and NLA allows animators to organize keyframes efficiently, fine-tune motion, manage multiple actions, and create sophisticated animation sequences without confusion.
What is a practical workflow recommended for animating in Blender?
-A practical workflow is to first block out the timing of the animation using the Dope Sheet, refine motion and easing in the Graph Editor, manage actions in the Action Editor, and finally use the NLA to sequence, mix, or layer multiple actions for complex animations.
Outlines

Cette section est réservée aux utilisateurs payants. Améliorez votre compte pour accéder à cette section.
Améliorer maintenantMindmap

Cette section est réservée aux utilisateurs payants. Améliorez votre compte pour accéder à cette section.
Améliorer maintenantKeywords

Cette section est réservée aux utilisateurs payants. Améliorez votre compte pour accéder à cette section.
Améliorer maintenantHighlights

Cette section est réservée aux utilisateurs payants. Améliorez votre compte pour accéder à cette section.
Améliorer maintenantTranscripts

Cette section est réservée aux utilisateurs payants. Améliorez votre compte pour accéder à cette section.
Améliorer maintenantVoir Plus de Vidéos Connexes

Over 50 Blender Terms Explained

Mudahnya Membuat Animasi Logo Brand DJI - Tutorial After Effect

APA ITU DATABASE ? Tonton ini 5 Menit Langsung Bisa DIJAMIN

Menggunakan Tools Data Science

Learn After Effects in 10 Minutes! Beginner Tutorial

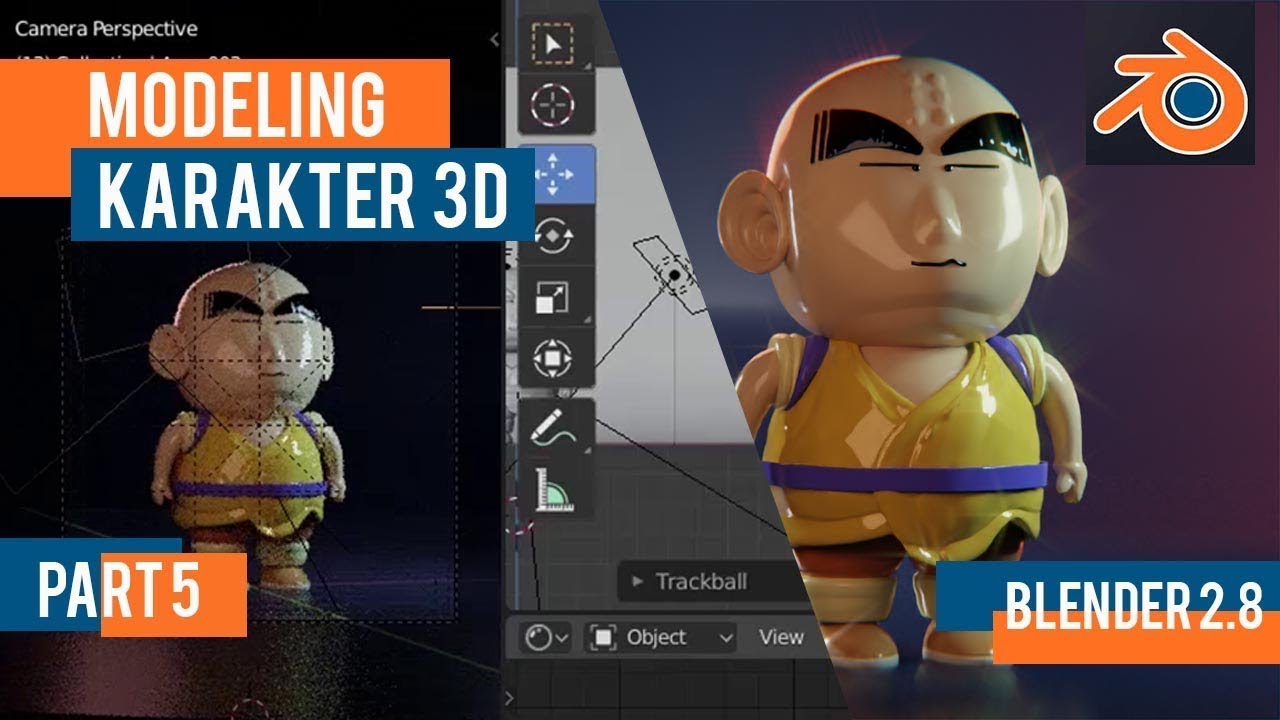
Tutorial animasi 3D blender 2.8 bahasa indonesia Pt 5 - Lighting dan Animasi
5.0 / 5 (0 votes)
