DIY EMP Device from a Harbor Harbor Freight Fly Swatter
Summary
TLDRThis DIY guide demonstrates how to build an EMP device using a Harbor Freight F water. The video walks through the process of disassembling the device, replacing wires, and creating a coil to generate electromagnetic pulses. The instructions include soldering, adjusting wire placements for optimal performance, and ensuring a safe spark gap. Tips are provided for managing wires, using hot glue for stability, and testing the final setup. The guide emphasizes safety, including precautions against electric shocks, and encourages creativity for adapting to different models of the device.
Takeaways
- 😀 The tutorial shows how to convert a Harbor Freight F Water into a DIY EMP device, with safety warnings about the risks of electric shock and damage to electronics.
- 😀 Disassembly of the F Water is necessary to access internal components, requiring a long-shanked screwdriver for deep screws.
- 😀 The project involves soldering, so basic soldering skills are required to connect the wires and create the coil for the EMP device.
- 😀 The ideal coil diameter for the EMP device is about 2 to 3 inches with several wraps of wire, and it can be customized without a 3D printed part by using a circular object.
- 😀 A 20-gauge wire is the minimum recommended for the coil, though thicker gauges like 12 or 14 are preferred for better results.
- 😀 To secure the wire in place, the tutorial recommends using hot glue and zip ties, though other adhesives can also work.
- 😀 The coil should be positioned properly near the circuit board pads to create a spark gap that allows electromagnetic pulses to form.
- 😀 Adjusting the gap between the wire and solder pads is crucial to achieving the right arc for the EMP device to function correctly.
- 😀 When testing the EMP device, ensure the wire isn't touching the pads to avoid constant sparking, which could cause malfunction.
- 😀 The tutorial explains that different models of the F Water might require slight modifications, such as enlarging holes in the 3D printed part or adapting the design further for newer models.
Q & A
What is the main objective of the DIY project in this video?
-The main objective is to convert a Harbor Freight F water bug zapper into a DIY electromagnetic pulse (EMP) device.
What are the safety warnings given at the beginning of the project?
-The safety warnings include the risk of electric shock, potential damage to electronics, and the importance of not damaging your own or others' belongings. The creator also disclaims responsibility for any accidents.
Why is it important to have a screwdriver with a long shank for this project?
-A screwdriver with a long shank is necessary because the screws in the bug zapper are deep-set, and a regular multi-bit screwdriver may not reach them effectively.
What is the recommended wire gauge for this project?
-The recommended wire gauge is 12-14 gauge, with 20 gauge wire being the minimum acceptable size. Thicker wire is preferred for better durability and performance.
What is the purpose of creating a coil in the DIY EMP device?
-The coil is needed to create a spark gap in the device, which is essential for generating the electromagnetic pulse that the project aims to produce.
What is the role of hot glue in this project?
-Hot glue is used to secure the wires in place within a 3D printed part and ensure they remain in the correct circular shape, preventing them from loosening or shifting during operation.
How do you ensure the wires are positioned correctly to create the spark gap?
-The wires need to be positioned very close to the solder pads, but not touching them. The creator uses hot glue to adjust the wire's position and ensures it creates the optimal spark gap for the EMP to function properly.
What could happen if the spark gap is too far or too close?
-If the spark gap is too far apart, the device won't generate enough voltage to create a spark. If the gap is too close or the wires are touching the solder pads, it could cause a continuous arc and malfunction.
What type of batteries is recommended for the project?
-Decent, high-quality batteries are recommended, as the Harbor Freight batteries do not last long. The creator suggests using name-brand batteries for better performance.
What is the importance of the arcing sound during the testing phase?
-The arcing sound indicates that the EMP device is functioning correctly, with a consistent discharge of electricity. A lack of arcing means the spark gap is either too far or too close, requiring adjustment.
Outlines

Cette section est réservée aux utilisateurs payants. Améliorez votre compte pour accéder à cette section.
Améliorer maintenantMindmap

Cette section est réservée aux utilisateurs payants. Améliorez votre compte pour accéder à cette section.
Améliorer maintenantKeywords

Cette section est réservée aux utilisateurs payants. Améliorez votre compte pour accéder à cette section.
Améliorer maintenantHighlights

Cette section est réservée aux utilisateurs payants. Améliorez votre compte pour accéder à cette section.
Améliorer maintenantTranscripts

Cette section est réservée aux utilisateurs payants. Améliorez votre compte pour accéder à cette section.
Améliorer maintenantVoir Plus de Vidéos Connexes

Cara membuat alat penyaring udara sederhana

Membuat Pompa Air Mini Dari Dinamo 12volt Bertenaga !!

Mosquitoes Killer Machine 🦟 | How To Make Automatic Mosquito Killer Machine
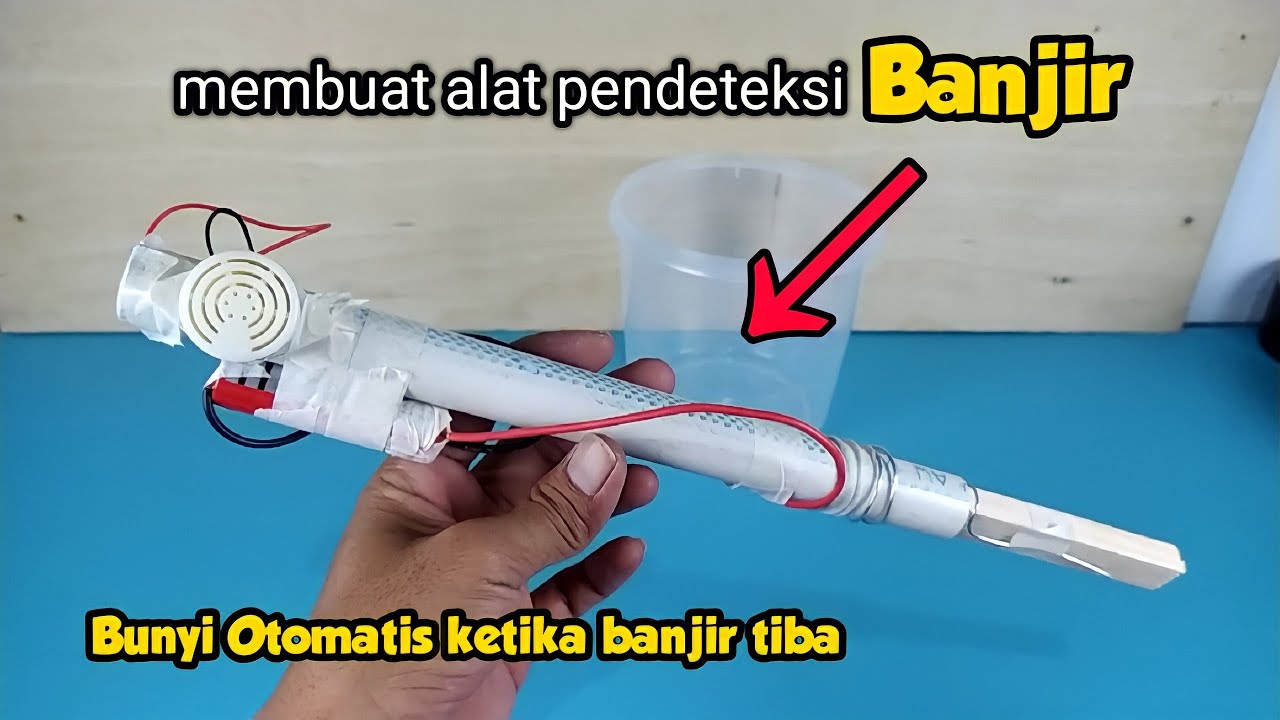
cara membuat alat PENDETEKSI BANJIR, kalian bisa buat sendiri dirumah !!!
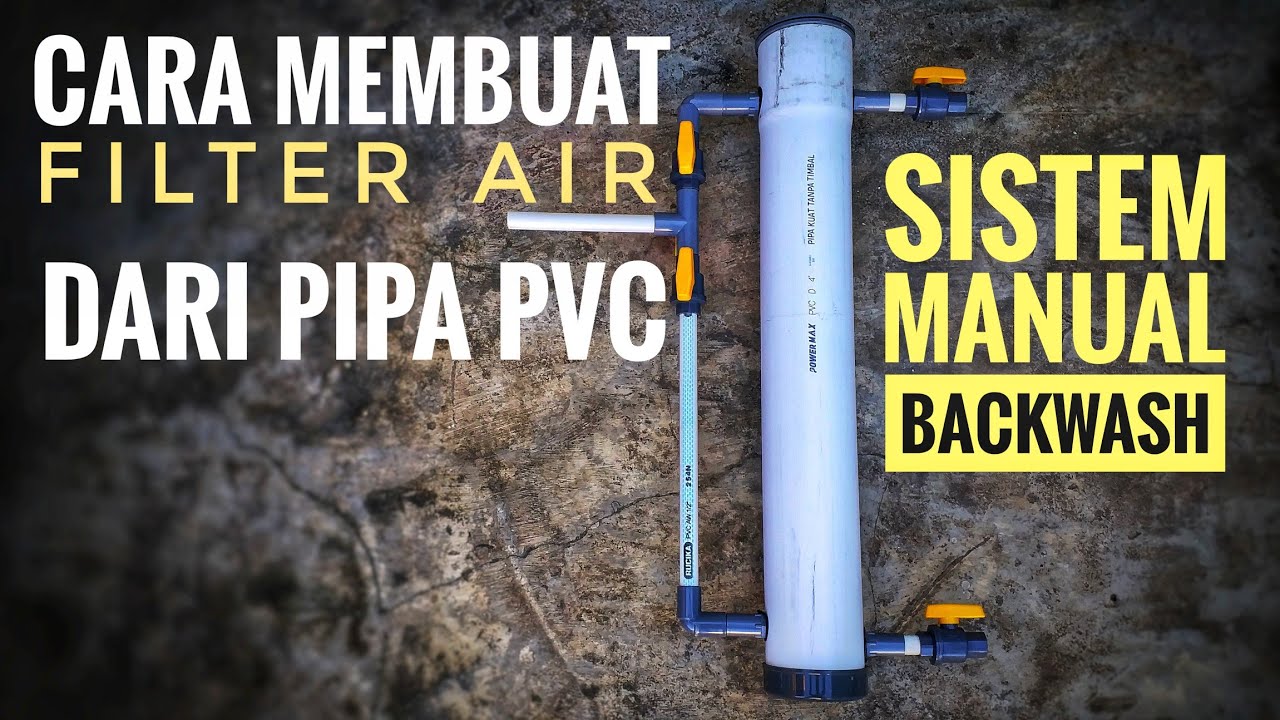
Cara membuat filter air dari pipa paralon manual backwash

DIY 40000 volt Van Der Graaff (battery powered)
5.0 / 5 (0 votes)
