Layer Mask - Photoshop for Beginners | Lesson 4
Summary
TLDRThis video tutorial covers advanced techniques for using masks in Photoshop. Key topics include adjusting mask opacity and density, copying and inverting masks, and using smart filters for non-destructive editing. The instructor demonstrates how to manage multiple masks efficiently by grouping layers and introduces double masking for greater control. A unique method is shown for using an image as a mask to isolate specific areas, with an emphasis on fine-tuning highlights using curves. The tutorial is aimed at improving workflow and creativity, making it easier to manipulate and blend images seamlessly.
Takeaways
- 😀 Decreasing the density of a mask in Photoshop works like adjusting its opacity, making the mask's effect more or less transparent.
- 😀 Copying a mask is a useful technique when applying effects to multiple areas, allowing for faster and more consistent results.
- 😀 The 'Alt/Option + Drag' method is an effective way to duplicate a mask in Photoshop for use on other layers.
- 😀 Using a smart object (via 'Convert to Smart Filters') allows you to make non-destructive edits to effects like noise and blur, which can be adjusted later.
- 😀 Inverting a mask (Ctrl/Cmd + I) changes the direction of the effect, making it possible to fine-tune where an effect applies in an image.
- 😀 Grouping layers in Photoshop helps organize and simplify your workflow, particularly when dealing with multiple adjustment layers and masks.
- 😀 Double masking allows you to create a more refined mask by applying a second mask layer, letting you adjust the effect in different areas without affecting the original mask.
- 😀 You can adjust the mask's highlights in Photoshop using the 'Curves' adjustment to brighten or darken the masked areas, giving more control over the final result.
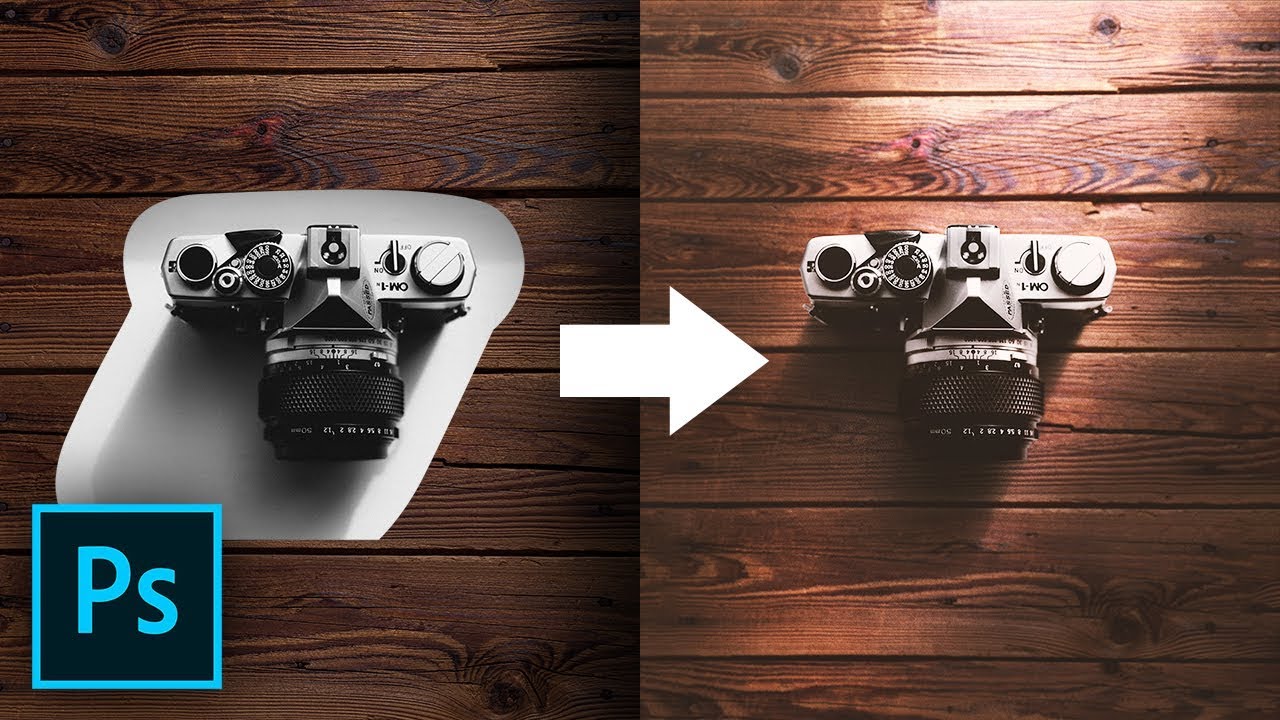
- 😀 Using an image as a mask allows for creative effects, where the image itself defines which areas of the layer are visible or hidden.
- 😀 Black hides and white shows in a mask, which is fundamental in understanding how layer masks control the visibility of different parts of an image.
- 😀 To avoid painting errors across multiple masks, grouping layers and using one mask for the entire group simplifies adjustments and reduces repetitive tasks.
Q & A
What is the difference between the opacity of a mask and its density setting in Photoshop?
-The opacity of a mask affects the transparency of the entire mask, while the density setting specifically adjusts how visible or opaque the mask is. Lowering the density makes the mask less effective, and increasing it makes it more opaque, gradually hiding more of the underlying layer.
How can you copy a mask in Photoshop?
-To copy a mask, hold the Alt (Option on Mac) key and drag the mask to another layer. This creates an exact duplicate of the original mask.
What is the purpose of converting a layer to a smart object before applying filters?
-Converting a layer to a smart object allows you to apply filters non-destructively. This means you can always adjust or remove the filters later without permanently altering the layer.
How can you control the amount of noise added to an image using the smart object technique?
-Once the layer is converted to a smart object, you can modify the noise settings by double-clicking on the 'Add Noise' filter. This allows you to adjust the intensity of the noise without affecting the original image.
What is the purpose of using the 'Invert' function on a mask in Photoshop?
-Inverting a mask flips its black and white values, essentially reversing the areas that are visible and hidden. This is useful when you want to apply a mask to the opposite part of the image or layer.
How can you simplify your workflow when working with multiple masks on similar layers?
-Instead of managing multiple masks individually, you can group the layers and apply a single mask to the entire group. This reduces redundancy and makes adjustments easier since only one mask needs to be modified.
What does double masking allow you to do in Photoshop?
-Double masking allows you to work with two separate masks on the same layer, providing more precise control. You can paint on one mask without affecting the other, giving you more flexibility in editing specific areas of your image.
Why is using an image as a mask effective in Photoshop?
-Using an image as a mask lets you create unique effects where the mask's highlights and shadows are influenced by the image itself. This approach is useful for artistic designs and can help enhance specific areas of the composition.
How can you adjust the brightness of a mask's highlights in Photoshop?
-To brighten the highlights of a mask, select the mask, open the Curves dialog (Ctrl/Cmd + M), and move the highlight slider to the left. This makes the lighter areas of the mask brighter and enhances the overall effect.
What is the main principle behind layer masks in Photoshop?
-The main principle of layer masks is that black hides and white shows. This means that areas painted black on a mask will hide the corresponding parts of the layer, while areas painted white will make them visible.
Outlines

Cette section est réservée aux utilisateurs payants. Améliorez votre compte pour accéder à cette section.
Améliorer maintenantMindmap

Cette section est réservée aux utilisateurs payants. Améliorez votre compte pour accéder à cette section.
Améliorer maintenantKeywords

Cette section est réservée aux utilisateurs payants. Améliorez votre compte pour accéder à cette section.
Améliorer maintenantHighlights

Cette section est réservée aux utilisateurs payants. Améliorez votre compte pour accéder à cette section.
Améliorer maintenantTranscripts

Cette section est réservée aux utilisateurs payants. Améliorez votre compte pour accéder à cette section.
Améliorer maintenantVoir Plus de Vidéos Connexes

Learn Photoshop in 5 MINUTES! Beginner Tutorial

Compositing for Product Photography | Photoshop Photo Editing Challenge

Out of Bounds Technique - Adobe Photoshop Tutorial

Cut Out Original Shadows Effortlessly in Photoshop!

FORGET metering modes, do this instead for perfect exposure!

3D Letter Manipulation in Photoshop | Best Tutorial for Beginners
5.0 / 5 (0 votes)
